# Advanced flow
# Multi-instance trigger
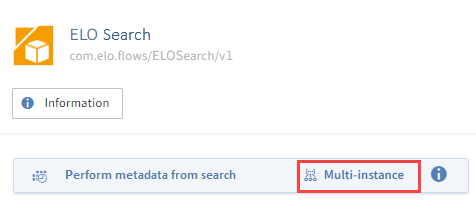
Use multi-instance triggers to process flow instances in stacks. One flow instance is started for each object returned by the trigger.
Information
Multi-instance triggers initiate a parallel flow execution. This means that the return value sequence originally entered is not necessarily retained for arrays.
Multi-instance trigger examples
- Perform form search (ELO search) (opens new window)
- Query trigger with generic result (ELO objects and metadata) (opens new window)
# Branches
In ELO Flows, branches enable you to generate more complex workflows with a flow template via a true/false query. At the branches, ELO Flows checks a binary condition and runs the relevant flow based on the feedback.
# Configure branches
When creating your flow, decide whether you want to create a branch, a data query, or a service after each node.
# Method
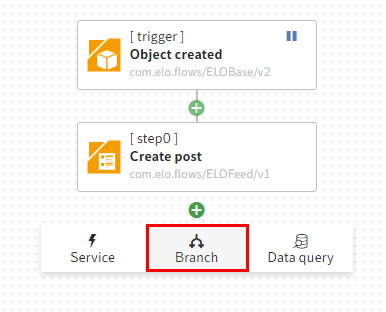
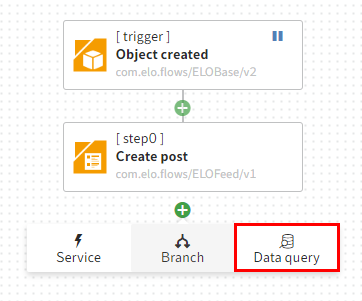
Select Add node (button with plus icon) and select Branch.
The node configuration for the new branch opens.
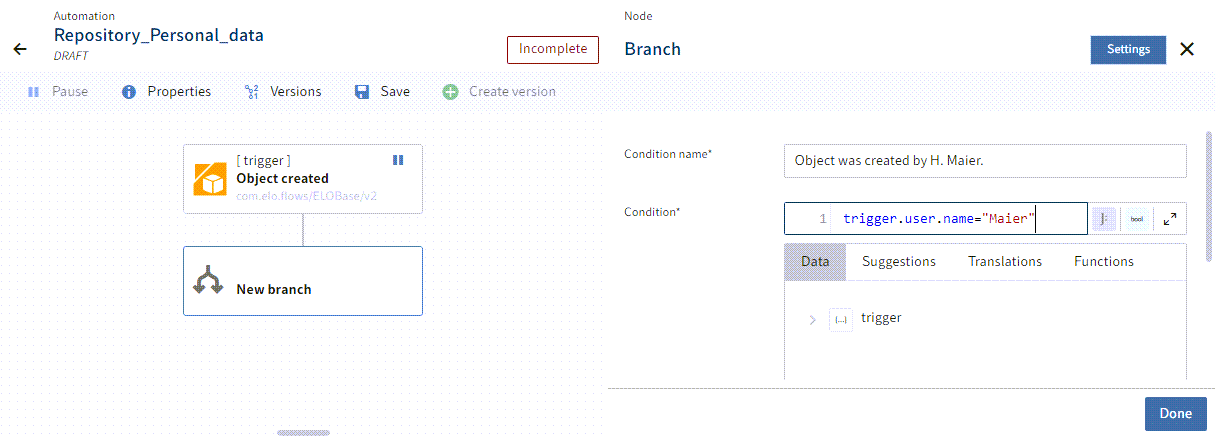
Enter a title for the branch condition. After you confirm the change in the node configuration, this title appears for the true condition in the flow designer.
In the JSONata editor, configure the condition that the binary branch refers to. These conditions determine which branch is run over the course of the flow.
Confirm with Done.
Please note
Make sure that the values of the queried fields exist and do not return null. You could use a Boolean query to check whether the field values exist, for example.
This is especially important when querying aspect fields. All aspect field types are objects and return null in uninitialized state. You can see the data type of the respective fields when you create the fields.
Example: Check boxes are integer data type aspect fields and can return the values 0, 1, or null If the user does not change the check box, it returns the value null. With a Boolean query, you can ensure that both null and 0 indicate false.
A query could look like this: $boolean(activities.wfform.aspects.NEW_ASPECT.CHECKBOX).
# Result

Information
You can create the branch node at the end of the existing flow or between two existing nodes.
In a synchronous flow, an end node is automatically placed at the end of each branch when creating a branch.
Refer to the Synchronous flows section in this documentation for more information.
The node configuration closes and you are back in the flow designer.
The branch with the true condition now has the name of the title entered for the branch condition in the flow designer.
You can continue configuring your flow.
Select Add node to create either additional branches or services at the end of the branch.
Information
You do not have to create nodes at both ends of the branch. If an empty branch is run at runtime, the flow ends at this point. If both branches are empty, the binary branch is ignored.
# Delete branches
As with all nodes in the flow designer, you can configure, copy, or delete a selected branch node after it has been created.
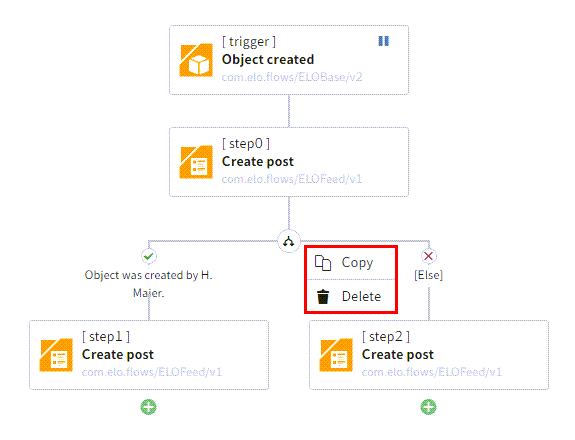
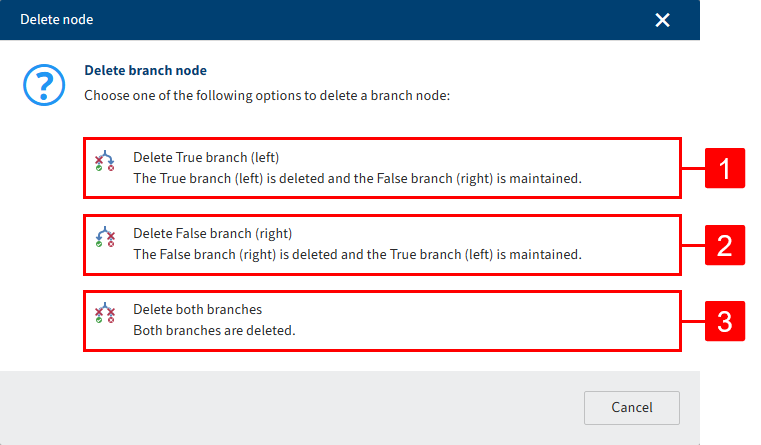
Select Delete via the three dots menu under the branch node.
In the dialog box that opens, you can choose whether you want to delete single branches (1, 2) or both branches (3). If you select the option to delete both branches, all steps following the branch are deleted.
Information
When creating a flow with branches, there are three possible situations that can have an effect on how the branch node is deleted.
Both ends of the branch are empty: If both ends of the branch are empty, the entire branch node is deleted. The flow ends with the last configured node before the branch was inserted.
One end of the branch is empty: If only one end of the branch contains more nodes, the branch is inserted in the flow in place of the branch node.
There are configured nodes at both ends of the branch: If both ends of the branch have configured nodes, you can decide whether to delete the entire branch node or a specific end of the branch. If you delete the entire branch node, the nodes that follow the branch are also deleted. If you delete one branch, the other ranch is inserted in the flow in place of the branch node.
# Integrate data query in automation or user action
You can integrate existing data queries into other flow types so that they can be re-used in flow templates. Use this function to generate loops in a flow, for example.
Information
You can only integrate data queries in other flows that have a query trigger with generic result.
# Integrate data query in other flow types
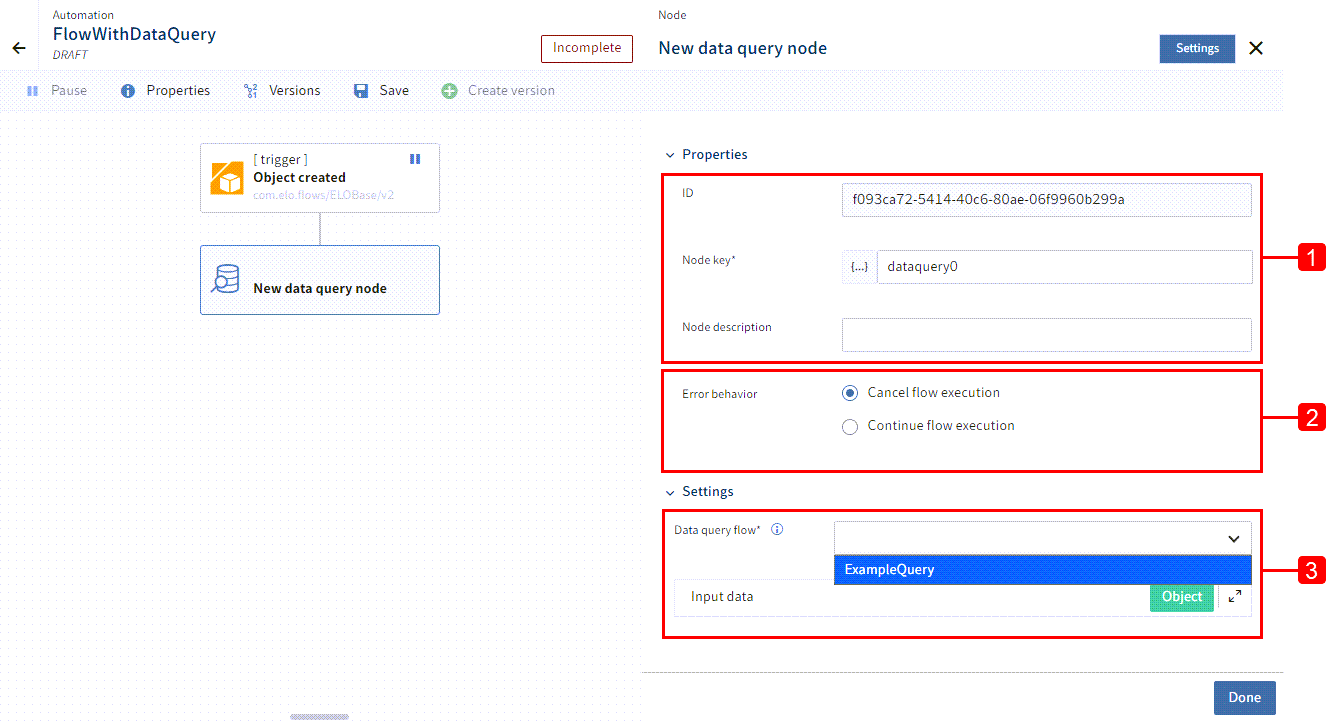
You have the following configuration options for a new data query node:
1 Change node key and node description
2 Determine flow behavior in the event of an error: If an error occurs in the context of the data query, you can specify whether to abort or continue flow execution.
3 Select data query flow and set input data: Select an embeddable data query flow with generic query trigger. You can configure the input data and customize it for your flow.
# Enable embedding of data flow query in other flow types
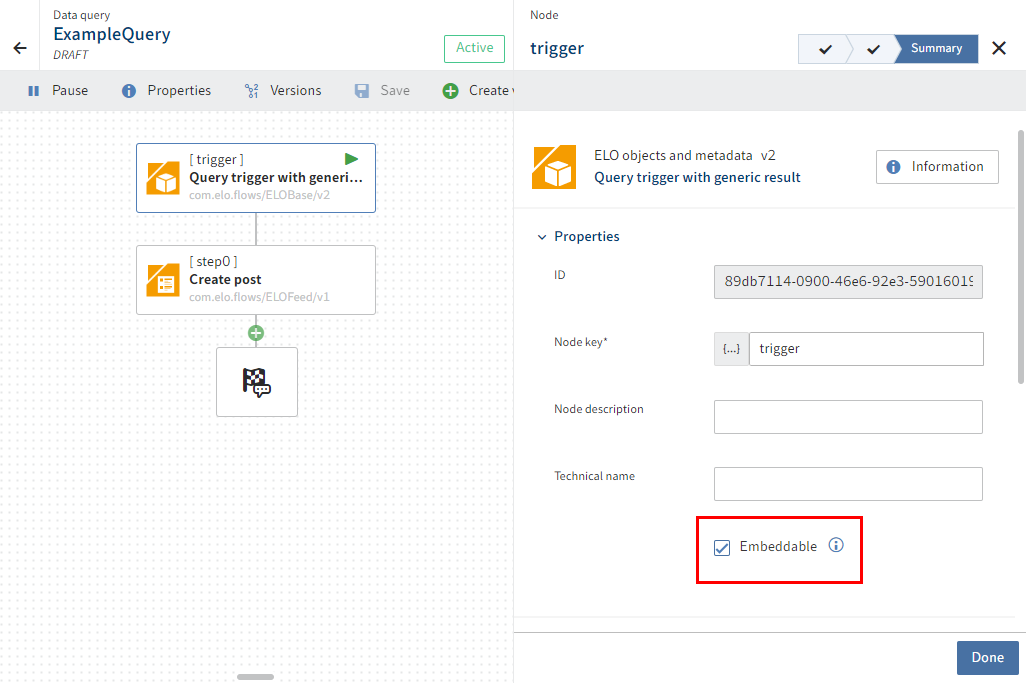
- Create a Data query flow.
- Select the Query trigger with generic result trigger.
- Configure the trigger settings.
- In the Summary step, select the Embeddable function. This function allows you to embed the data query in other flows.