# Installation
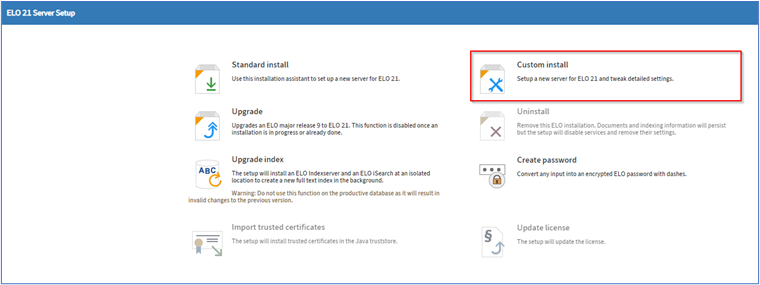
Start the ELO Server Setup.

Select the option Custom install.

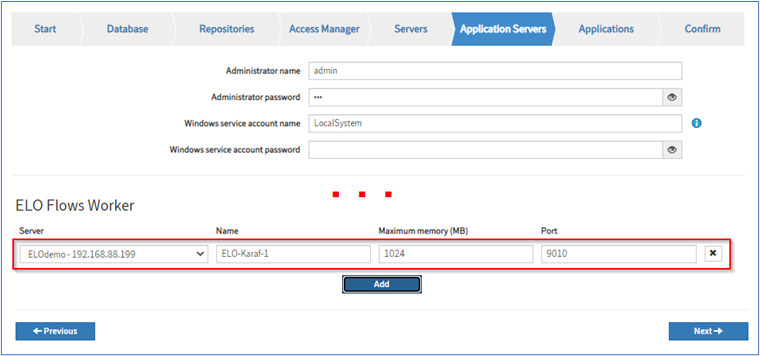
On the Application Servers page, add an entry for the ELO Flows worker with Add.

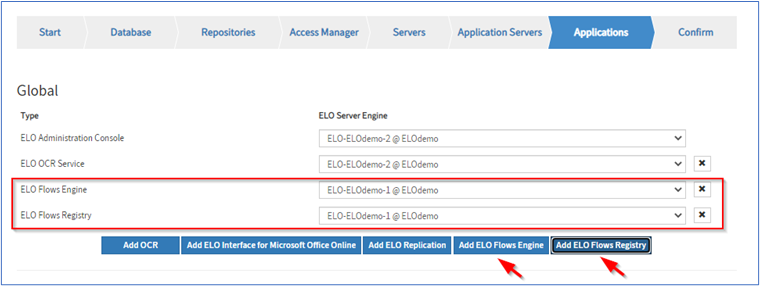
On the Applications page, add the two ELO Flows server applications ELO Flows Engine and ELO Flows Registry.
Finish the ELO Server Setup.
# Manager authentication
After installation, the flow administration area can be opened in the ELO Administration Console.
Alternatively, you can open it directly via a URL structured as follows:
http://<HOSTNAME>:<PORT>/ix-<REPOSITORYNAME>/plugin/de.elo.ix.plugin.proxy/flows/
# Updating ELO Flows
Use the ELO Server Setup to update ELO Flows. This ensures that any dependencies within ELO ECM Suite are changed during the update.
For detailed information on updating individual applications with the ELO Sever Setup, refer to ELO server ‒ Installation and operation > Update and migration > Update (opens new window).
# Installing new flow components
To provide new or custom flow components in the flow administration area, roll out the JAR file in the flow worker (Apache Karaf). It can either be deployed via the deploy directory of the flow worker or, in the cloud context especially, via the repository in the ELO client.
For more information on this process, refer to Components > What are components in the context of flows? > Install new or custom components