# Edit and manage templates
Every workflow template can be subsequently edited. For example, you can add, move, or delete nodes. Furthermore, the workflow designer offers you the option to add and manage versions of workflow templates.
Information
If the Start workflow in edit mode option is selected, you can still edit workflow templates when the workflow has started. You can find the option under Ribbon > <Name of the ELO account used> > Configuration > Advanced settings > Workflow.
You can edit workflow templates via the Workflow designer dialog box. For most editing actions, you need to first enable edit mode.
# Edit mode
Open the workflow designer via Ribbon > Organize > System > Workflow designer.
The Workflow designer dialog box opens. All existing workflows are listed under Templates.
Select the workflow template you want to edit.
The Edit workflow template button is enabled.
Select Edit workflow templates.
The toolbar for editing the workflow template appears.
# Move nodes
Nodes can be moved once you have selected a template and enabled edit mode. Use the default mouse pointer (white arrow icon) to do so.
Optional: If required, activate the default mouse pointer via the Select button (default mouse pointer) on the toolbar.
Select the node that you want to move and drag it by holding down the left mouse button.
Information
Existing connections are retained.
# Delete nodes and connections
Nodes and connections can be deleted once you have selected a template and enabled edit mode.
Select Delete (eraser icon) on the toolbar.
The cursor turns into an eraser icon.
Select the element (node or connection) you want to delete.
The selected element is deleted without showing a confirmation request.
Information
The start node cannot be deleted.
# Rename workflow
A workflow template can be renamed as follows if you have selected a template and enabled edit mode:
Double-click the name of the respective template in the Templates column.

The Rename template dialog box opens.
Change the name of the template.
Select OK.
The new name of the template appears in the Templates column.
# Copy template
Workflow templates can be copied as follows:
Select the template that you want to copy in the Templates column.

Select Copy.

The Create a copy of the template dialog box opens.
Enter a name for the copy of the template.
Select OK.
The copied template appears in the Templates column.
# Versions

Once you have selected a workflow template and enabled edit mode, you open the Versions of the workflow template dialog box via Versions.
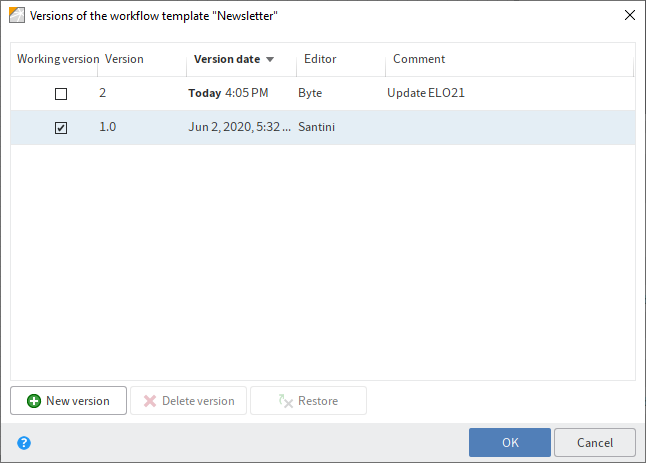
In this dialog box, you have the following options:
Working version: The working version is the version that has the check box enabled in the Working version column. If you select the check box of another version, this version becomes the working version.
Version date: You see when which version was created in the Version date column.
Editor: You see who created the respective version in the Editor column.
Comment: Any version comments are listed in the Comment column. Double-click a comment to edit it.
New version: New version allows you to save the current state of the workflow template as a new version.
Delete version: Delete version allows you to assign a deletion marker (highlighted red) to the selected versions. The version can be deleted permanently via Ribbon > Organize > System > Delete permanently.
Restore: Restore allows you to remove the deletion marker from the selected version.
# Permissions

Once you have selected a workflow template and enabled edit mode, open the Template permissions dialog box via Permissions.
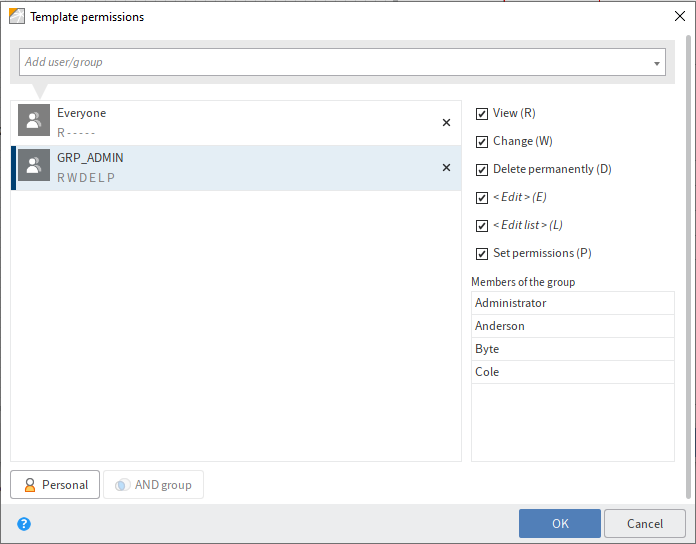
In the Template permissions dialog box, you specify the access rights to the workflow template.
# Load template
Use the Load function to import workflow templates. Workflow templates must always have the extension EWF.

Select Load.
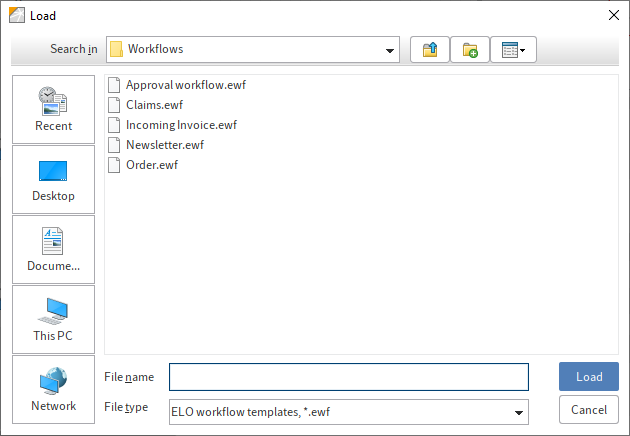
The Load dialog box opens.
Optional: If required, navigate to the location where the template is saved.
Select the desired template.
Select Load.
The selected workflow template appears in the workflow designer.
# Save template
Use the Save function to export the selected workflow template as an EWF file.
Information
To save the current status of a workflow template in ELO, create a new version or select Apply.
Select a workflow template in the Templates column.

Select Save.
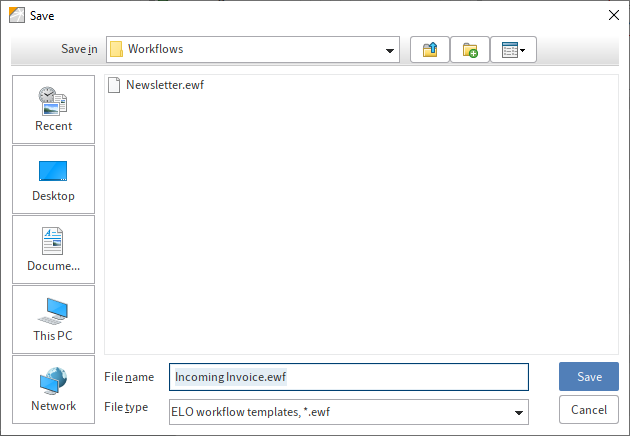
The Save dialog box opens.
Optional: If required, select another storage location.
Enter a name for the workflow template.
Select Save.
The workflow template is saved externally.
# PDF output
The PDF output function creates an overview of the selected workflow template as a PDF file.
Select a workflow template in the Templates column.

Select PDF output.
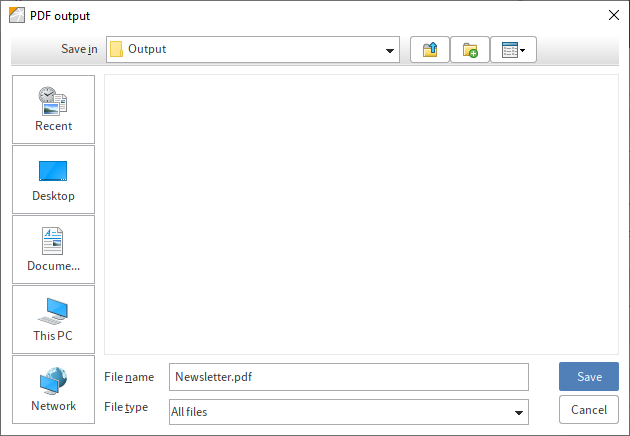
The PDF output dialog box opens.
Select the location where you want to save the PDF file.
Optional: You can change the name of the file.
Select Save.
ELO creates a PDF file from the selected workflow template.
# Delete template
Remove a workflow template from ELO as follows:
Select the workflow template that you want to delete in the Templates column.

Select Delete.
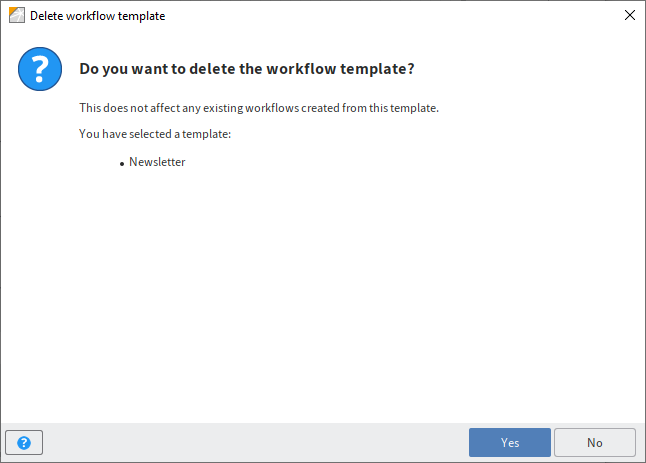
A confirmation prompt appears.
Click Yes to confirm the delete action.
The workflow template will be deleted and no longer appears in the Templates column.