# Create view for aspect
For the aspect to be shown in the client, you have to define at least one view.
You can also create multiple views for one aspect. This makes it easier to use an aspect in multiple metadata forms, including variants when displaying them.
# General approach
Select the aspect you want to edit.
The configuration area for the aspect opens.

Select Create view.

The form designer (gen. 2) opens. The Create view dialog box is open.
Enter a name in the Label field.
Select a type via the radio buttons.
The following types are available:
- Normal: Default view
- List: View as list/table.
Please note
The view for the aspect must be created with the List type if you want to enable the option May be created multiple times for the aspect mapping.
List type views require a Normal type view. Create this view first before creating a List type view.
Select OK.
This closes the dialog box. You are now in the form designer (gen. 2).
You will find more information about the elements and functions of the form designer under Forms (gen. 2)
Edit the settings for the selected type.
Each type has different settings. Refer to the following sections for more information.

Select Save.
The view is saved and is now available.
# 'Normal' type
Note the following steps and information for the Normal type.
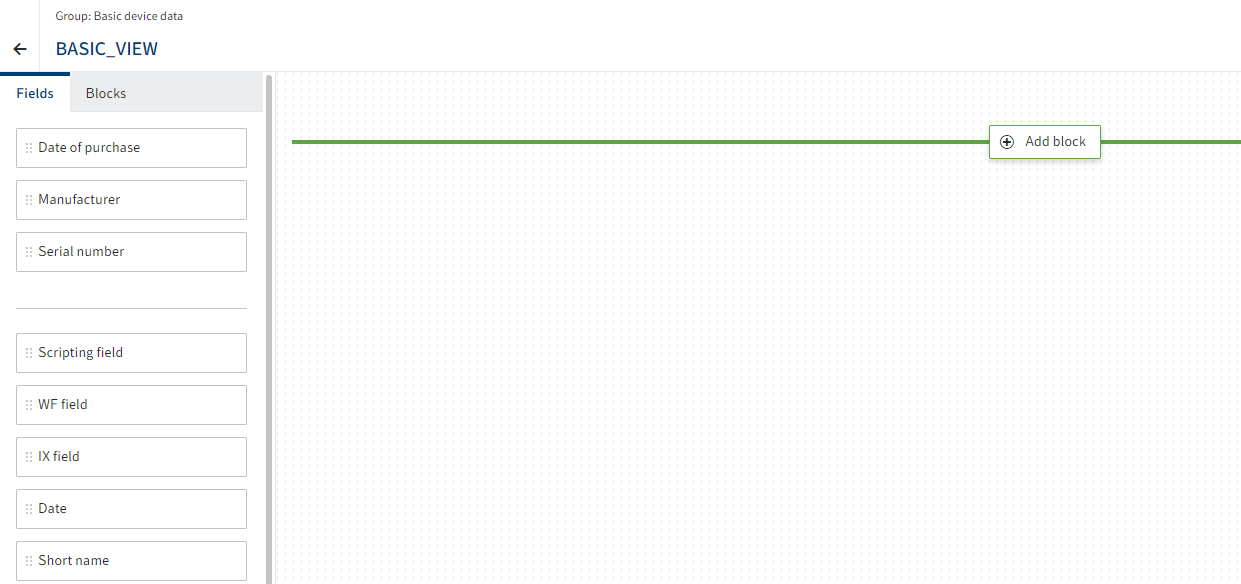
Drag a field to the layout area using drag-and-drop.
Repeat the process until you have placed all the desired fields.
Optional: Edit additional field settings under Properties.
Depending on the data type, you will have different setting options here and can set a minimum number of characters or configure field content validation via regular expressions, for example.
For more information on the field properties, refer to Forms > Field properties.
# 'List' type
Note the following steps and information for the List type.
Please note
List type views require a Normal type view. Create this view first before creating a List type view.
The List type is broken down into sub-types based on the following components:
- Table
- List
The following sections discuss the particularities of the components.
# 'Table' component
For views with the Table component, the selected fields are shown as columns in a table. One line is added per aspect entry.
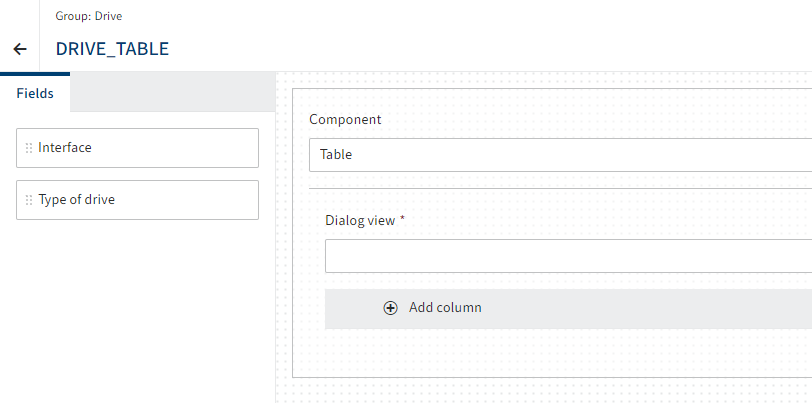
The Table component is selected by default.
Via the Dialog view drop-down menu, select a Normal type view that will be shown in the dialog box when editing the table.
Select Add column.
A column is added to the table. The Properties area opens.
Optional 1: With the Fixed width (in px) property, you can assign the column a fixed size as needed.
Drag a field to the column using drag-and-drop.
Optional 2: Repeat the steps above for additional fields as needed.
Optional 3: Edit additional field settings under Properties.
Depending on the data type, you will have different setting options here and can set a minimum number of characters or configure field content validation via regular expressions, for example.
For more information on the field properties, refer to Forms > Field properties.
Select Save.
The view is saved and is now available.
# 'List' component
For views with the List component, the fields are shown as is configured in the selected Normal type view. Buttons for adding to and editing the list appear when completing the aspect. The aspect can therefore be used for multiple entries.
In the Component drop-down menu, select the entry List.
In the View drop-down menu, select a Normal type view.
Select Save.
The view is saved and is now available.
# Close the form designer
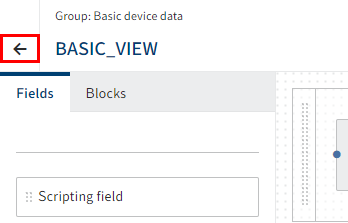
Close the form designer via the arrow icon.
Once you have defined the necessary aspects and views, you can create metadata forms.