# Create tabs
A form can be divided into tabs for a clearer structure. Follow the steps below.
Information
This function is currently only available for metadata form views.
# Create first tab
Open the metadata form view you want to edit.
Select the Blocks tab.

On the Blocks tab, you will see the Tabs element.
Drag the Tabs element to the layout area and place it above the existing aspect mappings.
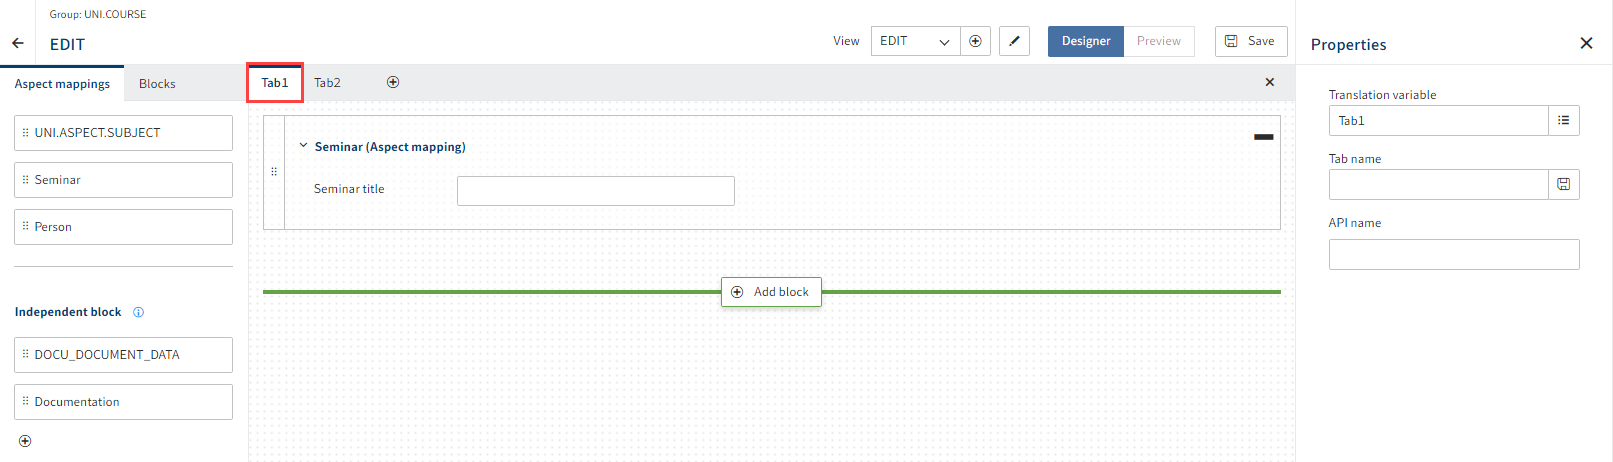
The tab is shown.
Option 1: Change the name of the tab under Properties > Tab name.
Option 2: Enter something under Properties > API name.
Select Save.
The first tab is created.
# Add tabs
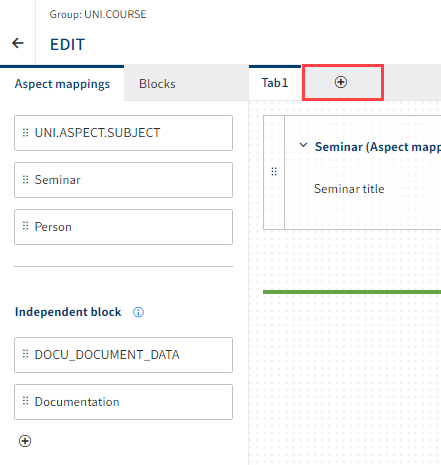
Add a new tab with the plus icon.
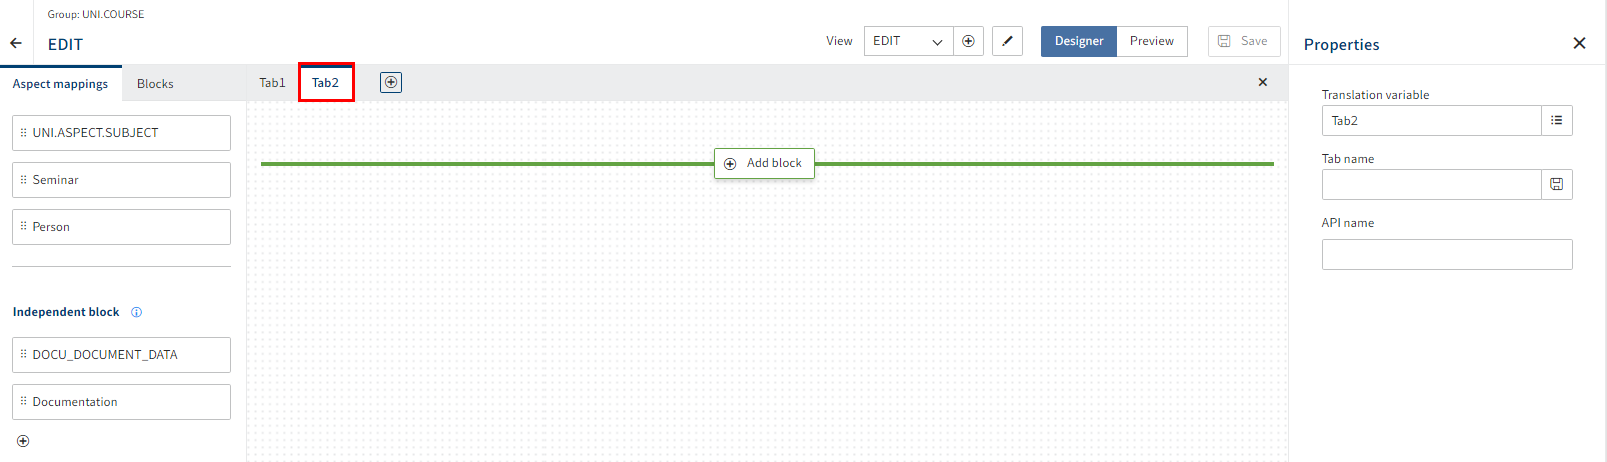
The tab is shown.
Option 1: Change the name of the tab under Properties > Tab name.
Option 2: Enter something under Properties > API name.
Option 3: Repeat the steps above until you have created all the tabs you want.
Select Save.
Multiple tabs have been created.
# Placing aspect mappings
Drag an aspect mapping to the desired tab and drop it.
You can drag the aspect mappings to the respective tab in the layout area from both the layout area and the Aspect mappings tab.
Optional: Repeat the step for additional aspect mappings as needed.
Select Save.
The created tabs are now filled with aspect mappings.
# Delete tab
Select the tab you want to delete.

Select the X icon in the tab bar.
The tab is deleted.
Select Save to save the changes.