# Basic functions
This chapter explains the basic functions of the ELO app. These include:
- Create new folder
- Add file
- Load new version
- Open document in read-only mode
- Edit document
- Show form
- Send entry
- Create margin note
- Delete entry
For more information on the functions in the Clipboard, Tasks, Search, Offline, Data sets, Feed, and My ELO areas, refer to the separate chapters.
# Create new folder
You can create new child folders in existing folders. You always create a folder in the repository that is connected to the active profile.
Information
You can only add new folders in the Repository work area.
Method
Open the context menu of the folder you want to add a child folder to.
In the context menu (button with three dots), tap New folder.

The New folder dialog box appears.
Tap the Short name field to enter a name for the new folder.
Optional: The Folder metadata form is selected by default. Tap SELECT METADATA FORM to change the metadata form.
Information
If a metadata form contains mandatory fields, your administrator will have to create a form and link it to the metadata form so it can be selected in the ELO app.
Information
You cannot create new metadata forms in the ELO app.
Tap OK to create the new folder.
Result
The New folder dialog box closes. You have created a new folder.
Optional: In the configuration, you can specify whether you want a metadata dialog box to appear when filing. You can find more information in the section Configuration.
# Add file
You can transfer a file from your device to ELO.
To transfer a file to ELO, you can choose between two options:
Requirements
You need an external application to add files. The application, such as a file manager or a gallery app, must support file sharing.
# Add file with the ELO app
Method
Open the context menu for the folder you want to add a file to.
In the context menu (button with three dots), tap Add file.

The Add file dialog box appears.
Tap the document icon at the top right.
The Select file dialog box appears.
Select one of the following options:
- From file system: Opens the Select file: Detected file systems dialog box. Navigate through the folder structure on your device to select a file.
- With another app: Opens an external app you can use to upload files.
- Take a photo: Opens the camera app on your device to take a picture, which can be uploaded.
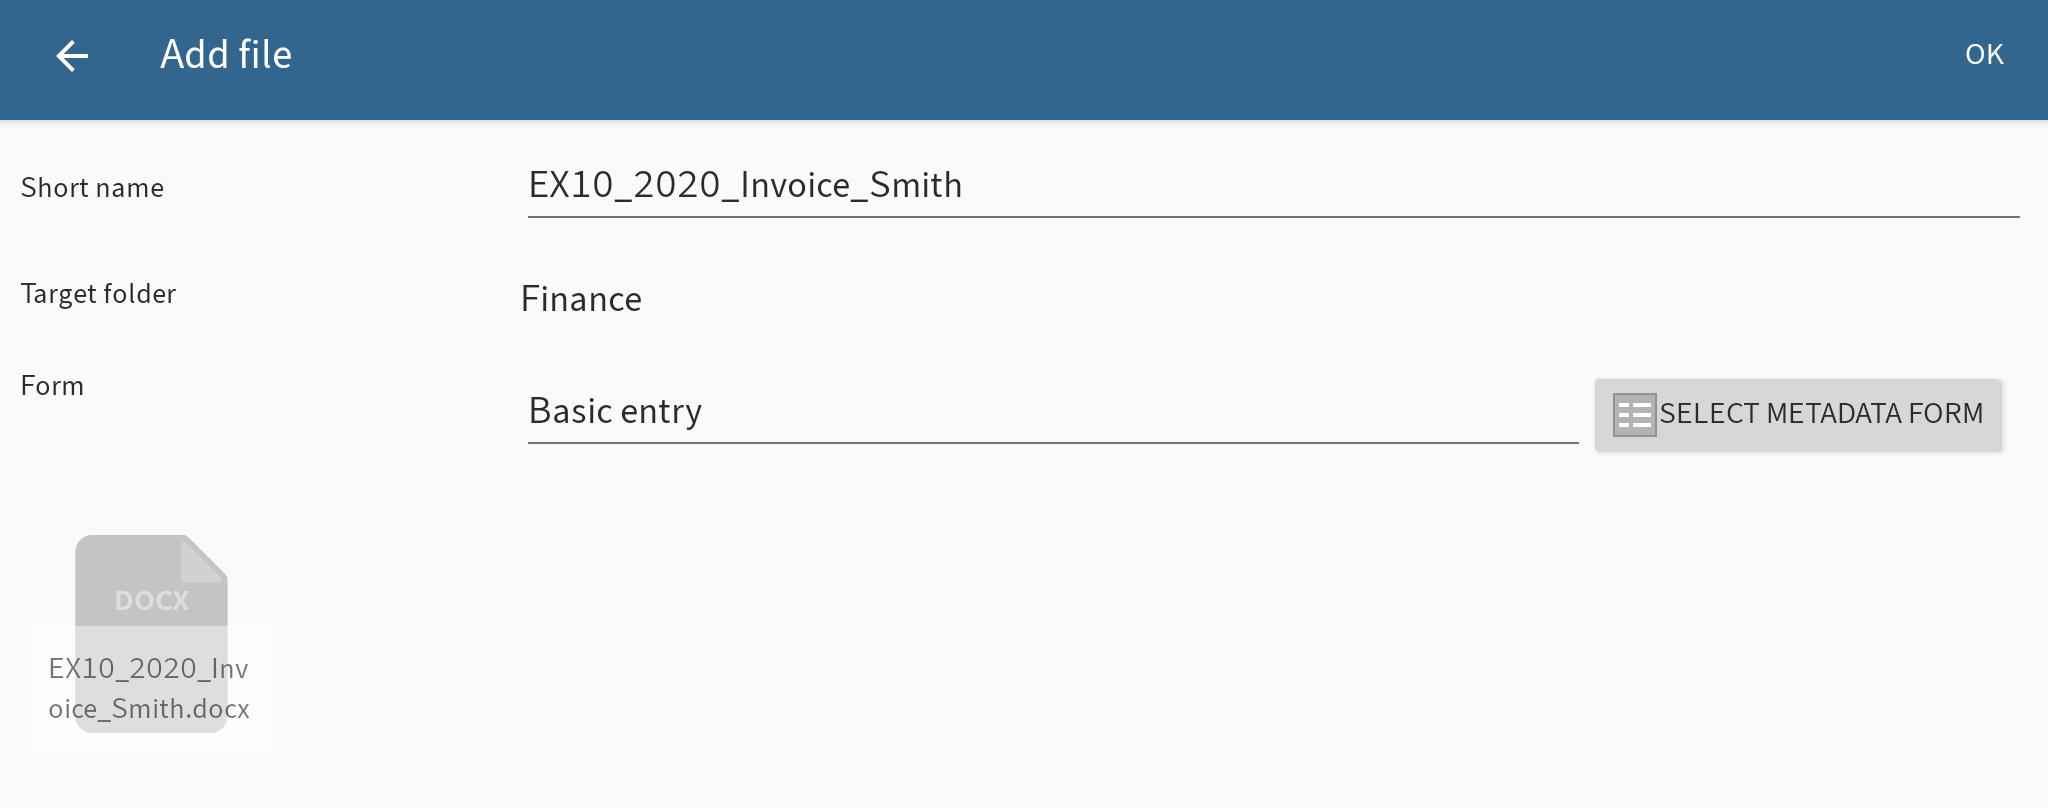
The short name of the file is displayed in the Add file dialog box.
Optional: Tap the Short name field to change the short name.
Tap SELECT METADATA FORM to change the metadata form.
The Select form dialog box opens.
Information
If a metadata form contains mandatory fields, your administrator will have to create a form and link it to the metadata form so it can be selected in the ELO app.
Tap the desired metadata form in the list.
The metadata form is applied. The Select metadata form dialog box closes.
Information
You cannot create new metadata forms in the ELO app.
Tap OK to transfer the file to ELO.
Result
The Add file dialog box closes. This takes you to the filing location of the new file in ELO.
Optional: In the configuration, you can specify whether you want a metadata dialog box to appear when filing. You can find more information in the section Configuration.
# Add file with an external app
You can also transfer files to ELO from external apps.
Method
To transfer a file from an external app to ELO, use the Share function in the respective app.
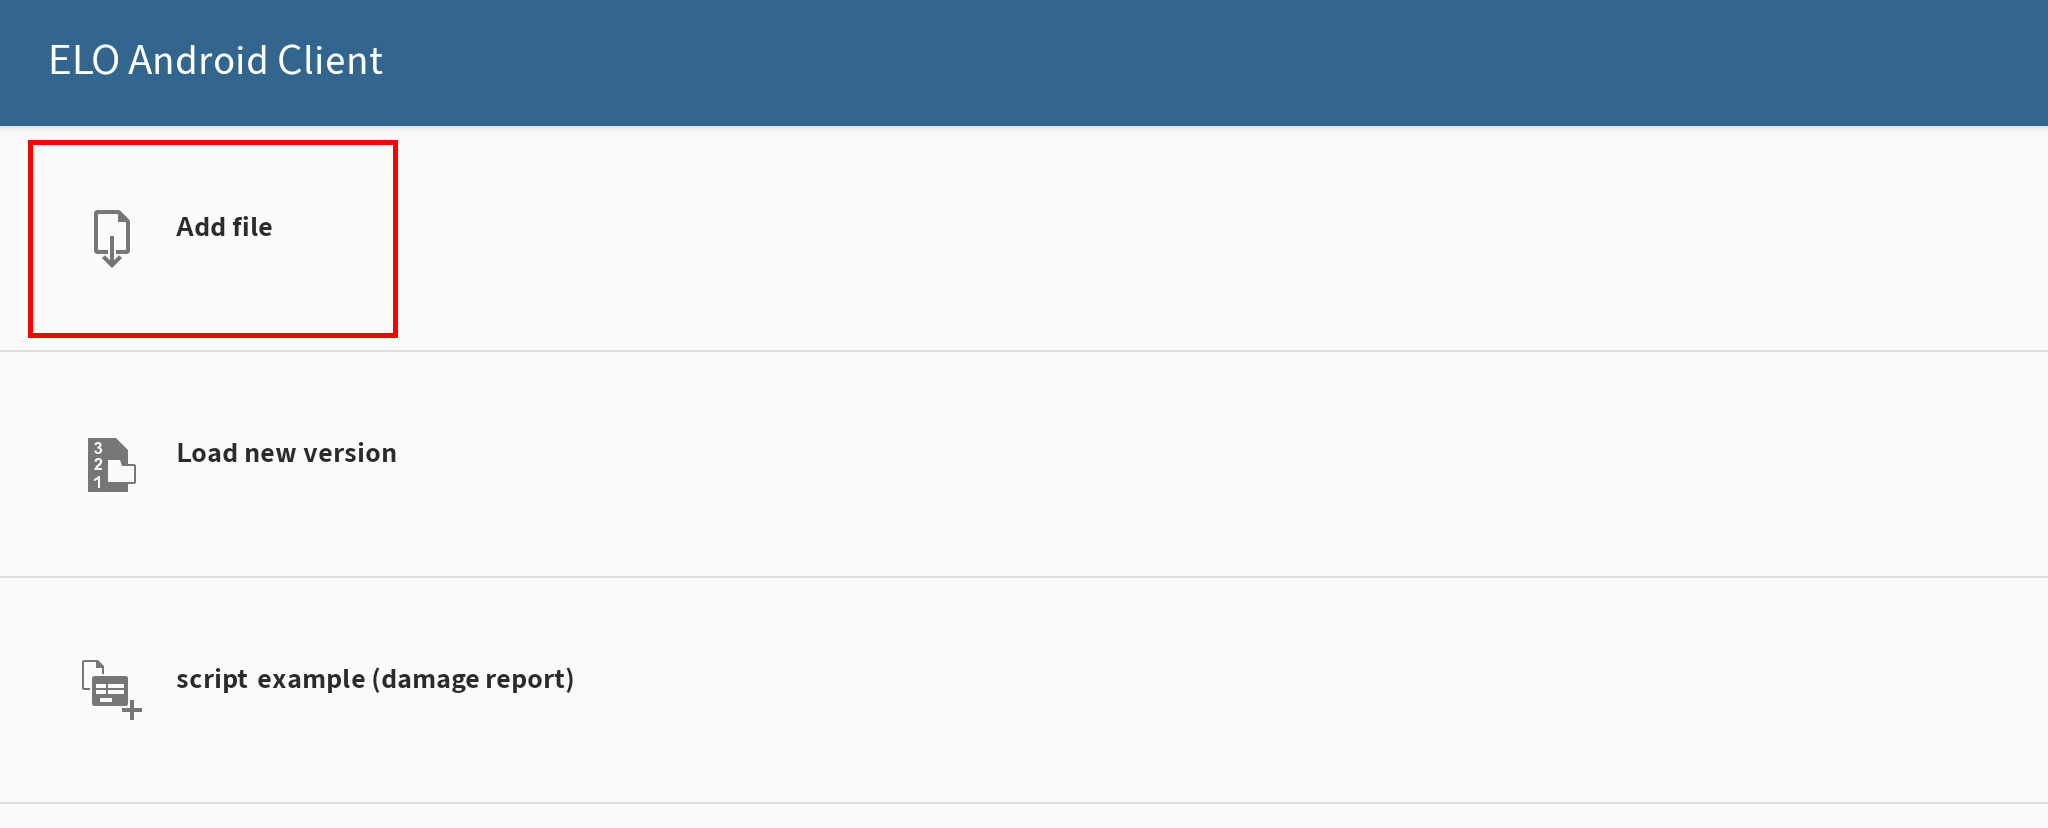
A dialog box for transferring files appears.
Select the option Add file.
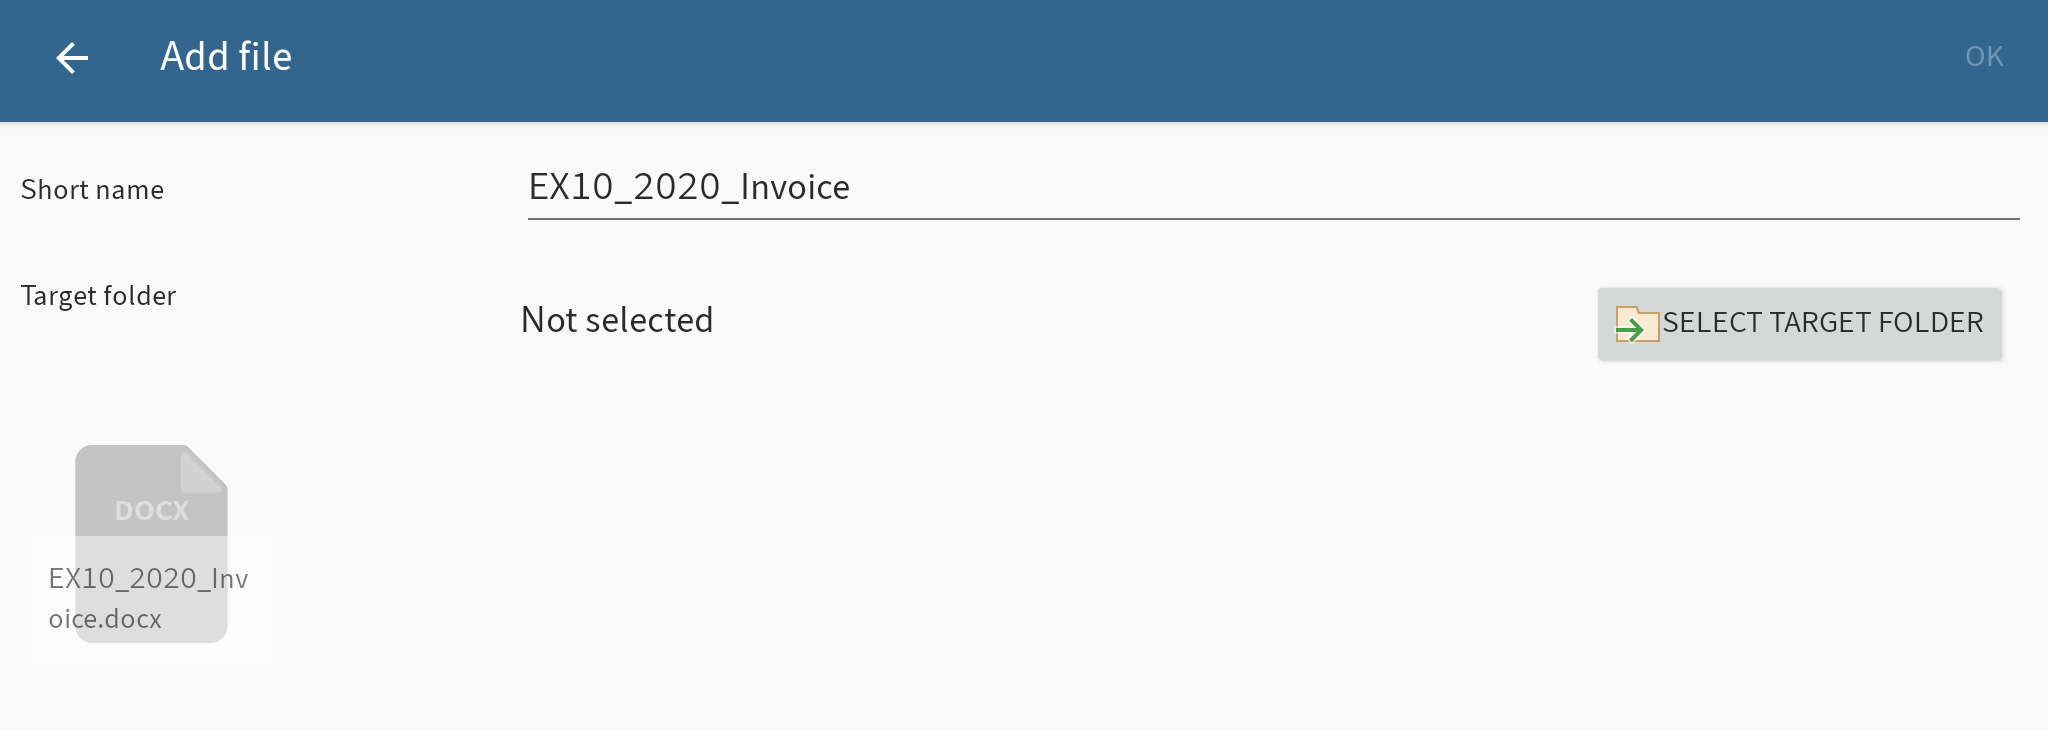
The Add file dialog box appears. The file name is entered into the Short name field.
Optional: Tap the Short name field to change the short name.
To set the filing location for the file, tap SELECT TARGET FOLDER.
The Select target folder: dialog box appears.
Navigate to the folder you want to upload the file to.
The HISTORY tab contains the target folders you have previously selected.
Confirm your selection with OK.
Your selection is applied. The Select target folder: dialog box closes.
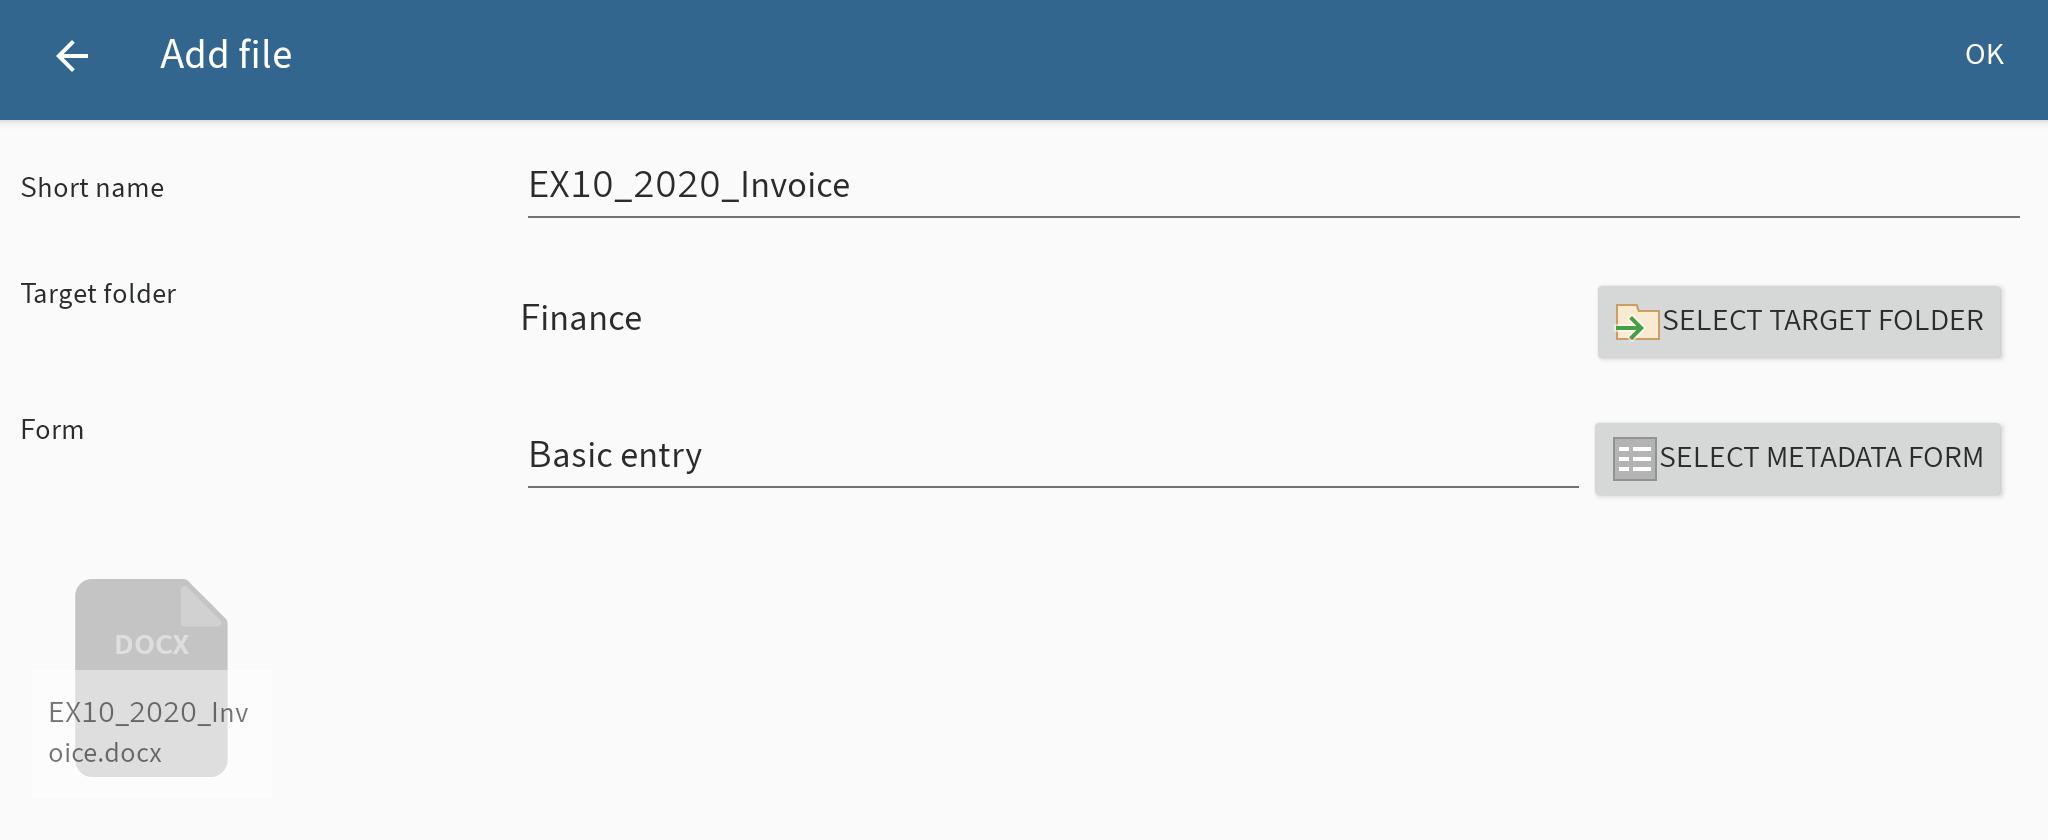
To set a metadata form for the file, tap SELECT METADATA FORM.
The Select metadata form dialog box opens.
Information
If a metadata form contains mandatory fields, your administrator will have to create a form and link it to the metadata form so it can be selected in the ELO app.
Tap the desired metadata form in the list.
The metadata form is applied. The Select metadata form dialog box closes.
Information
You cannot create new metadata forms in the ELO app.
Tap OK to add the file.
Result
The Add file dialog box closes. The file has been added. You return to the external application.
Optional: In the configuration, you can specify whether you want a metadata dialog box to appear when filing. You can find more information in the section Configuration.
# Load new version
You can load a new version of your documents to document changes to files.
To load a new version, you can choose between two options:
# Load new version with the ELO app
Method
Open the context menu for the document you want to load a new version of.
In the context menu (button with three dots), tap Load new version.
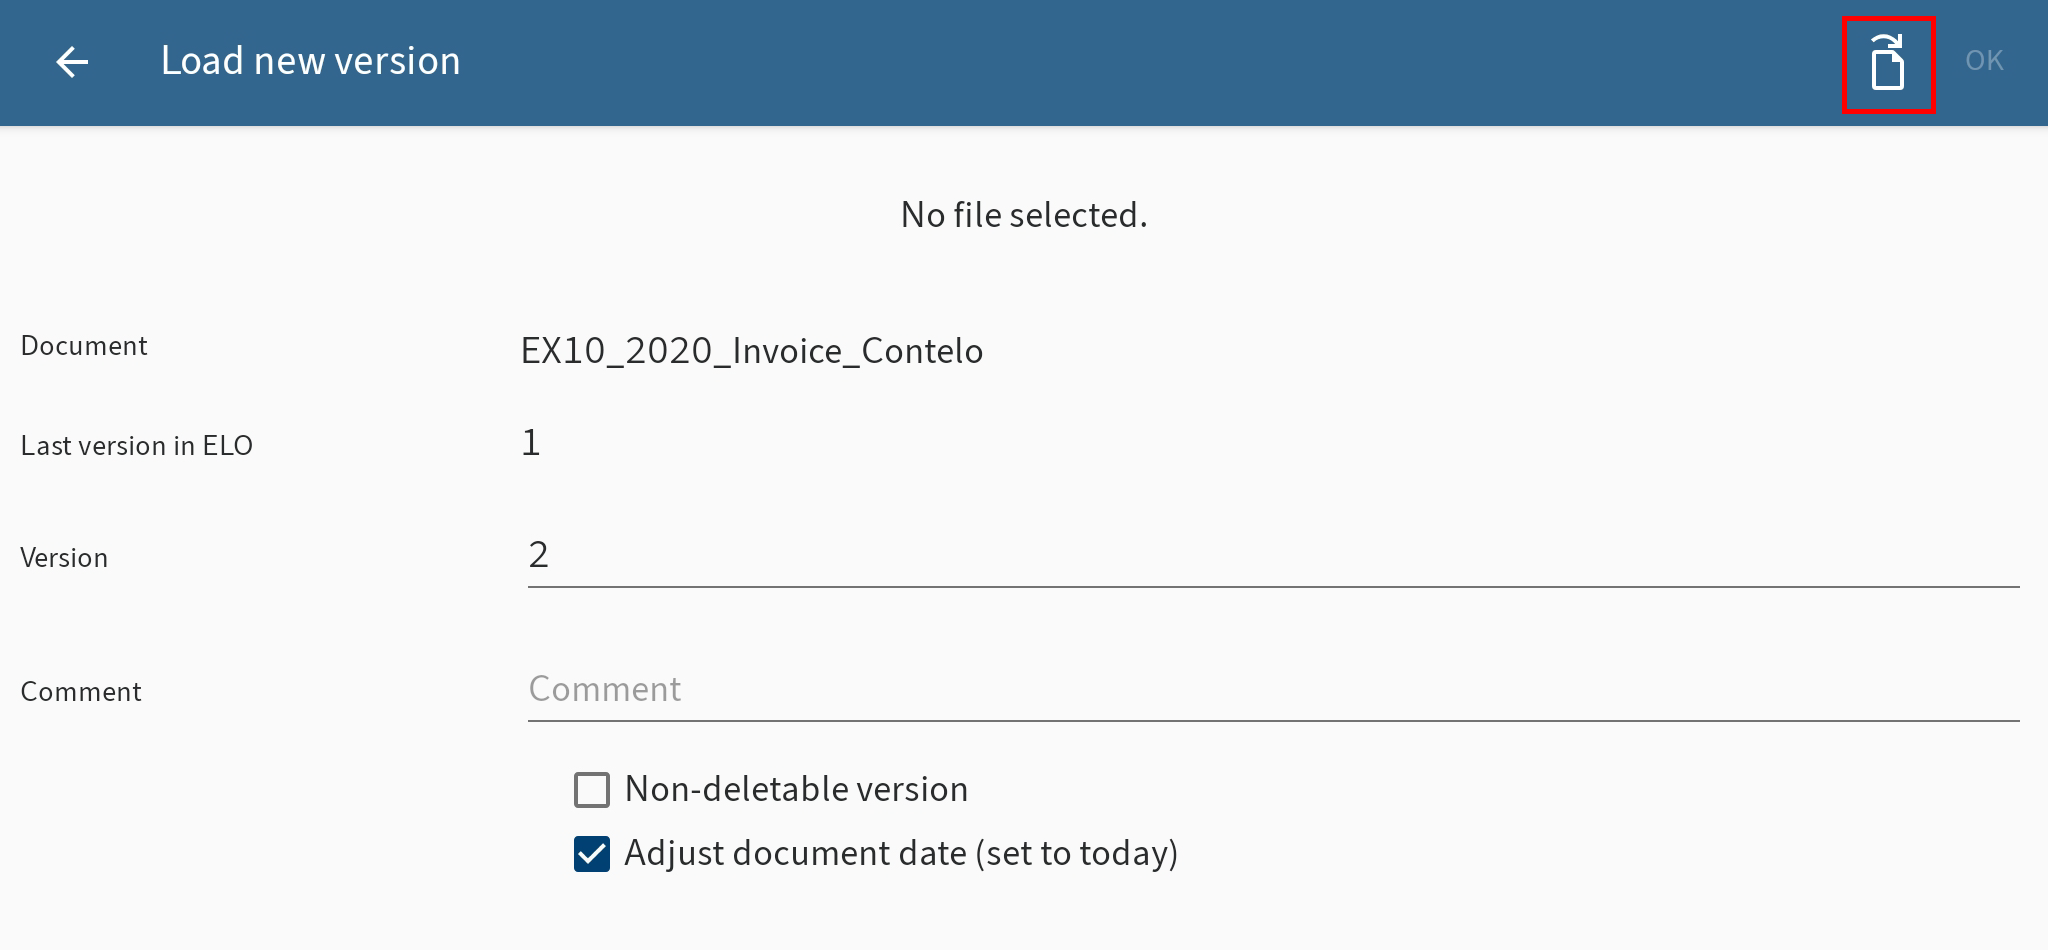
The Load new version dialog box appears.
Tap the document icon in the top right corner.
The Select file dialog box appears.
Select one of the following options to load a new version:
- From file system: Opens the Select file: Detected file systems dialog box. Navigate through the folder structure on your device to select a file.
- With another app: Opens an external app you can use to upload files.
- Take a photo: Opens the camera app on your device to take a picture, which can be uploaded.
The new file is shown in the Load new version dialog box.
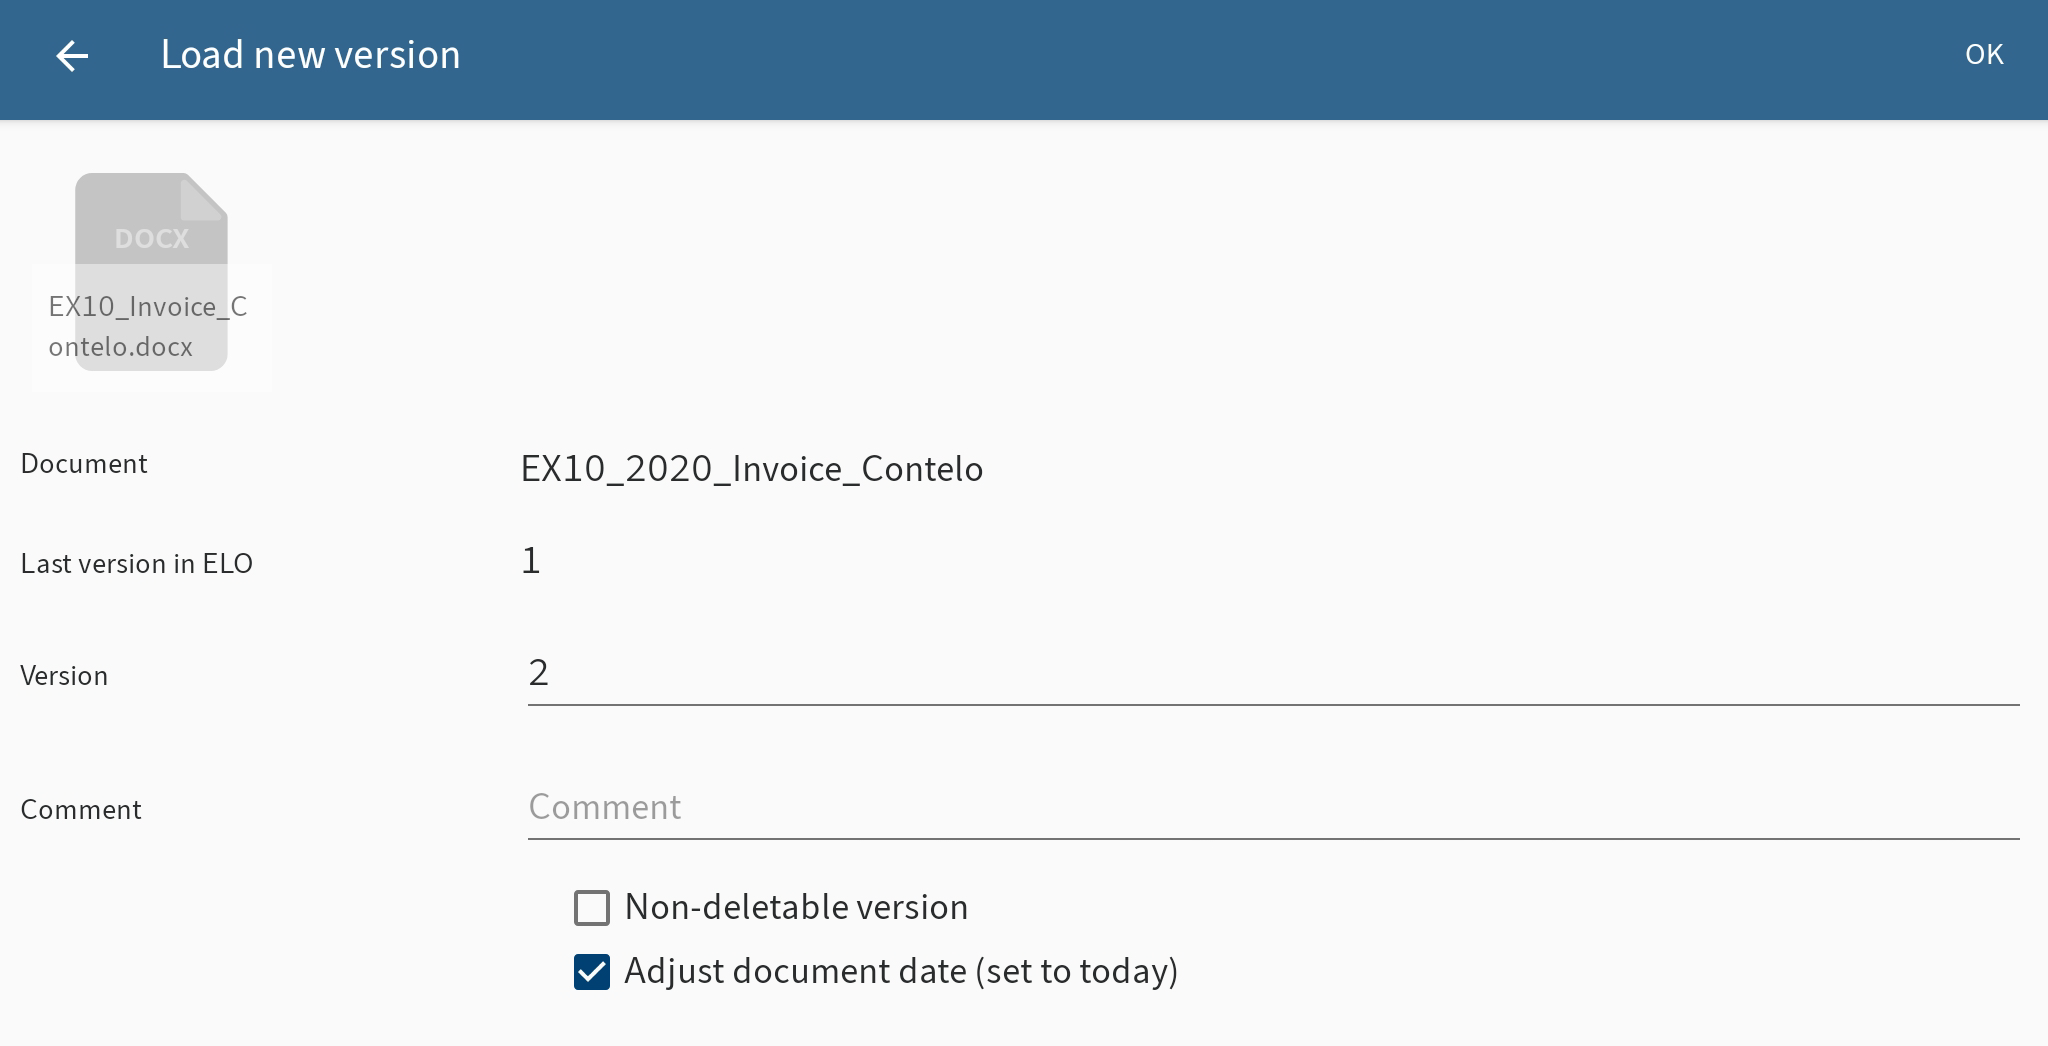
You can make the following changes:
- Version: Change the version number in the Version field.
- Comment: Enter additional information on the version in the Comment field.
- Non-deletable version: Select this option to prevent the version from being deleted from ELO.
- Adjust document date: Enable this option to update the document date.
Tap OK in the top right corner to load the new version.
Result
You have filed the new version of the document. The Load new version dialog box closes.
# Load new version with an external app
You can also transfer files to ELO from external apps.
Method
To transfer a file from an external app to ELO, use the Share function in the respective app.
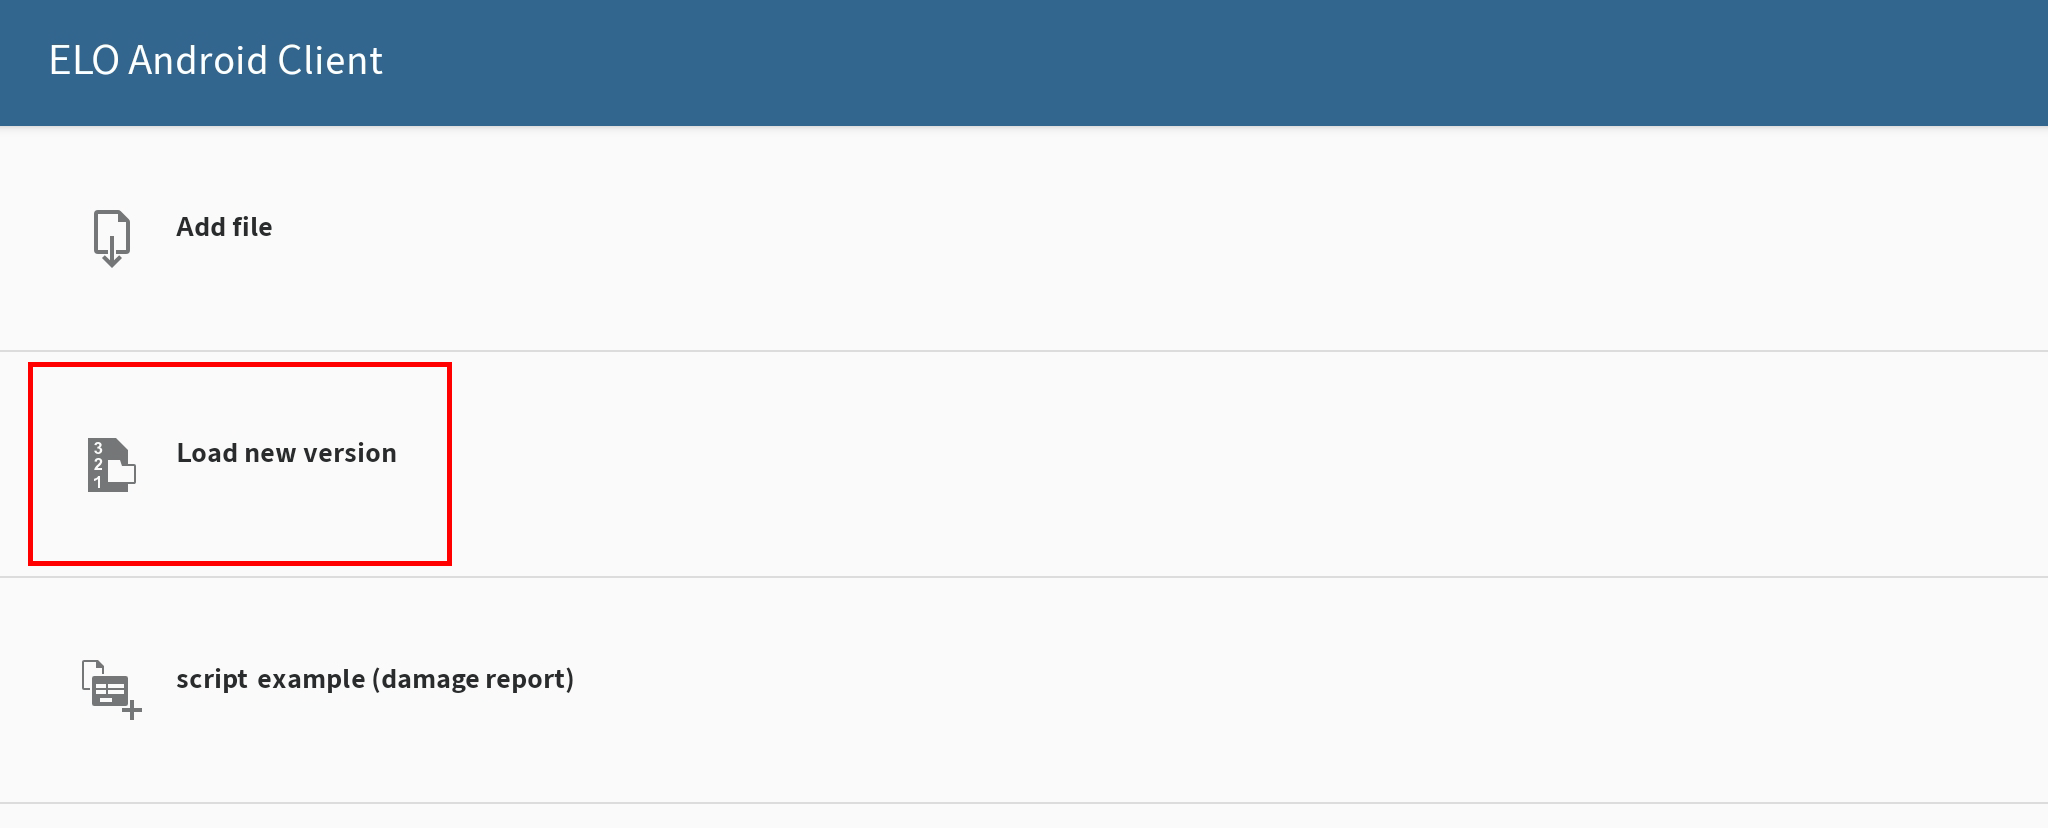
A dialog box for transferring files appears.
Tap the Load new version option.

The Load new version dialog box appears.
To select the document you want to file a new version of in ELO, tap SELECT TARGET DOCUMENT.
The Select document: dialog box appears.
In the folder structure, navigate to the document you want to load a new version of.
The HISTORY tab contains the target folders and documents you have previously selected.
Confirm your selection with OK.
The Select document: dialog box closes. The selected file appears in the Load new version dialog box.
You can make the following changes:
- Version: Change the version number in the Version field.
- Comment: Enter additional information on the version in the Comment field.
- Non-deletable version: Select this option to prevent the version from being deleted from ELO.
- Adjust document date: Enable this option to update the document date.
Tap OK in the top right corner to load the new version.
Result
You have filed the new version of the document. The Load new version dialog box closes.
# Open document in read-only mode
You can open filed documents in read-only mode.
Information
This function is not available in the Data sets work area.
Requirements
You must have an external application installed on your device that can open the selected file type.
Method
Open the context menu of the document that you want to open in read-only mode.
Tap OPEN IN READ-ONLY MODE in the context menu.
Result
The document opens in an external application. If multiple suitable applications are installed on your device, a dialog box appears. Select an application.
Use the Android Back button to return to the ELO app.
# Edit document
With the Edit document function, you can make changes to a document using a third-party application (e. g. text processing app).
Information
Not all third-party applications support this function.
Method
Open the context menu of the document that you want to edit.
In the context menu (button with three dots), tap Edit document.
The document opens in an external app. If several apps are available, choose the app you want to use to edit the document.
Once the document is open in an external app, it is checked out of ELO and locked for other people.
Make the desired changes to the document.
To finish editing, save your changes in the external app.
Close the external app to return to the ELO app.
Result
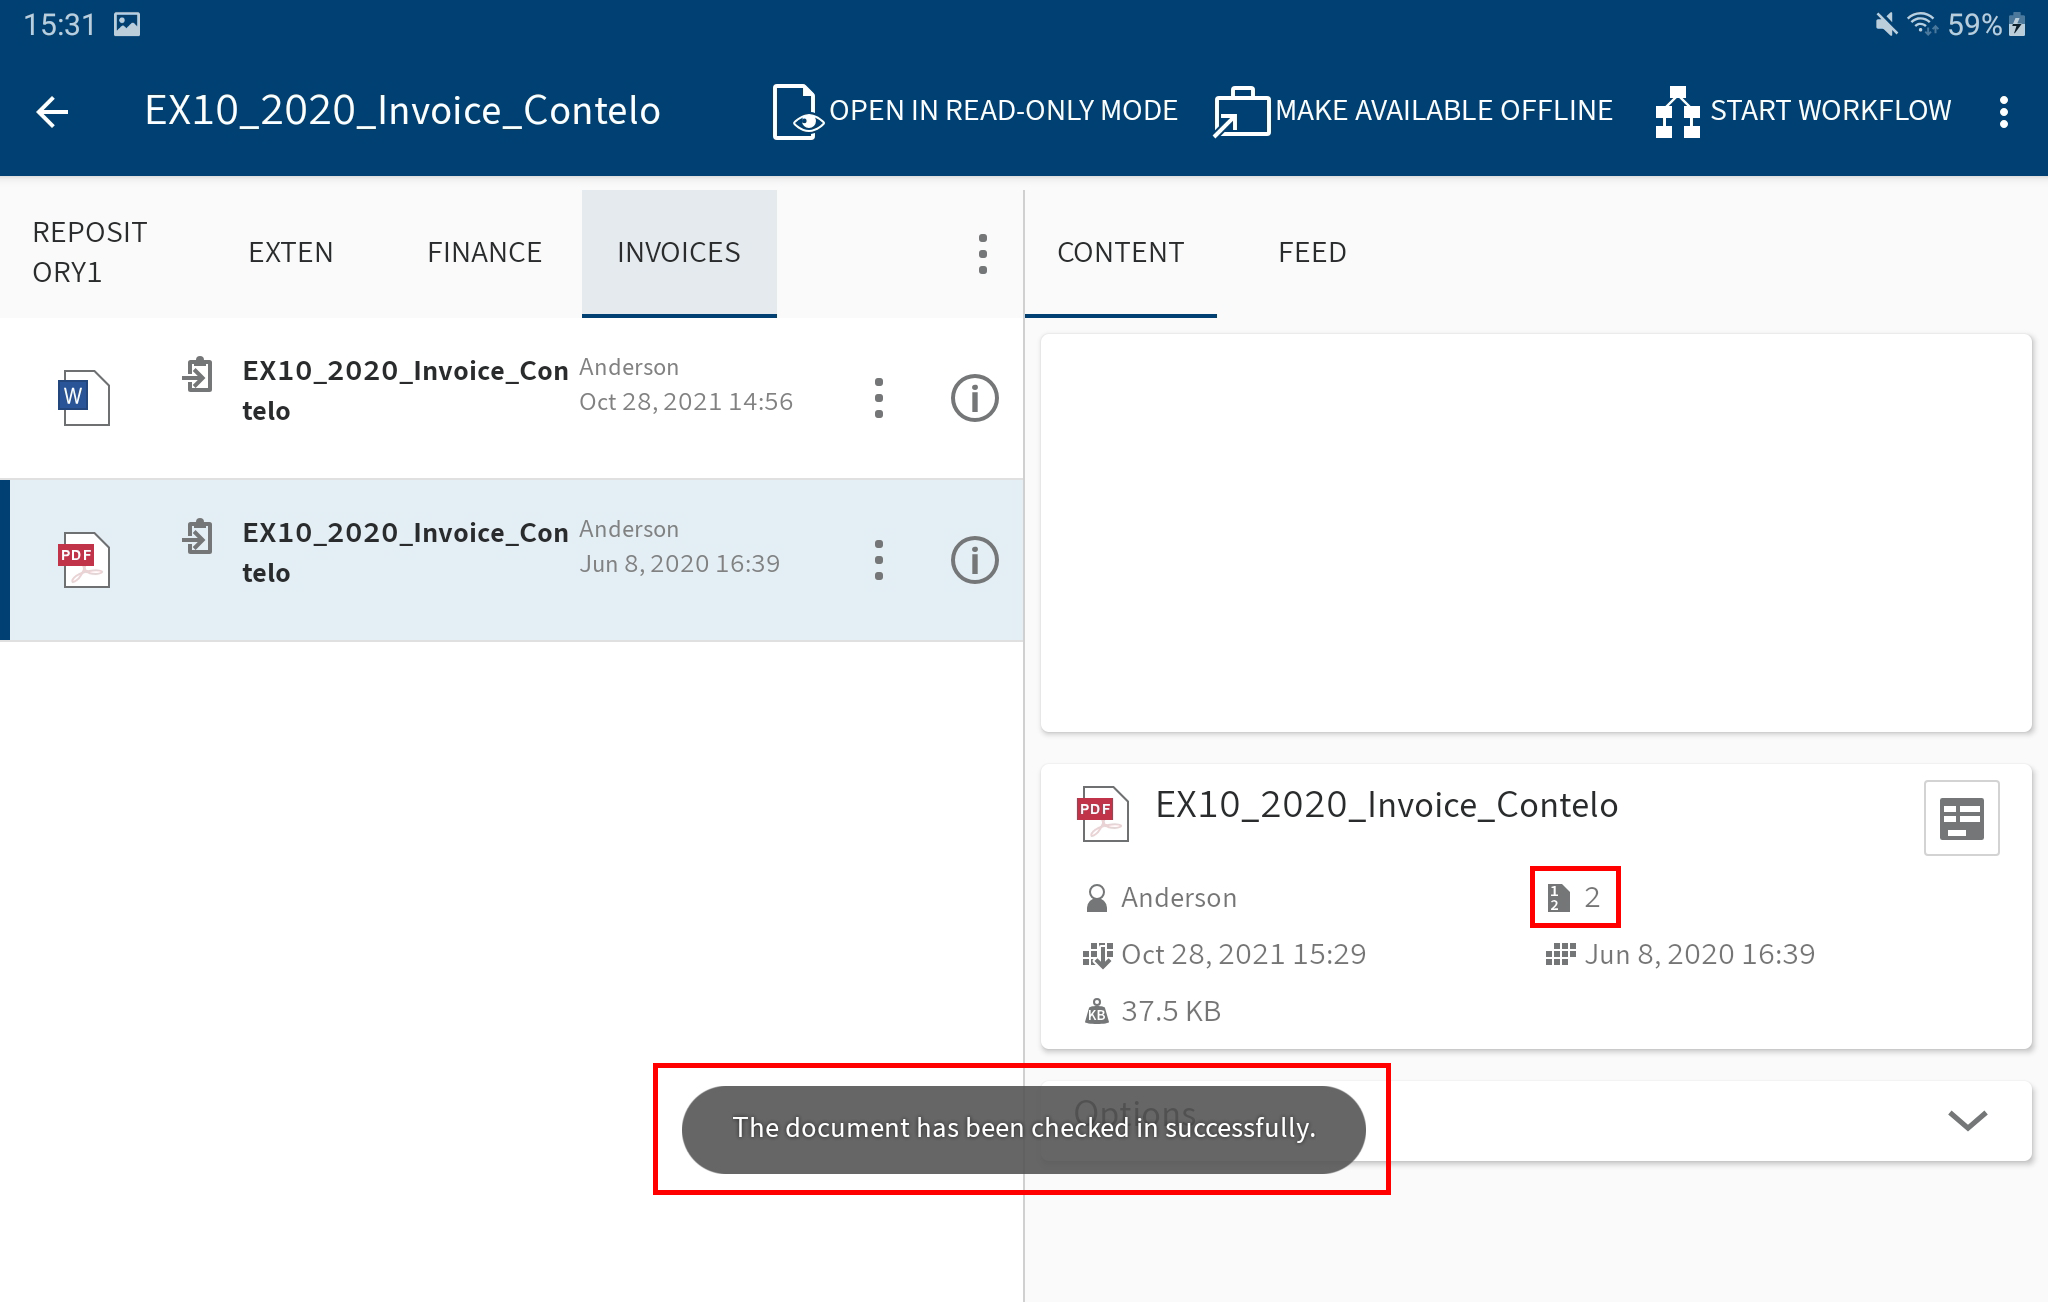
The document is automatically checked back into ELO once you have saved your changes in the external app and closed it. The document is unlocked for other people. A new version of the document is filed.
# Show form
To view or edit the metadata for an entry, use the Show form function.
Requirements
Your administrator must have linked a form to the metadata form and defined it as a preview form. For more information, refer to the ELO Java Client Workflow manual.
Information
If a preview form has not been assigned to the metadata form, the ELO app loads a default form with the fields Short name, Document date, and Extra text.
Method
Select an entry and open the detailed view.
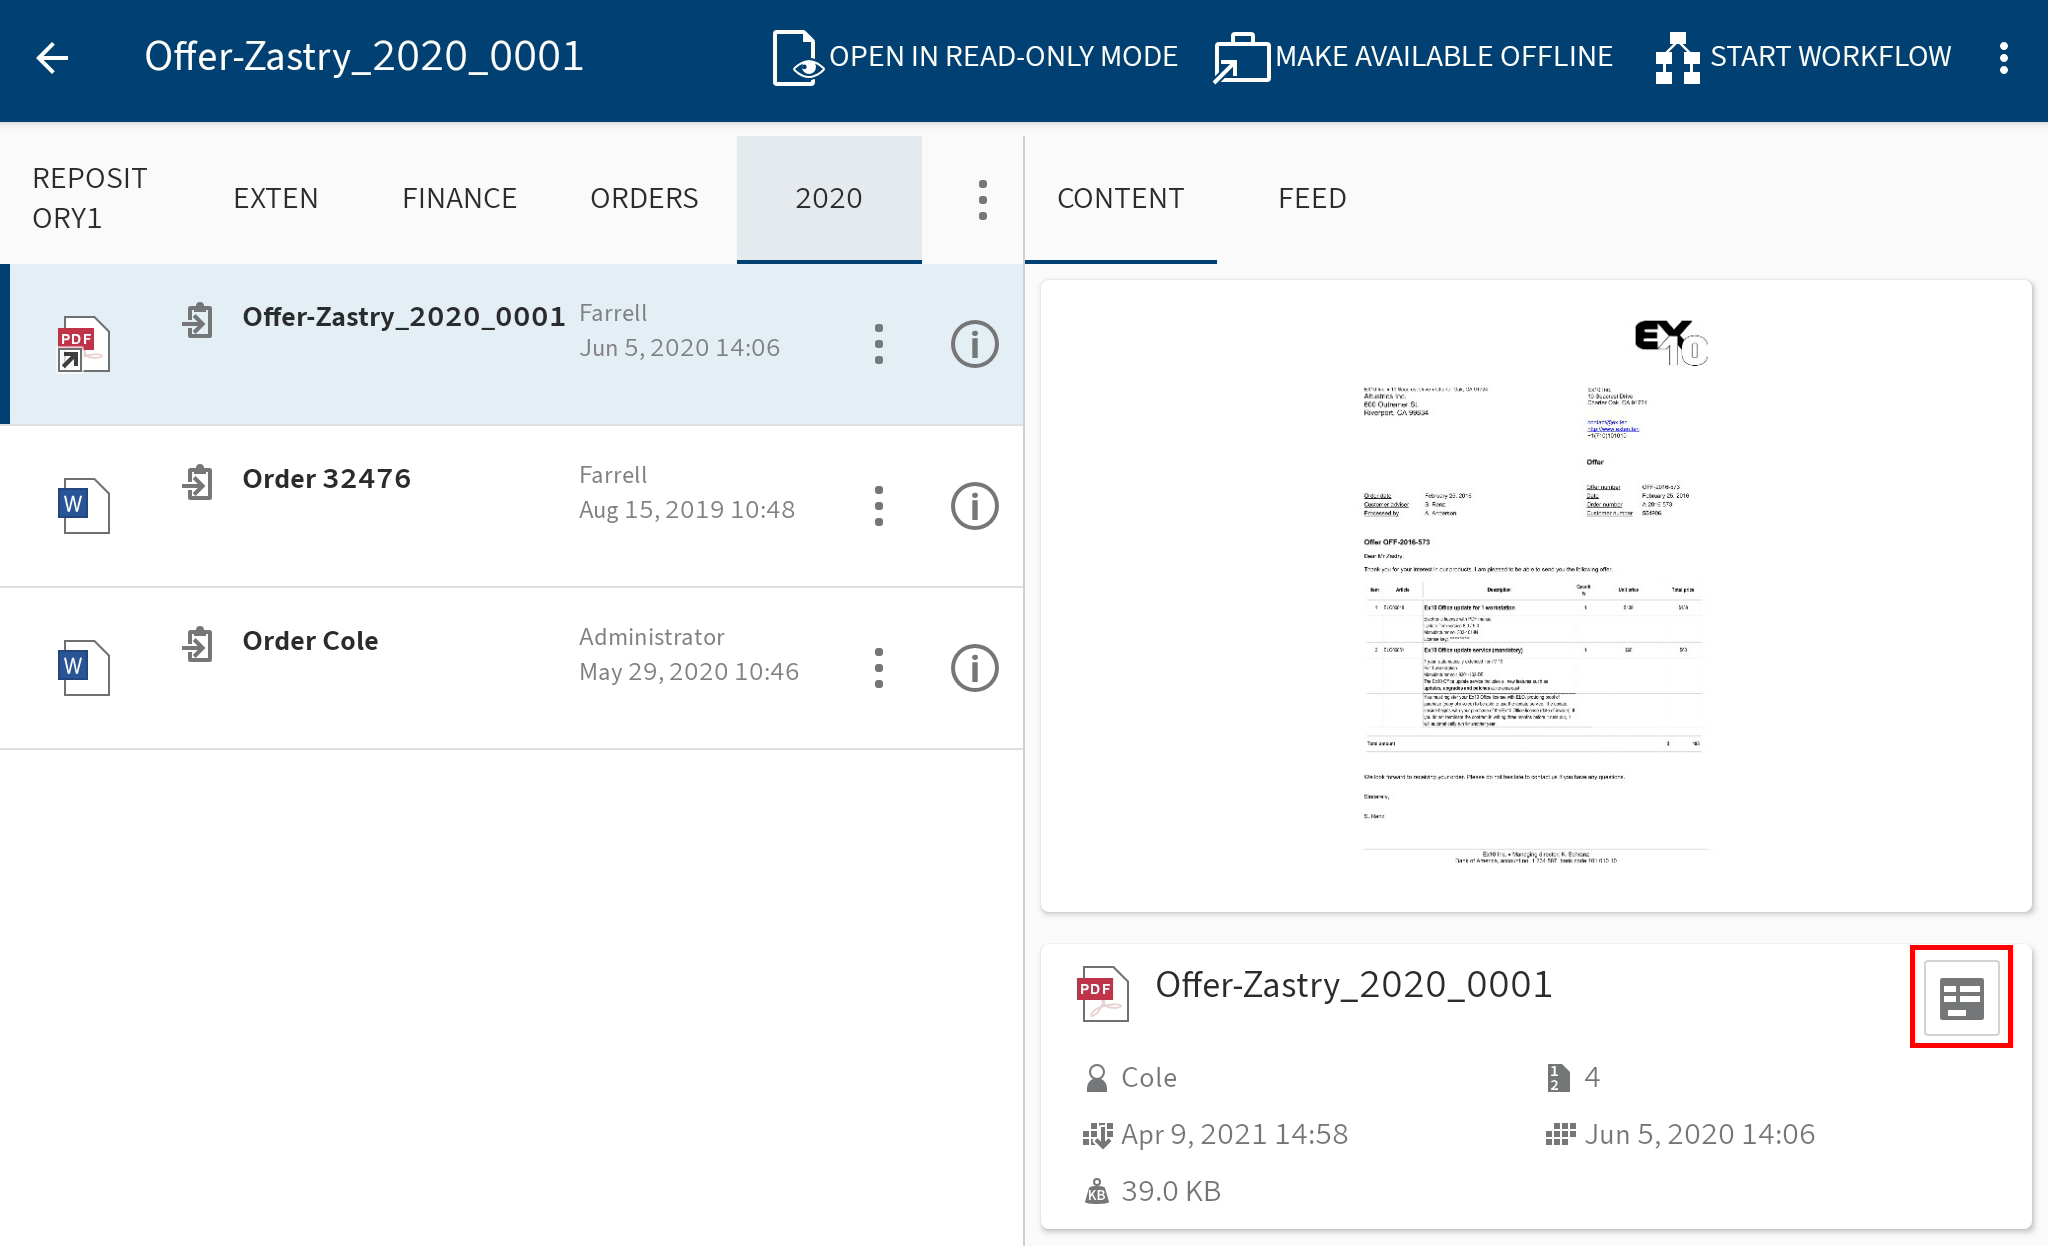
Tap the form icon on the CONTENT tab.
Alternative: You can also access the Show form function from the context menu (button with three dots).
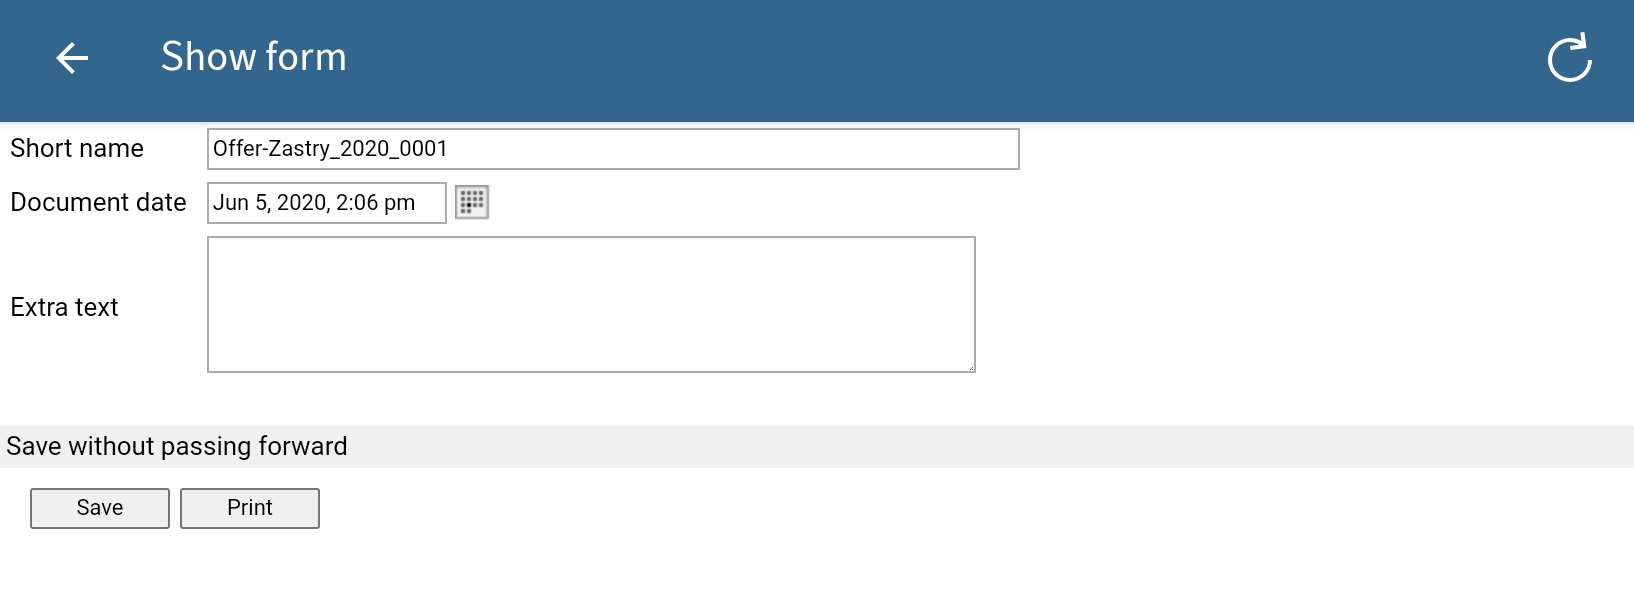
The Show form dialog box appears. The dialog box displays the corresponding form.
Optional: Tap the input fields to edit the metadata. To save your changes, tap Save.
To close the Show form dialog box, tap Back (arrow icon at top left).
Result
The dialog box closes.
# Send entry
You can send entries by e-mail.
Method
Open the context menu for the entry you want to send.
In the context menu (button with three dots), tap Send.
The Send dialog box appears.
Choose from the following options:
- Send as ELO link: This function enables you to send another user a direct link to an entry in the repository.
- Send document: This function allows you to send a document as an e-mail attachment to someone without access to the repository.
Optional: A dialog box appears if multiple suitable applications are installed on your device. Select an application.
The external application starts.
Send the entry as an attachment in the way you normally do in this application.
Result
You have sent an ELO link or a document as an e-mail attachment. The external application closes.
# Create margin note
You can place margin notes on a document or folder. You can create three types of margin notes:
- General margin note (yellow): Visible to every user.
- Personal margin note (green): Only visible to the creator of the margin note.
- Permanent margin note (red): This margin note can be viewed by every user and cannot be deleted.
Information
This function is only available in the Repository work area.
Method
Select an entry and open the context menu.
In the context menu (button with three dots), tap Create margin note.

The Create margin note dialog box appears. General margin note is set as the type by default.
Optional: Tap Personal margin note or Permanent margin note to change the type.
Enter your text for the margin note to the Content field.
Tap OK to save the margin note.
Result
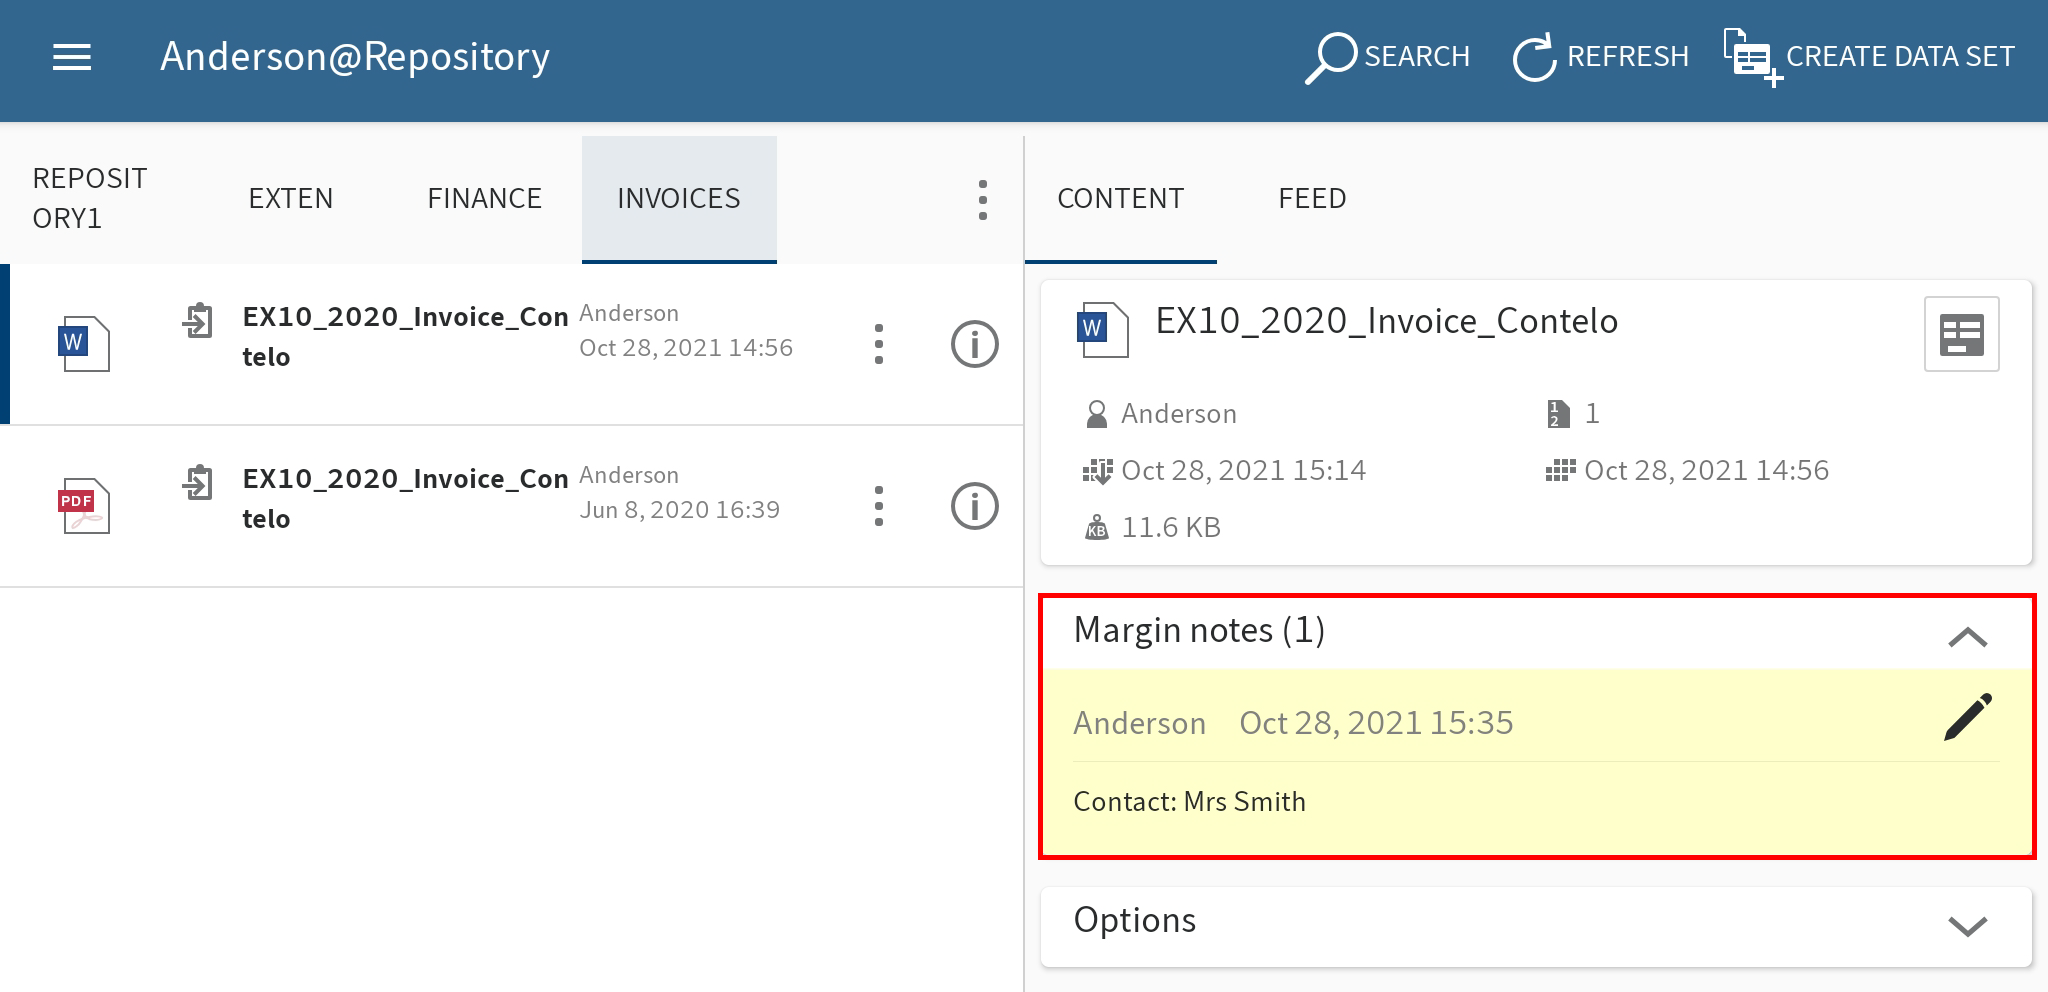
The Create margin note dialog box closes. The margin note you created is in the Margin notes detail area of the viewer pane.
Optional: To edit or delete a general or personal margin note, tap the pen icon in the Margin notes detail area. The Edit margin notes dialog box appears. In this dialog box, you can change the contents and type of margin note, or delete the margin note.
# Delete entry
You can also delete folders and documents that you no longer need.
Important
The entries are not deleted permanently, just marked as deleted. This mark signals the administrator to remove the documents from ELO permanently.
Method
Open the context menu of the entry that you want to delete.
In the context menu (button with three dots), tap Delete.
The Delete entry dialog box appears.
Tap YES to confirm.
Result
You have deleted the entry.