# Create documents for employees
Using ELO HR Personnel File, you can automatically create documents for your employees that are then stored in their personnel files.
This chapter addresses the following functions:
# Add picture
You want to add a picture of your new employee to her personnel file.
Method
Select the personnel file you want add a picture to.
On the ribbon, select HR > Add picture.
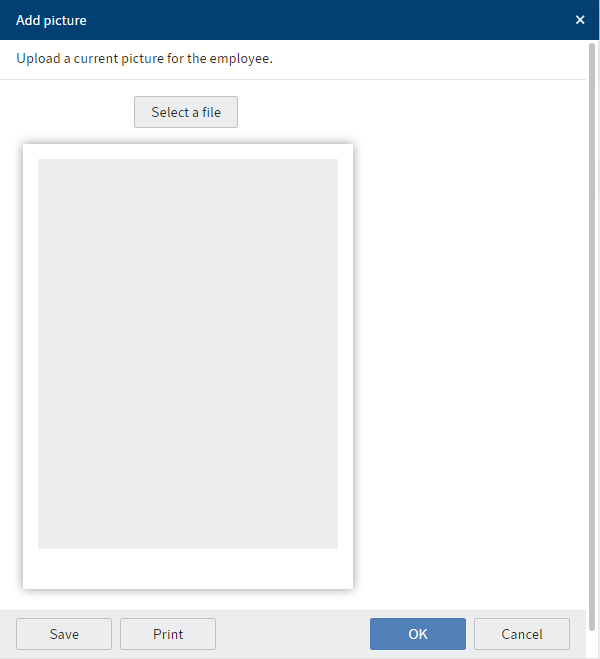
In the Add picture dialog box, you have the following options:
- Take a picture: Using a connected webcam, you can take a picture of the employee on site.
- Select a file: Select a picture from your Windows file system.
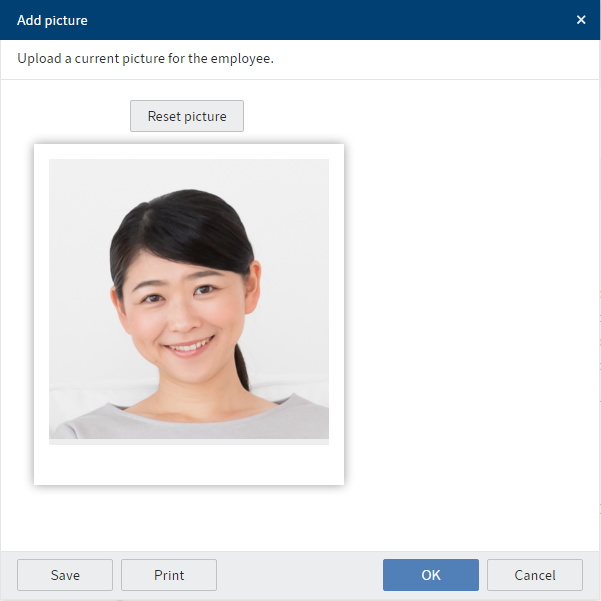
Select OK.
Result
The picture is added to the personnel file.
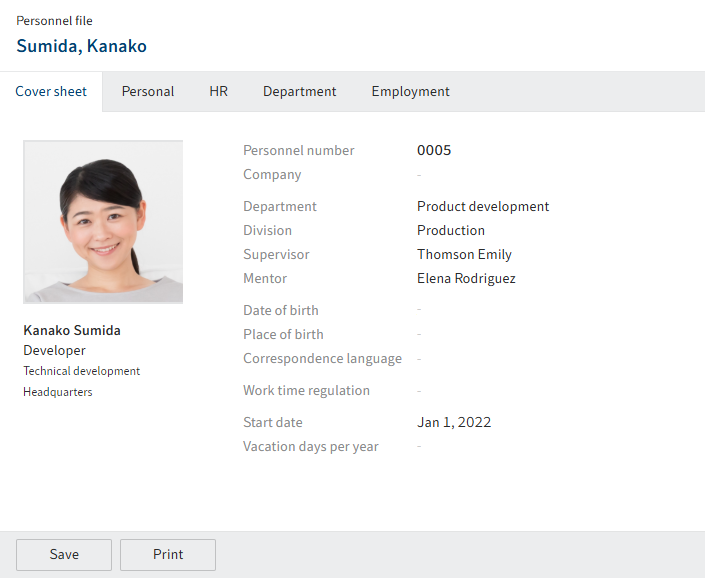
The picture is added to the Cover sheet tab of the personnel file.
Outlook
If you then create a badge, the image is placed on the badge.
# Create badge
You want to create a badge for your new employee.
Method
Click the personnel file you want to create a badge for.
On the ribbon, select HR > Create badge.
Result
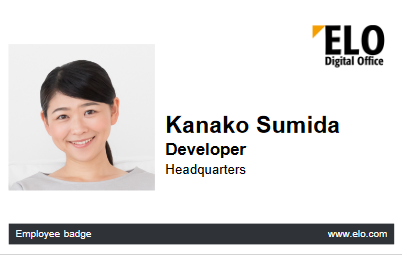
A badge with an employee picture, the employee's name and title in the company, as well as the company logo is created in the personnel file.
Outlook
You can print the badge using a badge printer with Windows printer drivers.
# Create document
You want to automatically create contract documents with your new employee's data. Use document templates for this. Document templates contain placeholders that are automatically replaced with the information from the personnel file.
Requirement
At least one document template must be available.
Method
Select the personnel file you want create a document for.
On the ribbon, select HR > Create document.
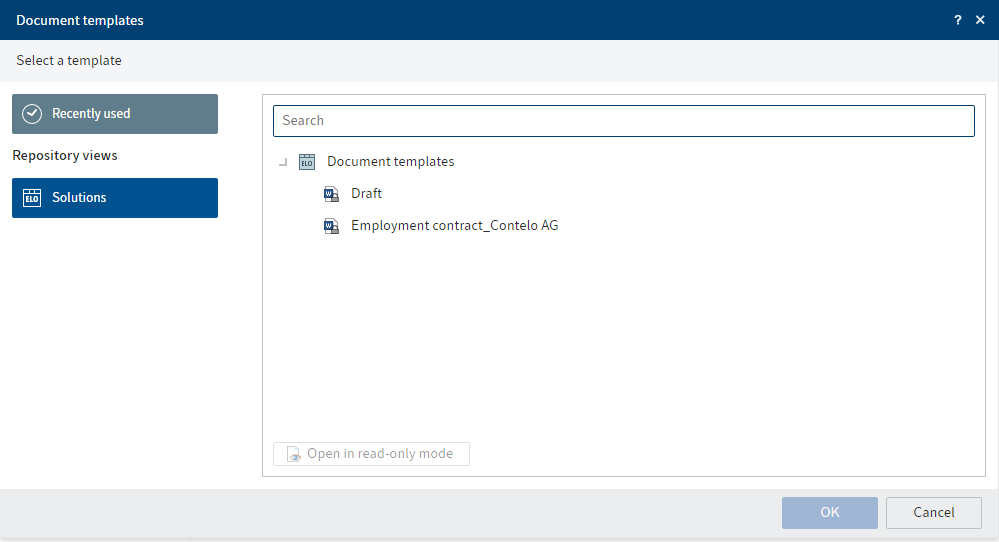
In the Document templates dialog box, select a document template and confirm with OK.
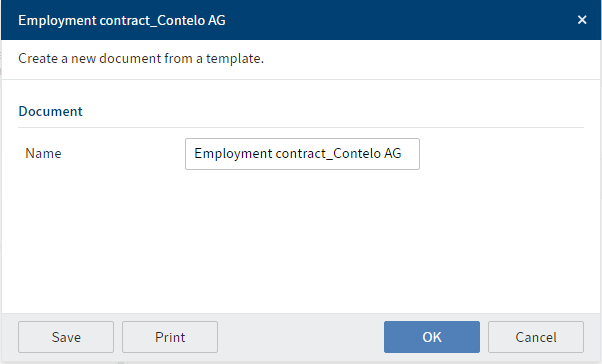
You can change the name of the document.
Result
The document is created in the selected personnel file and opened right away.
Outlook
You can edit the document and print it for use.
If your employee's master data changes, you can apply changes using the Update document function.
The Update document function has no effect on subsequent changes to the document. It only updates the information automatically transferred from the form.
# Update document
If data in the personnel file changes (e.g. new address) after a document has been generated using the Create document function, for example, you can update the document. As a result, you do not have to create a new document or make manual changes to an existing one.
The Update document function has no effect on subsequent changes to the document. It only updates the information automatically transferred from the form.
Method
Select the document you want to update.
On the ribbon, select HR > Update document.
Result
Old information and blank spaces in the document are replaced with new information from the personnel file.