# Application process
Applications can either be received through a job portal or be created using the Create new application function.
Generally, applications are assigned to a position or a candidate pool.
Each candidate has an application phase. Using the dashboard, you can simulate real recruitment phases by moving candidates.
You can rate candidates based on selected criteria or request ratings from decision-makers to help make a decision.
If you use both ELO HR Recruiting and ELO HR Personnel File (opens new window), you can create personnel files for new employees using the Hire candidate function.
# Create new application
Information
You have received an application through a channel other than the job portal. You'd like to file the application.
Method
- Select the position where you want to create the application. This can be a position or a candidate pool.
Information
If you do not select a position or candidate pool, a separate structure is created for the application.
- On the New tab, click Recruiting > New application.
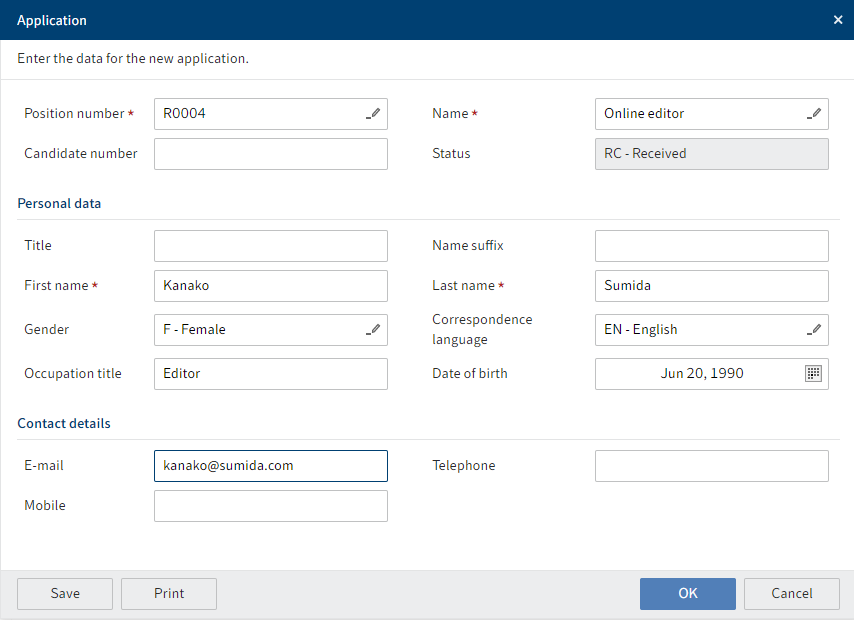
Fig.: 'Application' dialog box
- Complete the fields in the Application dialog box as required.
If you have selected a position or candidate pool first, the Position number and Name fields will already be completed.
Mandatory fields are marked with a red asterisk.
Fields with a pencil icon contain keyword lists. When you enter a value in the respective field, matching list entries appear.
Candidate number: The candidate number is generated automatically as soon as you have created an application.
- Click OK.
Result
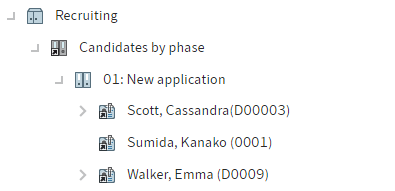
Fig.: Candidate in the 'New application' folder
The application is filed and assigned the New application phase.
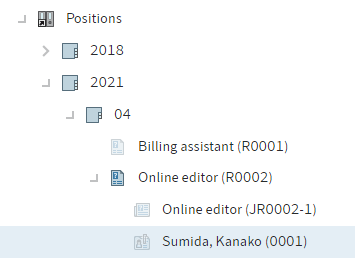
Fig.: Candidate in the folder of the selected position
If you have selected a position or a candidate pool, the application is filed to the corresponding folder. If you have not selected a position or candidate pool, a separate folder is created.
Outlook
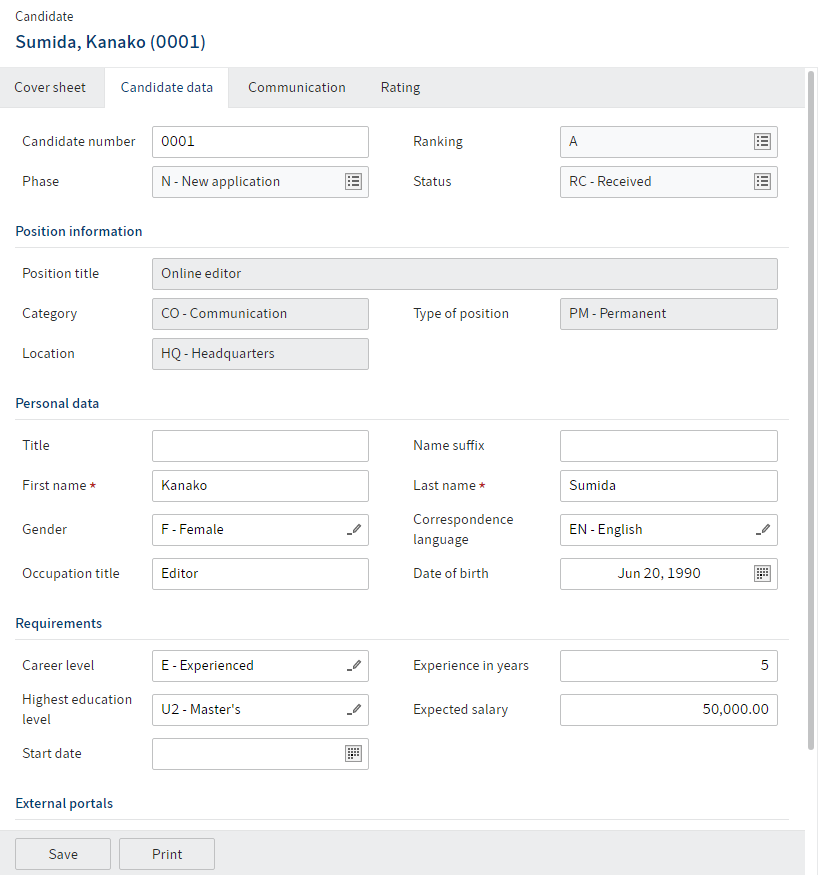
Fig.: Candidate form
You can add application documents via the form. Simply click the desired tab.
Ranking: Enter a ranking for the candidate ranging from A to C via the drop-down menu. The ranking is also shown on the candidate Cover sheet tab.
Add the information and confirm via Save.
With the Add picture function, you can add a picture to the candidate file.
# Move candidate file
Information
You can move the candidate files to map the recruitment process. Candidate files can be moved within a position to different phases, as well as between positions and talent pools.
Method: Phases
On your My ELO home screen, click the Candidates & positions tile.
Click where you want to move the candidate files to.

Fig.: 'Phases' button
Optional: Click Phases when you are in the table view.
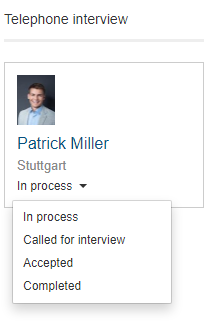
Fig.: Drop-down menu
If the status changes within a phase, use the drop-down menu.
- Move the candidate file to the new phase via drag-and-drop.
Result: Phases
The phase of the candidate file now also changes in the repository.
Method: Position and talent pool
On your My ELO home screen, click the Candidates & positions tile.
Click anywhere in the position overview.
In the left bar with the position overview, click Talent pool.
Optional: Click Phases when you are in the table view.
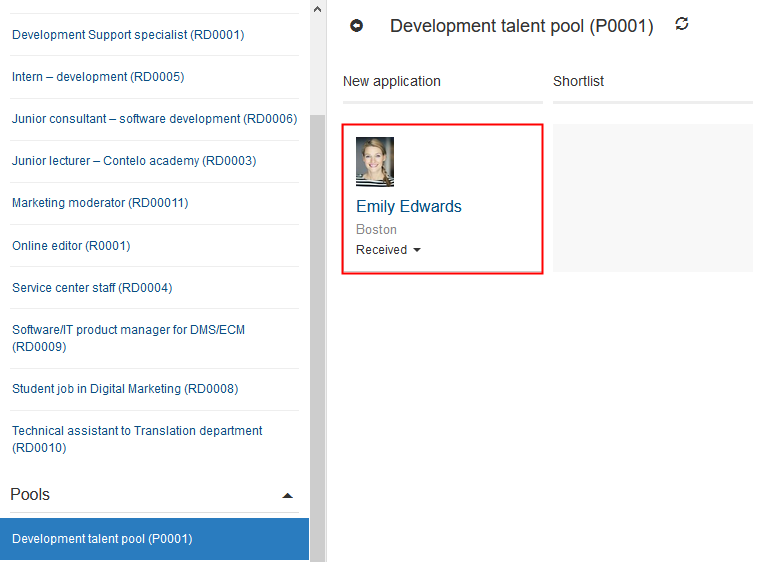
Fig.: Candidate in the talent pool
- Click the candidate and drag-and-drop the file to the selected position.

Fig.: 'Move application' dialog box
- In the Move application dialog box, select a phase for the candidate after you have moved the file.
You have the following options:
- Remain in current phase: The candidate is in the same phase as before in the talent pool.
- Treat as new application: Regardless of the previous phase, the candidate is moved to the New application phase with the status Moved.
- Edit: Via the drop-down menus, you can choose the candidate's phase and status.
Result
The candidate appears in the dashboard next to the newly selected position in the selected phase.
Information
The candidate is also assigned to the position in the repository. This may take a few minutes.
# Rate candidate
Information
You have the option to rate candidates during different phases of the recruitment process. Various categories are available.
Employees from the HR department can submit the criteria to be rated to other users involved in the recruitment process.
Method
- Select the file of the candidate you want to request ratings for.
- On the Recruiting tab, click Request ratings.
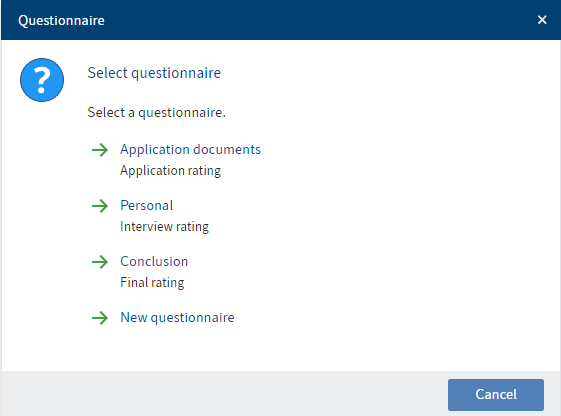
Fig.: 'Select questionnaire' dialog box
- In the Select questionnaire dialog box, select the questionnaire you want to assign.
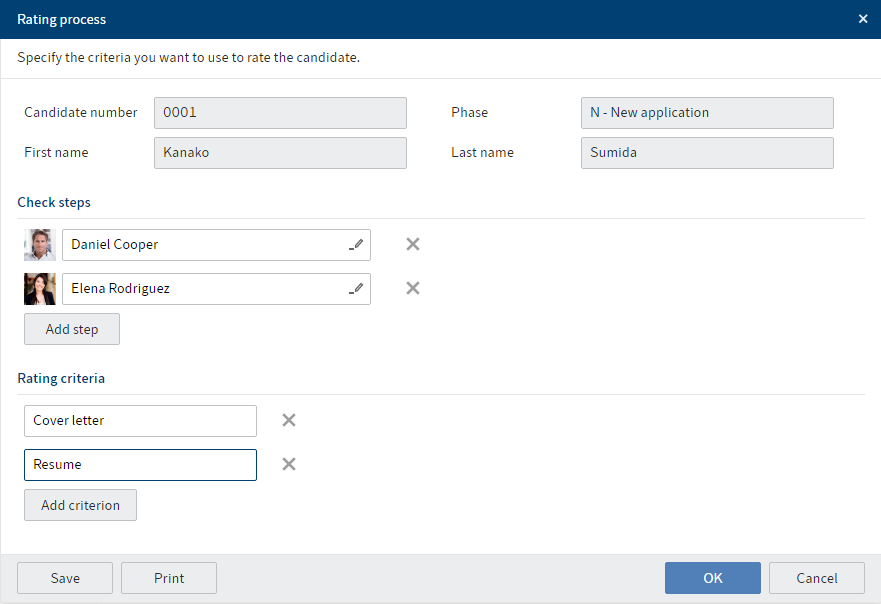
Fig.: 'Rating process' dialog box
- In the Rating process dialog box, determine who should rate the candidate under Check steps. Clicking the Add step button inserts an additional input field for an additional check step.
Optional: Add another rating criterion by clicking Add criterion.
- Click OK.
Result
The selected employees receive the Rate candidate workflow in their Tasks work area.
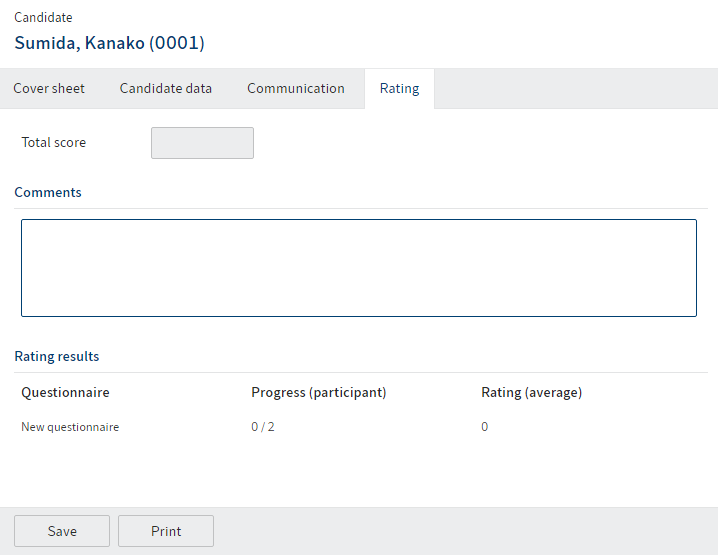
Fig.: 'Rating' tab in the candidate form
In the candidate file form, the selected questionnaire appears on the Rating tab.
Outlook
Under Progress (participant), the first number indicates how many ratings have already been submitted. The second number indicates how many ratings have been requested in total.
You will see the average rating from the questionnaire under Rating (average). The average value of all questionnaires appears in the Overall rating field.
Received ratings are shown in your feed.
Ranking: You can rank candidates based on these ratings. You will find the Ranking field on the Candidate data tab in the candidate file. The value you enter here (A, B, or C) is shown both on the Cover sheet in the candidate file and on the dashboard.
# Hire candidate
Information
After the application process is complete and the candidate is hired, you want to transfer the candidate to ELO.
Requirement
This function is only available if you use ELO HR Personnel File (opens new window) in addition to ELO HR Recruiting.
Method
Select the file of the candidate you want to hire.
On the Recruiting tab, click Hire candidate.

Fig.: 'Onboarding process' dialog box
In the Onboarding process dialog box, enter the type of employment.
Click OK.
Result
The candidate phase changes to H – Hired.
A personnel file is created in ELO HR Personnel File based on the candidate file.
# Delete files of rejected candidates
Information
You want to delete the data of rejected candidates.
Method
On your My ELO home screen, click the Candidates & positions tile.
Click the position containing candidate files you want to delete.
Fig.: 'Phases' button
Optional: Click Phases when you are in the table view.
- Drag-and-drop the candidate files to the Rejected phase.
Result
After the set deletion period has passed, the candidate files are deleted automatically.
Information
This only assigns candidate files a deletion marker, and does not delete them permanently. Deleted entries have to be removed from ELO permanently by an administrator. They can be restored until the point at which they are permanently deleted.
# Create new candidate pool
Information
You'd like to create a new pool for promising candidates.
Method
Select the Pools folder.
On the New tab, click Recruiting > New candidate pool.

Fig.: 'Candidate pool' dialog box
- Complete the fields in the Candidate pool dialog box as required.
Mandatory fields are marked with a red asterisk.
Fields with a pencil icon contain keyword lists. When you enter a value in the respective field, matching list entries appear.
Pool number: The pool number is generated automatically as soon as you have created the pool.
Status: If all information is complete and you'd like to use the pool right away, set the status of the pool to Open.
- Click OK.
Result
The new candidate pool is created at the selected location.
Outlook
If the pool has the status Open, you can now move the candidate files to the candidate pool via drag-and-drop in the dashboard, or automatically file candidate files to the candidate pool using the Close position function.