# ELO Assistant
The ELO Assistant allows you to analyze, edit, or use recognized document content in ELO with artificial intelligence. You can use the ELO Assistant for documents, folders, and business objects. The ELO Assistant only accesses entries you have permission to.
You can select predefined functions or enter your own questions and actions. The ELO Assistant uses the display language of ELO for prompts and responses.
Please note
You can only use language models your administrator has configured for you for the ELO Assistant. The ELO packages > AI prompts (opens new window) documentation is available for administrators.
# Call
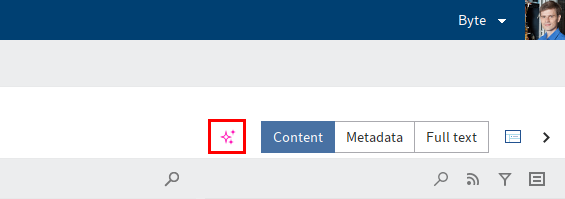
Open a document and select the ELO Assistant via the button with the sparkle icon.
Information
You can define a keyboard shortcut for the ELO Assistant under User menu > Configuration > Quick access to functions.
# Interface
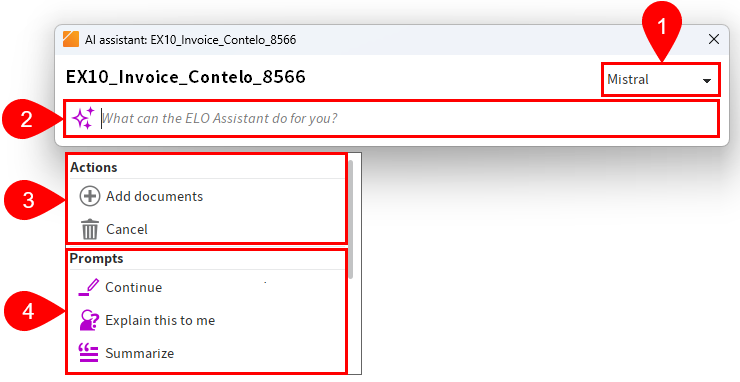
1 Select language model: This drop-down menu only appears if your administrator has configured multiple language models and you have an ELOenterprise license. Once you submit a prompt, the model is set for the chat. The info icon tooltip shows the model selected during the chat history. Open the ELO Assistant again to switch the model via the drop-down menu.
2 Input field: Submit a custom prompt for the document. You can also filter by existing actions and prompts. Suggestions are shown as you type.
Information
If you have submitted multiple prompts for the document, you can navigate through the message history using the arrow keys. After your first prompt, you can also copy the text you received from the language model to the clipboard by selecting the copy icon.
3 Actions: Only Add documents and Discard are available when you open the ELO Assistant. More actions appear once you have started a chat.
4 Prompts: The prompts are sent to the configured language model. Five preconfigured prompts are available as standard. Administrators can add more prompts.
# Actions
The following actions are possible:
Add documents: You can add more documents to include in your prompt.
Information
You can only ever select one document in the selection dialog box. If you want to add multiple documents, select each document separately via Search for more documents in ELO.
If you select a folder and open the ELO Assistant, all documents in the folder are shown under Add documents.
Save data: This action is only offered during metadata extraction. It saves the values in the document's metadata.
Enter data in form: This action is only offered during metadata extraction. It enters suggestions in the document's metadata fields.
Start search: Triggers a search in ELO using the response text. This action only makes sense with short responses. It can be used to search for customers, for example.
Create feed post: This can be used to document who has done what for tracking purposes. The feed post is visible after the work area has been refreshed.
Try again: If the answer is not satisfactory, you can send the prompt to the language model again with the same context. This action is only available for the most recently submitted prompt.
Discard: All actions and prompts are discarded. The ELO Assistant is closed.
# Prompts
# Preconfigured prompts
- Use simple language: The content of the document is written in a clear, easy-to-understand, and accessible way. This is done by using short sentences and simple words, and avoiding technical terms or complex sentence structures.
- Explain this to me: This prompt generates a concise and structured explanation of the contents of the document.
- Use more professional language: A more formal, objective, precise writing style is used. A neutral tone is used, as is common in business and academic communication. This instruction helps tailor content for professional audiences, such as for reports, official documents, or presentations.
- Continue: Prompts the ELO Assistant to continue a text it has started. The language model uses the style, tone, and content of the existing text to generate a consistent and thematically appropriate continuation.
- Summarize: Instructs the system to reduce the document to its key content. Main points, arguments, and events are presented in a condensed form.
Please note
If the ELO Assistant is unable to return document-specific responses, this may be because it is unable to access the document's full text. Go to Metadata > Options and check whether the Add to full text option is enabled.
# Prompts created by administrators
Administrators can add more prompts. You will recognize this type of prompt by the sparkle icon.
# Example: List course participants
In our scenario, we are working in student administration and want to identify and list the participants in a course planning document. The custom prompt Course participants has been created with the following user prompt:
Which students are enrolled in this course? List them in a table.
- Open the document you want to analyze. In our example, we select a course planning document that contains course participants.
- Select the prompt (here: Course participants) in the ELO Assistant.
The ELO Assistant provides a response in the format requested.
# Metadata extraction
The ELO Assistant can help you enter metadata. You can extract metadata from a document and store it in the corresponding fields of a target metadata form in ELO. Metadata extraction only works with gen. 2 metadata forms.
Metadata extraction must have been configured by the administrator. The configuration is described in the administrator documentation ELO packages > AI prompts (opens new window).
You will recognize this prompt type by the combined sparkle icon with a table in the background.
# Example 1: Course data extraction
In the following example, the ELO Assistant will extract course data from a course planning document. Data should be assigned to fields of different aspects.
Open the document you want to extract data from. In our example, we select a course planning document that contains course participants.
Select the metadata extraction prompt (here: Course data extraction).
The ELO Assistant shows a table with all configured aspects and assigns the values to the corresponding field names.
Check whether the values have been assigned correctly. If you do not want to keep certain values, uncheck the corresponding box.
Select the Save data action.
The values are saved in the document's metadata.
# Example 2: Enter field suggestions as metadata
In the following example, the ELO Assistant will complete metadata fields with suggested values. Once you have checked the values you can save them.
Open the document you want to apply data from. In our example, we select an invoice that contains various values, such as the order date, name of the company, and invoice amount.
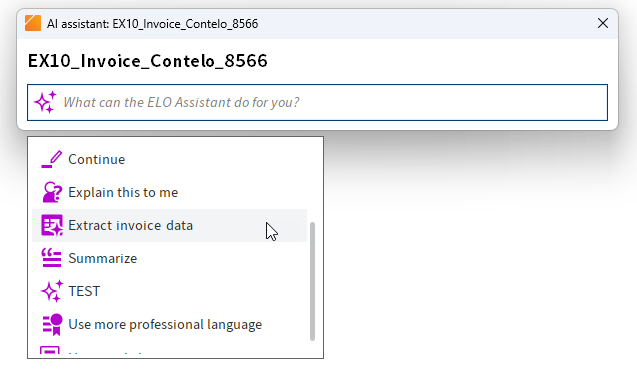
First, select the metadata extraction prompt (here: Extract invoice data).
The ELO Assistant shows the fields of the aspects extracted contents have been found for and assigns the values to the corresponding fields.
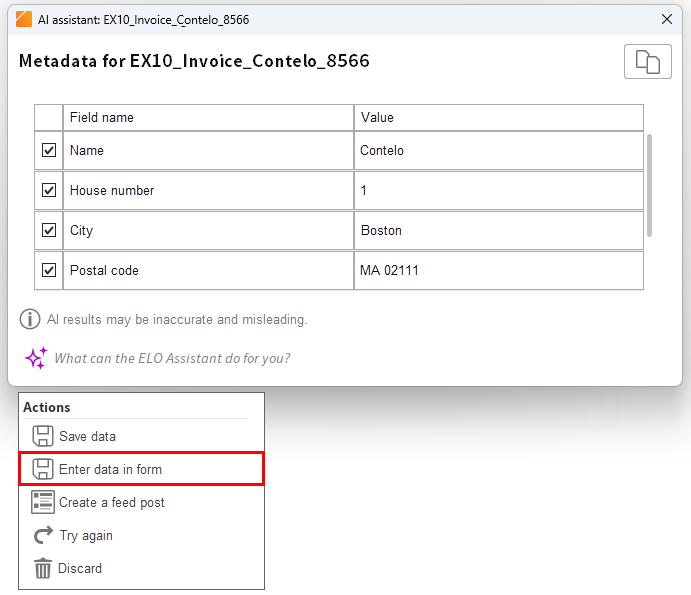
Select the action Enter data in form.
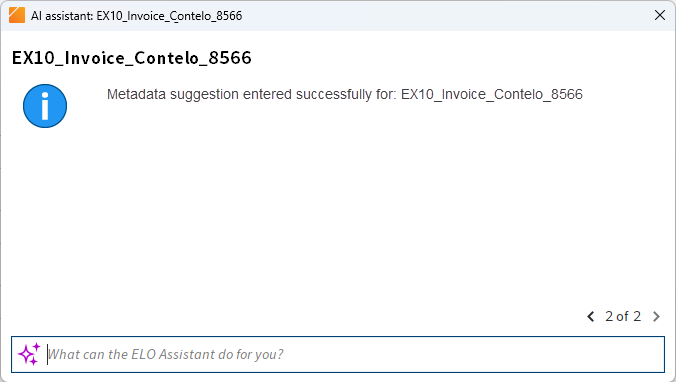
A notification appears indicating that the metadata suggestion has been entered successfully for the corresponding document.
Refresh the Repository work area.
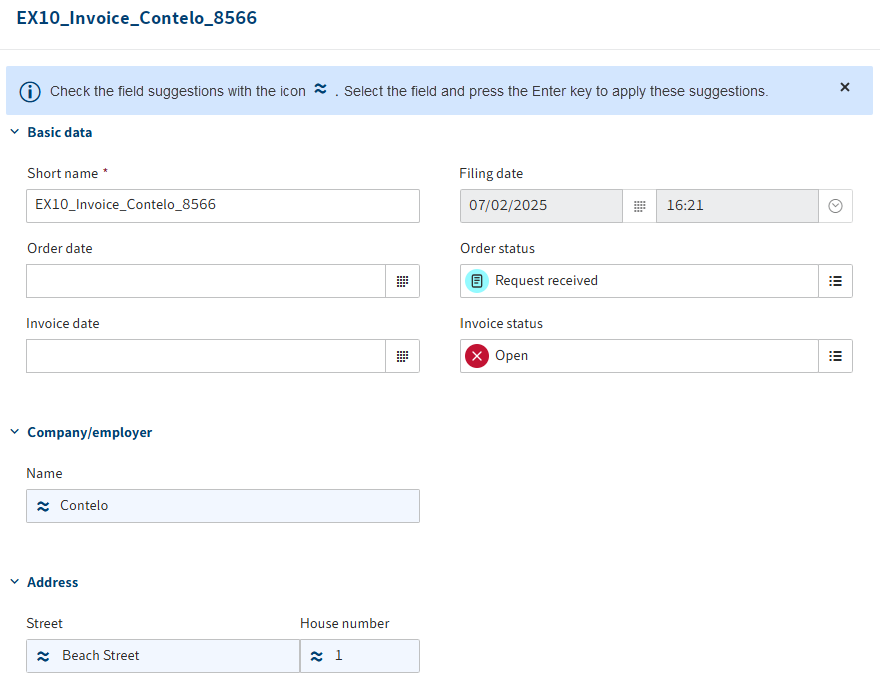
The metadata fields are completed with suggestions. You will recognize suggestions by the icon with the double tilde (approximately equal to).
Check the field suggestions. Select the field and press the ENTER key to apply the suggestions.
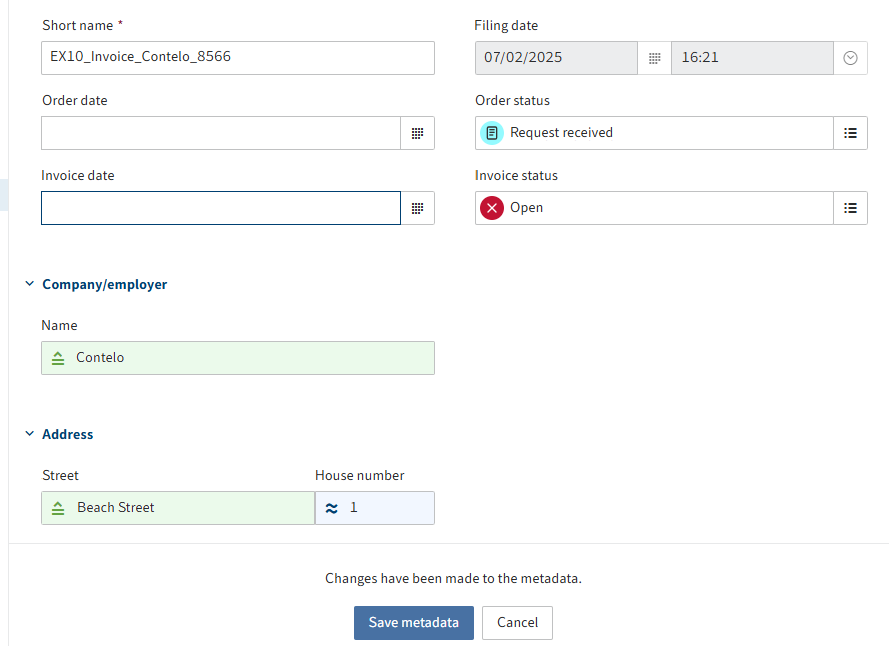
The fields with the applied suggestions are highlighted in green and marked with the equal to icon.
Select Save metadata to apply the changes to the metadata.