# Create contract documents
You can automatically create documents related to contracts.
This chapter addresses the following functions:
# Create contract clause
Information
You can create contract clauses. Contract clauses are texts that you can use when creating contract documents.
Method
On the New tab, click Contract > New contract clause.
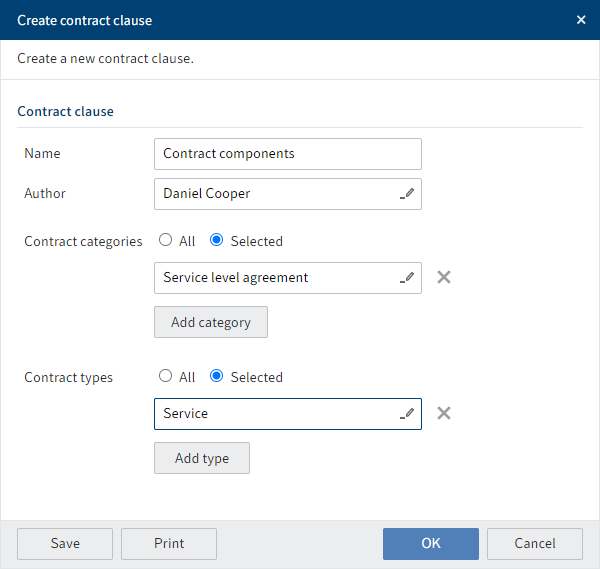
Fig.: 'Create contract clause' dialog box
Enter a name in the Create contract clause dialog box.
Select the contract categories and types that the clause can be used in.
Click OK.
Optional: Depending on the setting, you will need to select the application to open the Word file that will be created during this action.
A Word template with the clause placeholder opens.
Please note
In the ELO Java Client, you can edit this Word document, save it, and check it in. This feature is currently not supported in the ELO Web Client.
Close the Word document without editing it.
Select the document in the repository and click Check out on the Document tab.
Enter your clause in the Word file.
Save and close the document.
Check the document back in.
Result
The clause is created in the Contract clauses folder.
Outlook
- You can apply the clause using the Create document function for contract documents.
- You can edit clauses by selecting the clause in the repository and checking it out using the function Document > Check out.
- If you change a clause, you need to update the documents it was used in with the function Contract > Update document.
# Create document
Information
You can automatically create a document with the data from a contract. Use document templates for this. Document templates contain placeholders that are automatically replaced with the information from the contract.
You can also insert clauses into a document.
Requirement
At least one document template must be available.
Method
Select the folder for the contract you want to generate a document for.
On the Contract tab, click Create document.
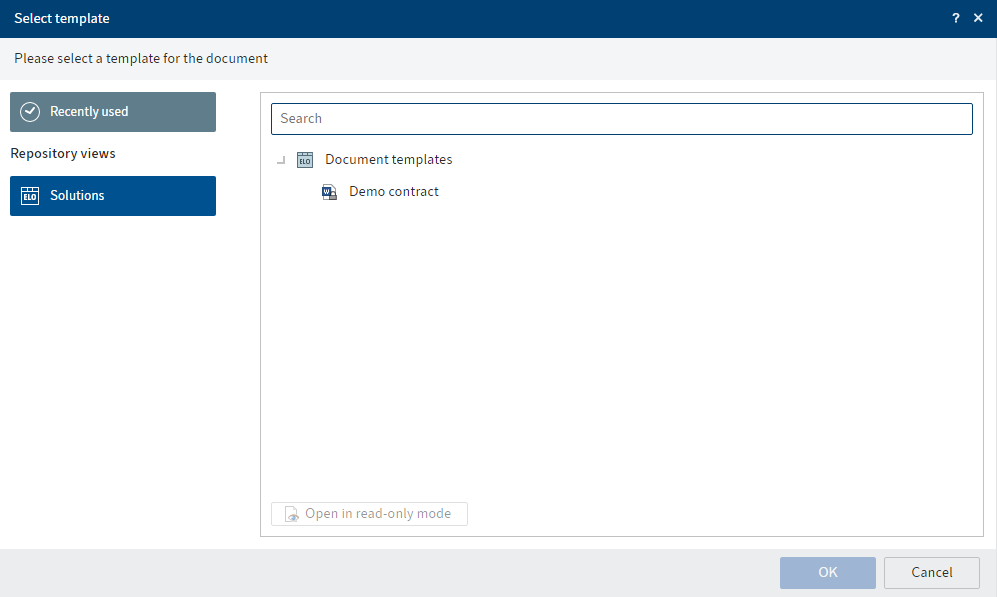
Fig.: 'Select template' dialog box
In the Select template dialog box, select a document template and confirm your selection with OK.
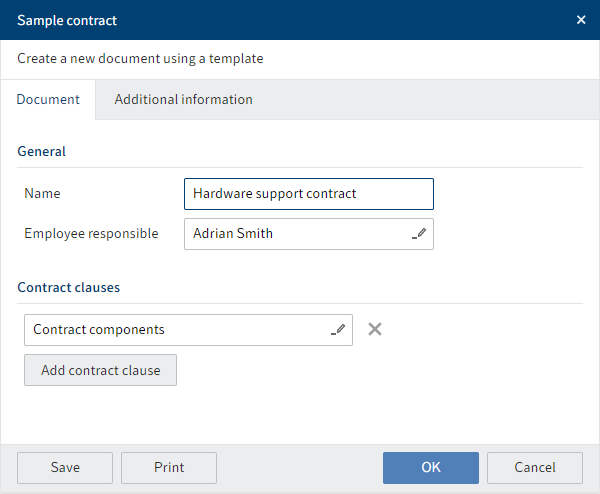
Fig.: 'Create new document' dialog box
In the Create new document dialog box, you can change the name of the document and the responsible user.
If you want to insert a contract clause into the document, select it here. It will be attached at the end of the document.
The fields on the Additional information tab contain the contract information and cannot be changed.
Click OK.
Result
The document is added to the selected folder and opened.
Please note
In the ELO Java Client, you can edit this Word document, save it, and check it in. This feature is currently not supported in the ELO Web Client. If you want to edit the document in the ELO Web Client, you have to close the document and check it out for editing with the Document > Check out function.
Outlook
- You can edit the document and print it for use.
- If any contract information changes, you can apply changes using the Update document function. The Update document function has no effect on subsequent changes to the document. It only updates the information and/or clauses automatically transferred from the form.
- You can subsequently edit the clauses, i.e. add more or remove existing ones.
# Edit clauses
Information
If you created a contract document using the Create document function, you can later add clauses to it or remove clauses again.
Please note
Always use this function to remove clauses. If you delete clauses from the document manually, the information will not be transferred to the metadata.
Method
Select the document you want to edit.
On the Contract tab, click Edit clauses.
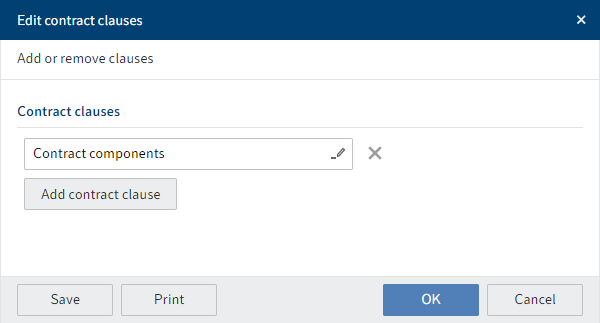
Fig.: 'Edit contract clauses' dialog box
In the Edit contract clauses dialog box, select or delete the contract clauses that you want to remove from the document.
Click OK.
Result
The document is updated and opened. You will find the clause at the end of the document.
Please note
In the ELO Java Client, you can edit this Word document, save it, and check it in. This feature is currently not supported in the ELO Web Client. If you want to edit the document in the ELO Web Client, you have to close the document and check it out for editing with the Document > Check out function.
# Update document
Information
For example, if contract data changes after a document has been generated using the Create document function, you can update the document. As a result, you do not have to create a new document or make manual changes to an existing one.
The document also has to be updated if an existing clause in the document has been changed.
The Update document function has no effect on subsequent changes to the document. It only updates the information and/or clauses automatically transferred from the form.
Method
Select the document you want to update.
On the Contract tab, click Update document.
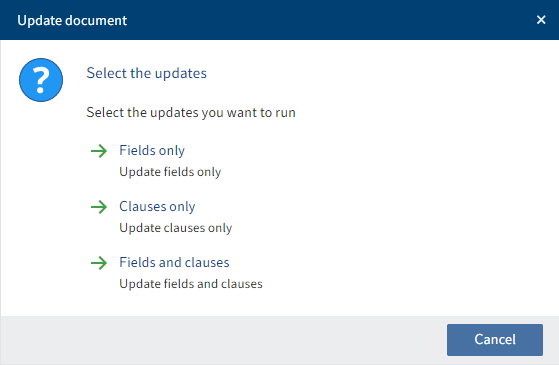
Fig.: 'Update document' dialog box
In the Update document dialog box, select the parts of the document that need to be updated.
Result
The old information will be overwritten according to your selection.
# Create cover sheet
Information
Use this function to create a cover sheet for the selected contract.
Method
Select the contract you want to create a cover sheet for.
On the Contract tab, click Create cover sheet.
Result
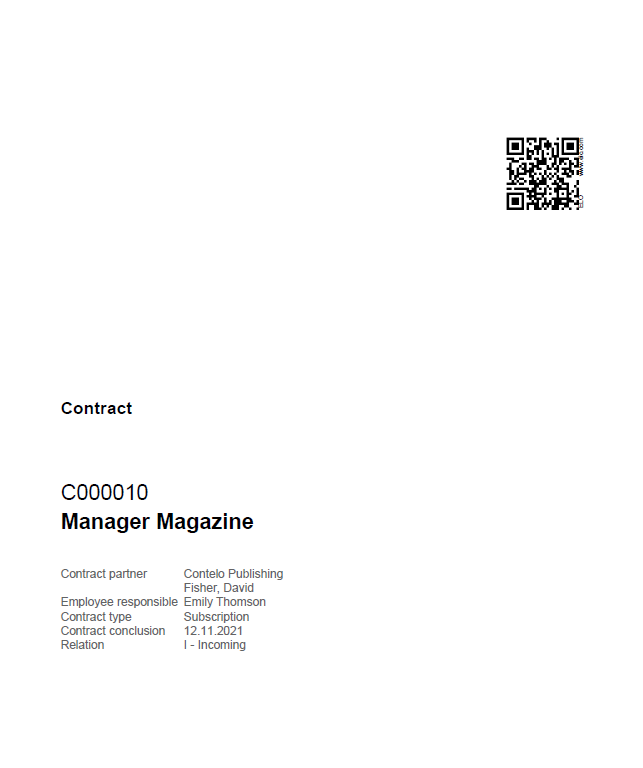
Fig.: Cover sheet
The cover sheet is saved to the file.
Outlook
The cover sheet contains information on the contract as well as a QR code. If you print the cover sheet and store it in a physical file, you can scan the QR code with a mobile device to go straight to the digital file.
# Create label
Information
Use this function to create a label for the selected contract file.
Method
Select the contract you want to create a label for.
On the Contract tab, click Create label.
Result
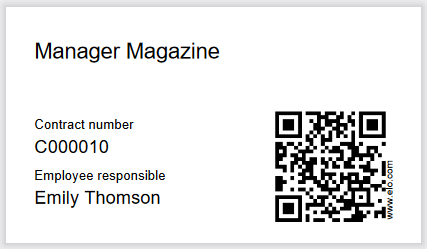
Fig.: Label with QR code
The label is filed to the contract file.
Outlook
- The label contains information on the contract as well as a QR code. If you print the label using a label printer and store it in a physical file, you can scan the QR code with a mobile device to go straight to the digital file.
- If you want to use the Print document function in the ELO Java Client, you will have to set the label printer as the default printer in Windows.
- You can also select the label printer as the default printer for faxes in the ELO Java Client configuration and print using the Fax document function.