# Proxy
In the Proxy group, you can open the settings for the following menu items:
- ELO Flows administration
- ELO App Manager
- ELO form designer
- ELO Web Client configuration
- Configuration for Microsoft Azure
- ELO Sync
- E-mail administration
- Artificial intelligence
- ELO Smart Input
- ELO Smart Link for SAP® ERP
# ELO Flows administration
You can create, edit, and manage flows in the ELO Flows Administration area.
ELO Flows is an ELO module for easily implementing automation and integration tasks.
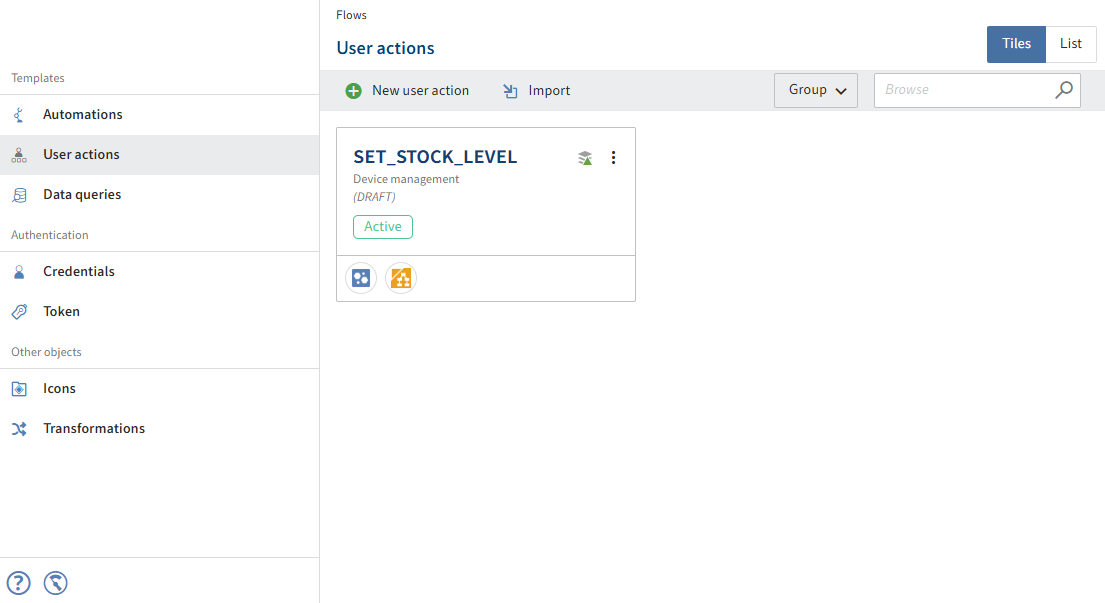
You will find more information under Processes and automations > ELO Flows (opens new window).
# ELO App Manager
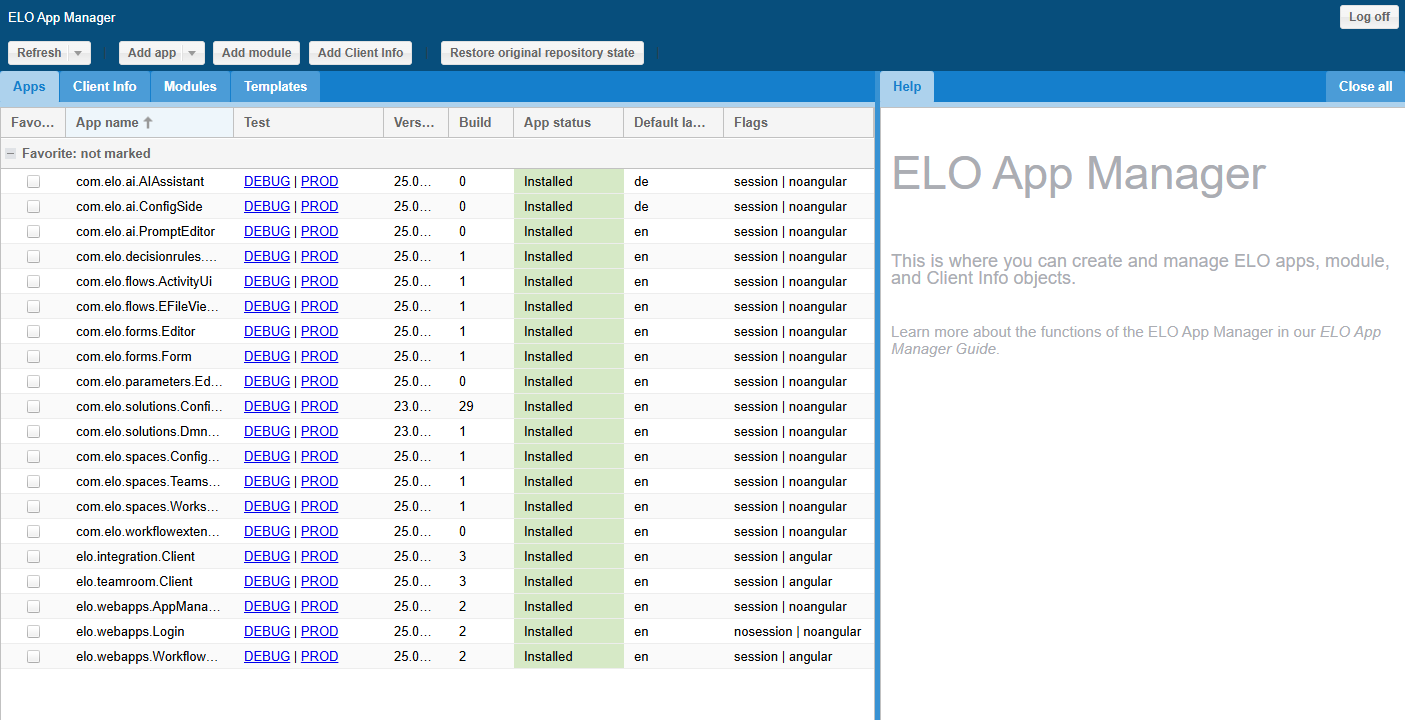
In the ELO App Manager, you can manage the standard ELO apps and the ELO Business Solutions apps. In addition, you can create and edit your own apps and prepare apps and websites to be displayed in the client.
You'll find more information in the documentation under Programming for ELO > ELO apps API guides > General information > ELO App Manager (opens new window).
# ELO form designer
Under ELO form designer, you can create, edit, and manage forms and templates for the form-based workflow.
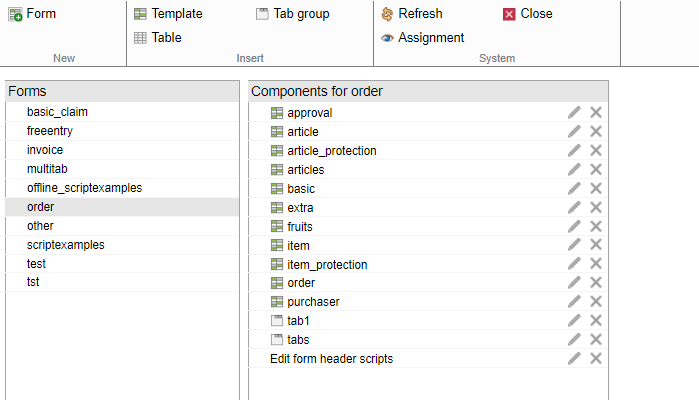
You will find more information on how to use forms in the documentation under Processes and automations > ELO workflow > Form workflow > The form designer (opens new window).
You will find more information on forms (gen. 2) in the documentation under ELO packages > Metadata > Forms (gen. 2) (opens new window).
# ELO Web Client configuration
From here, you automatically switch to the configuration section of the ELO Web Client.
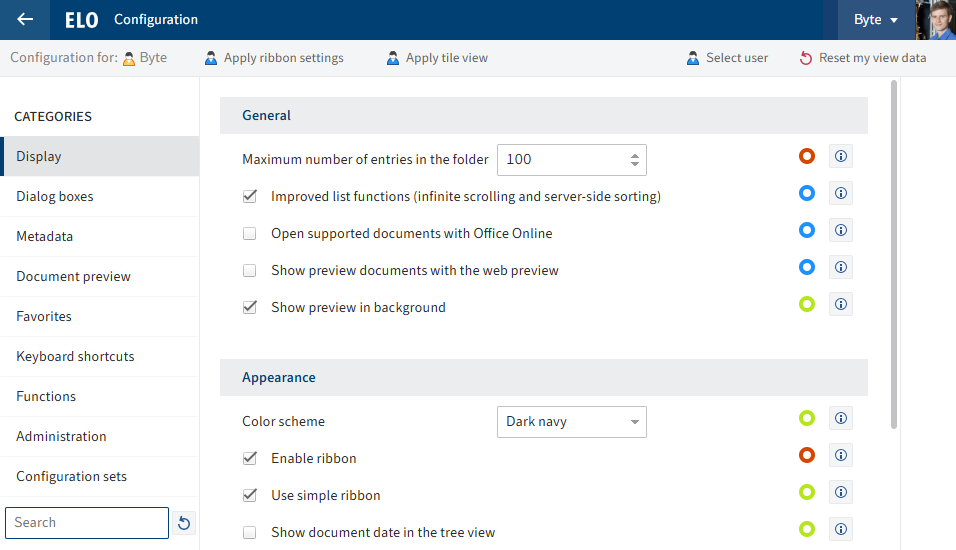
Requirement: The ELO Web Client must be installed and functioning correctly for this option to be available.
You will find more information on the ELO Web Client and its configuration in the ELO Web Client (opens new window), Client administration > ELO Web Client administration (opens new window) documentation.
# Configuration for Microsoft Azure
Information
The Configuration for Microsoft Azure menu item is only displayed if you have installed the module.
ELO Azure Administration is a service for managing app registrations for Microsoft Azure.
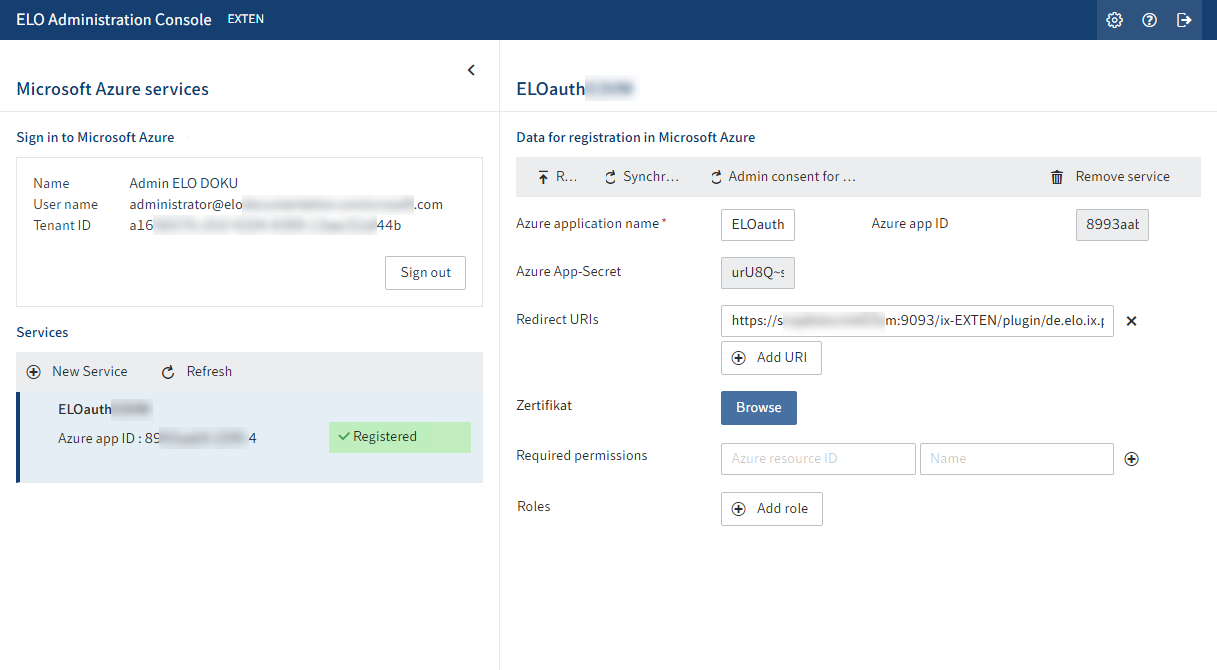
The following ELO apps can currently be registered via ELO Azure Administration:
- ELOauth
- ELO Bot for Microsoft Teams
- Business Central Azure App
For more information, refer to Configuration and administration > ELO Azure Administration.
# ELO Sync
Information
The ELO Sync menu item is only displayed if you have installed the module.
ELO Sync is the platform for synchronization between a third-party system and ELO, such as SharePoint or OneDrive. It supports one-way and two-way synchronization.
For more information on administration and use of the module, refer to the ELO Sync (opens new window) documentation.
# E-mail administration
In the E-mail administration area, you configure the delivery of e-mails by the ELO system. This function can be used to send e-mails automatically, such as using ELO Flows or notifications regarding new tasks or in connection with ELO Business Solutions.
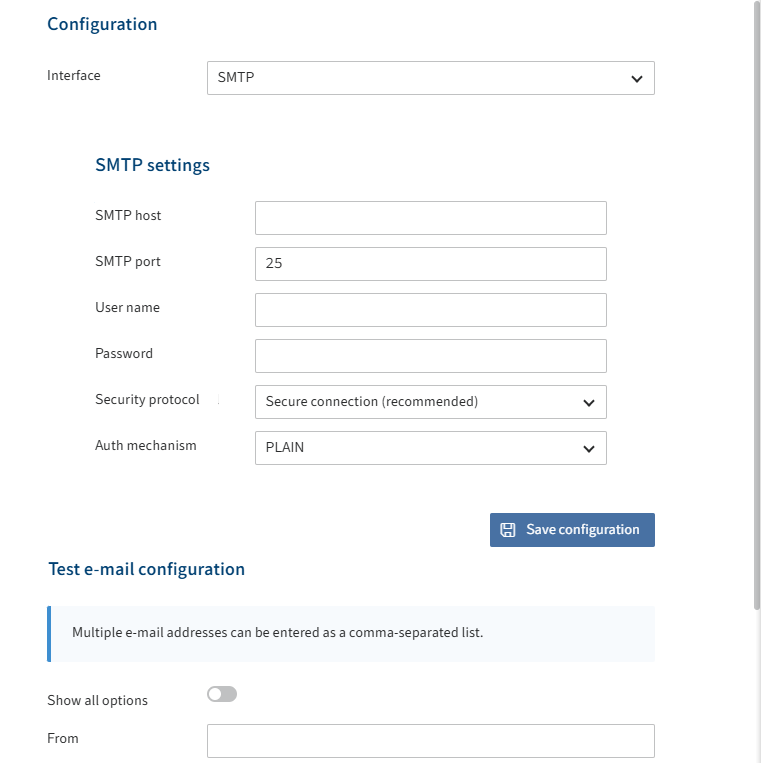
For more information, refer to the ELO Indexserver > Plug-ins > E-Mail administration (opens new window) documentation.
# Artificial intelligence
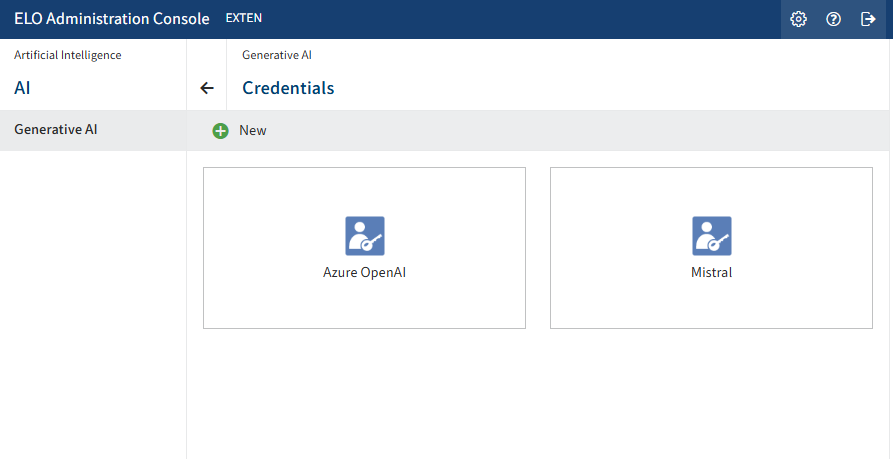
In the Artificial intelligence area, you can configure the credentials for one or more LLM endpoints (Azure OpenAI, OpenAI, Mistral, Anthropic, self-hosted LLM) for using AI in ELO.
# Generative AI overview
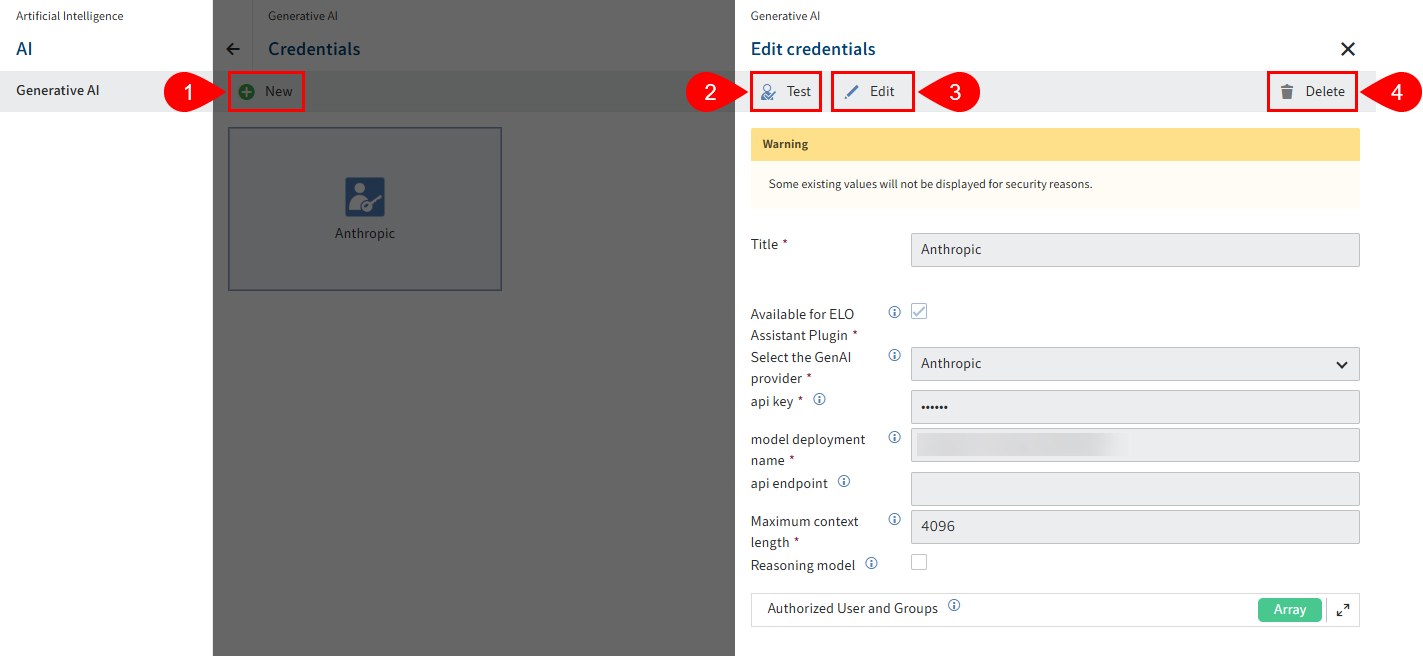
The following actions are available in the Generative AI area:
2 Test credentials
3 Edit credentials
4 Delete credentials
# Create credentials
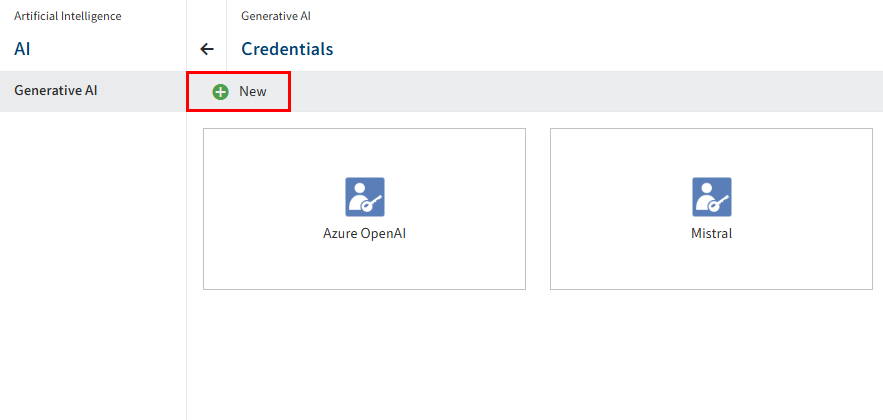
Select New.
The New credentials configuration area opens.
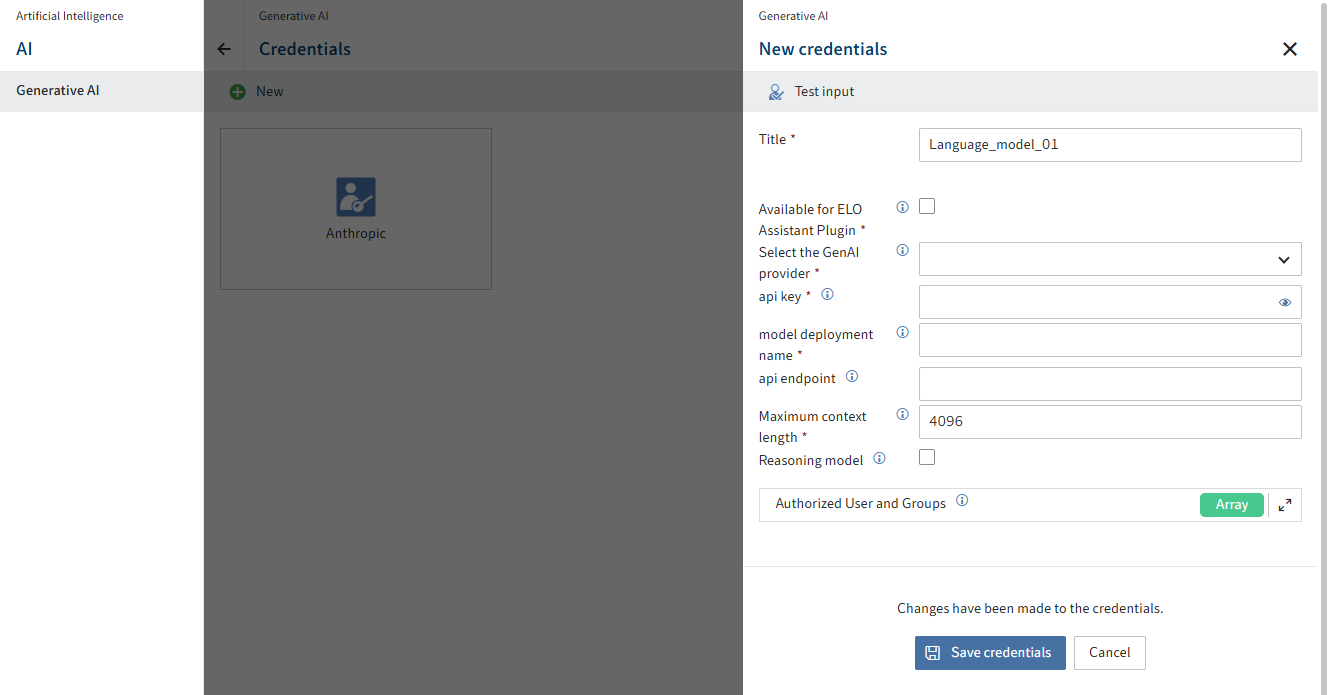
Configure the fields as required.
Mandatory fields are marked with a red asterisk.
Field Explanation Title Maximum 128 characters are allowed. Available in the ELO Assistant Enables the endpoint for the ELO Assistant Provider LLM provider. Available options: Azure OpenAI, OpenAI, Mistral, Anthropic, Ollama, and Self-hosted LLM. API key API key for the LLM endpoint Model name Name of the LLM deployment model API endpoint Required for LLM endpoints of Azure OpenAI, Ollama, and self-hosted LLMs Maximum context length Maximum context length for the generative AI chat history Reasoning model Required for the following models from the providers Azure OpenAI and OpenAI: gpt-5, gpt-5-nano, gpt-5-mini, o1, o1-mini, o3, o3-mini, o4-mini.
If this box is checked, the language model ignores the speech style configured for AI prompts. Reasoning models control even the speech style. You can find more information on configuring the AI prompts under ELO packages > AI prompts > Custom prompts (opens new window).User or group with permissions If no users or groups are selected, the language model can be used by all users and groups that also have the Use AI functions user right. Select Test input to check your configuration.
Select Save credentials.
You have created credentials for a language model.
You can find more information on AI in the documentation ELO packages > AI prompts (opens new window).
# ELO Smart Input
In the ELO Smart Input area, you perform the settings for the server module ELO Smart Input. You may need to log in to ELO Smart Input.
Information
The ELO Smart Input menu item is only displayed if you have installed the module.
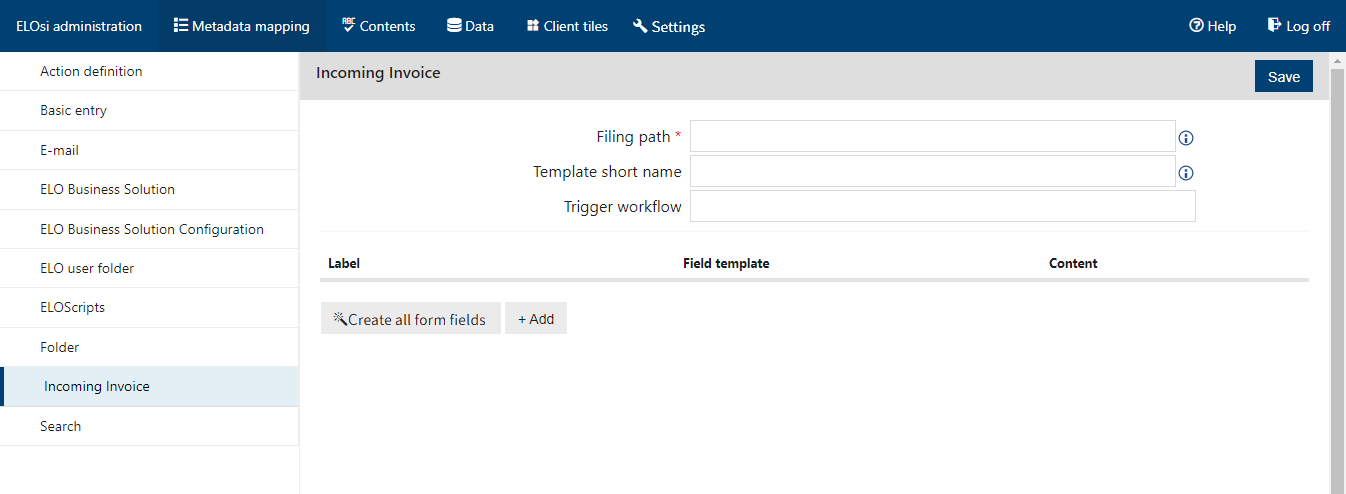
ELO Smart Input analyzes the full text of a document and extracts data from it, such as addresses, sums, or e-mail addresses. Users receive suggestions for automatically detected data, which they can apply to the metadata.
ELO Smart Input is based on an incoming and target folder principle.
The incoming folder is where you save documents that have not yet been assigned metadata.
Use ELO Smart Input to enter the metadata.
The documents tagged with metadata are moved to a specified target folder or a folder created dynamically via the metadata form.
ELO Smart Input recognizes the following patterns by default:
- Amounts (net, VAT, gross)
- Addresses
- IBAN
- Date
- E-mail addresses
- Telephone numbers
- VAT ID
- Custom regular expressions
For more information, refer to the ELO Smart Input (opens new window) documentation.
# ELO Smart Link for SAP® ERP
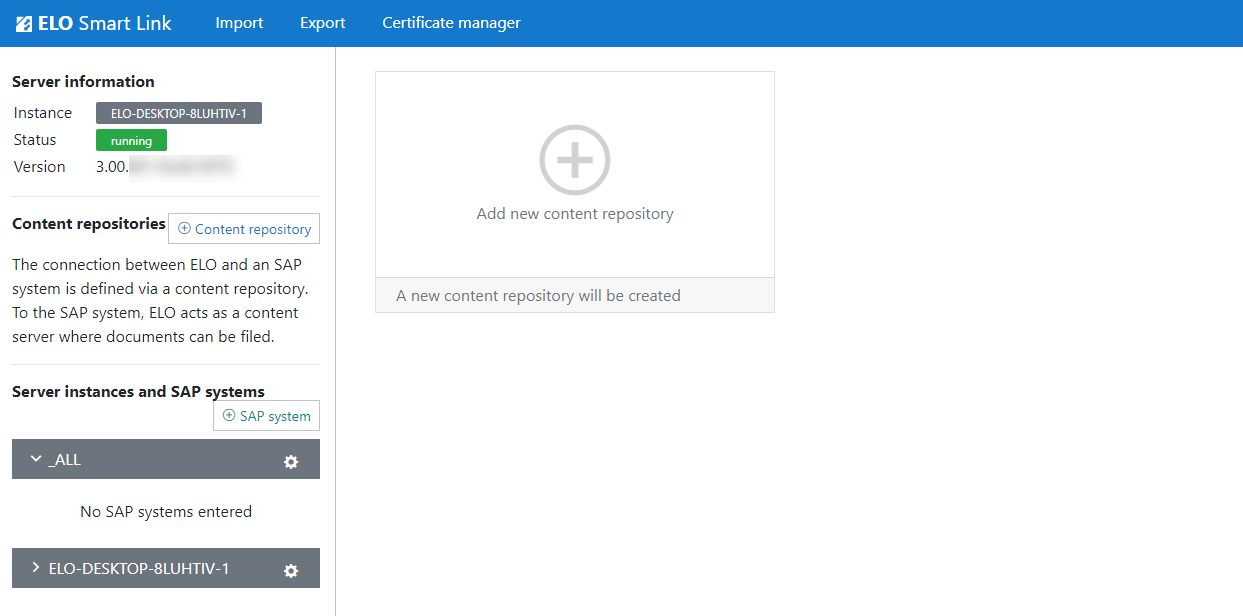
In this area, you can manage and configure ELO Smart Link, the corresponding server instances, and the respective SAP systems.
For more information, refer to the documentation ELO Suite for SAP ArchiveLink® (SAP NetWeaver® & SAP S/4HANA®) > ELO Smart Link for SAP® ERP configuration guide (opens new window).