# ELO Desktop Client Plus
This chapter is aimed at ELO Desktop Client Plus users. ELO Desktop Client Plus users require an appropriate license.
This enhanced version contains all functions of the ELO Desktop Client. In addition to the default and lean views, a full-screen mode is also available.
ELO Desktop Client Plus also includes the Tasks work area. The Tasks work area contains an overview of your workflows and reminders. The functions of the Tasks group on the toolbar are used for editing workflows and reminders. You can edit and manage existing workflows in this area.
# Full screen

You can open full-screen mode by selecting the button at the right of the header.
Full-screen mode also provides a preview area for folders and documents integrated into ELO. Otherwise, the work areas in the ELO Desktop Client Plus do not differ from those in the standard client.
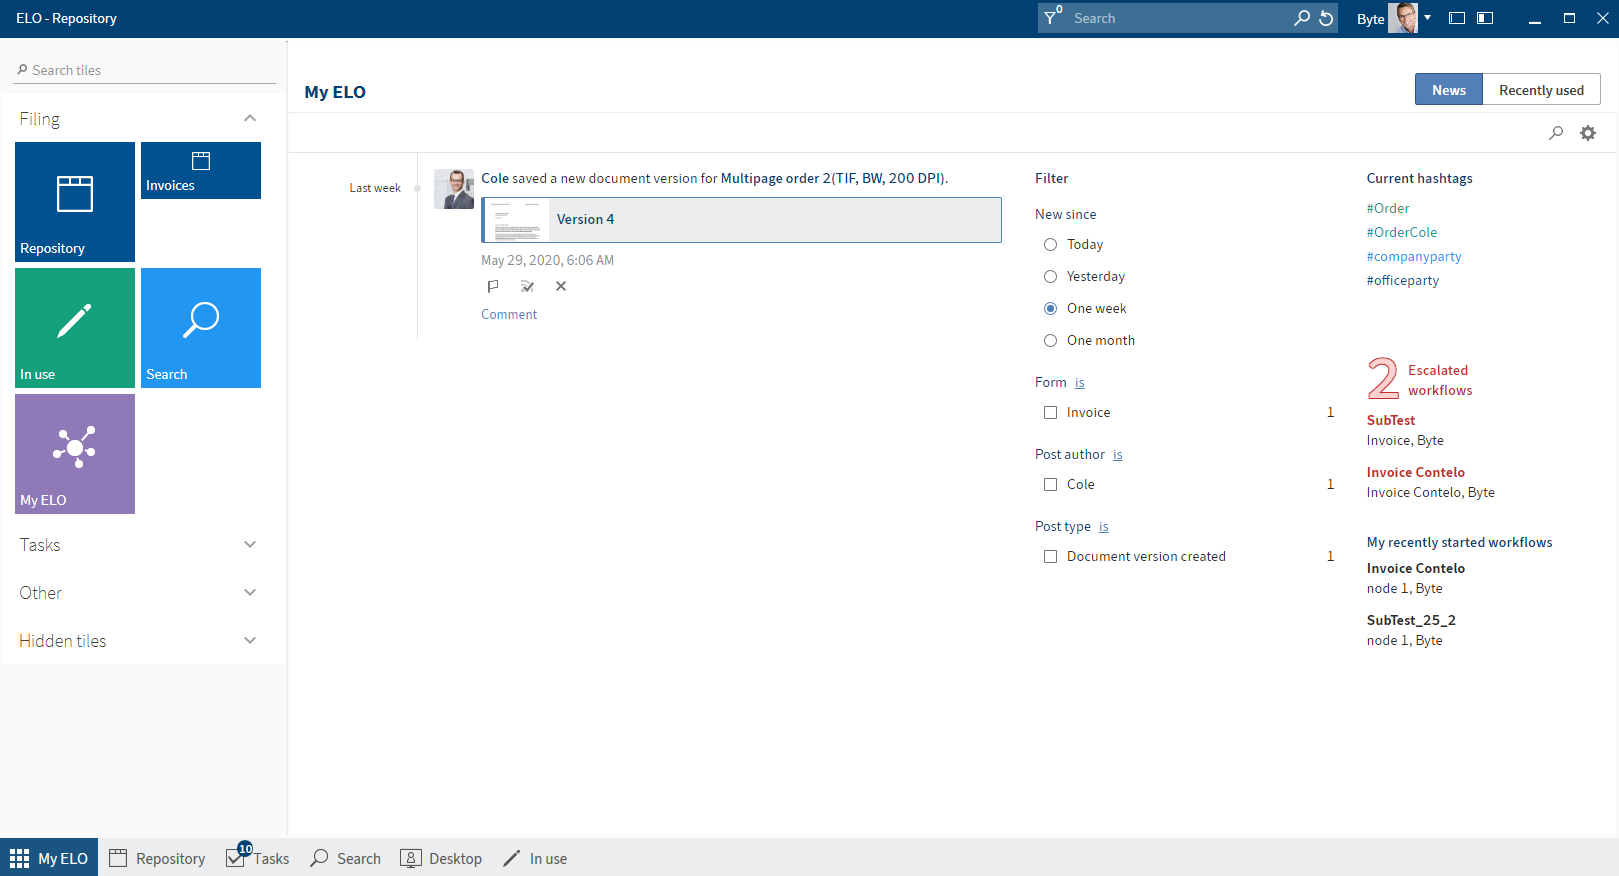
The home screen connects the tile navigation with the My ELO work area.
# 'Tasks' work area
In the Tasks work area, you will find a list of your tasks.
You can open the Tasks work area from the navigation bar or with the keyboard shortcut CTRL + 4.
To learn how to process tasks, refer to the Process workflow section.
# List of tasks
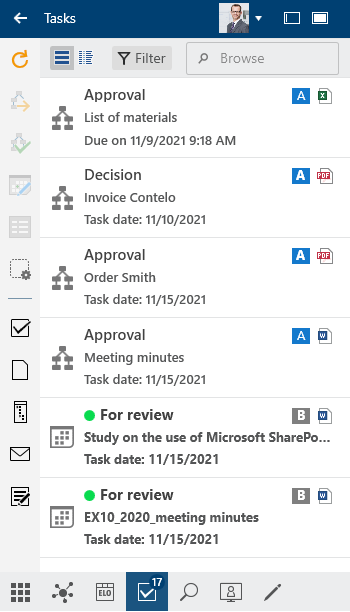
In this list, you will find tasks that are assigned to you or a group you belong to. In addition to workflows, reminders and monitoring tasks are shown here. The icons on the right indicate the priority, type of document, and whether the workflow has been escalated.
The following types of tasks are available; you can distinguish them by their icon:
| Workflows | Workflow icon |  |
| Reminders | Calendar icon |  |
| Monitoring entries | Camera icon |  |
The tasks are sorted according to their priority: A (high), B (medium), and C (low). Overdue tasks are denoted with a red icon with a white exclamation mark. New entries are shown with a green dot.
Under Configuration > Display > Task list display options > Maximum number of days in the future you specify how many days in advance tasks should be shown in the task list.
If you need more information on the individual entries, switch to the table view (table icon).

For a better overview, you can sort the tasks according to your requirements. Right-click the table header to do so.
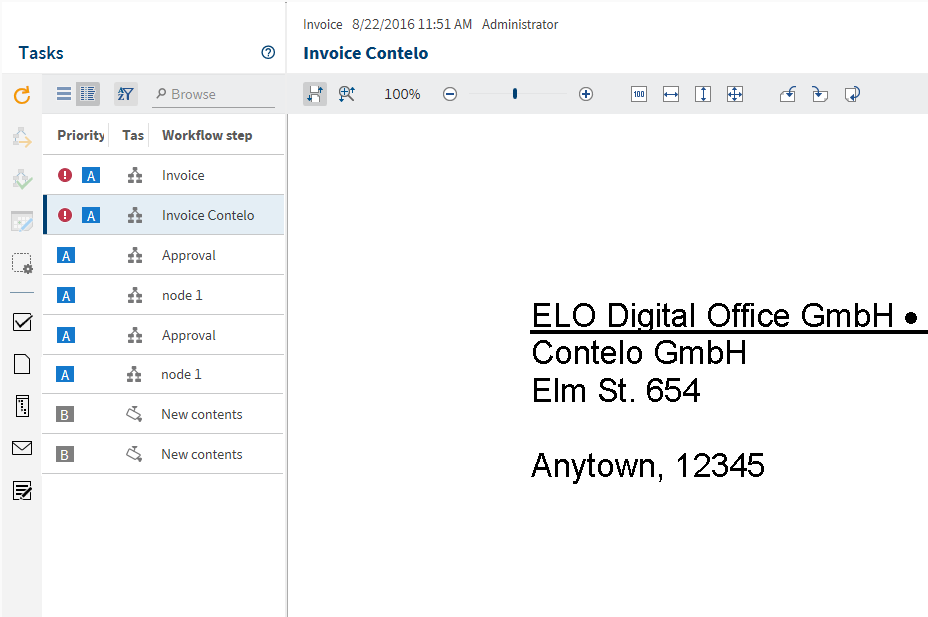
Select an entry to view its contents in the viewer pane.
If the workflows contain forms, open them by selecting the Form button. There, you can process and forward the workflow.
Tasks disappear from the tasks area in the following ways:
- Workflows: Actively: You forward the workflow using the form (Form tab) or the function (Task group > Forward workflow), delegate it, or hand it off. Passively: A group workflow is accepted by another member of the group.
- Reminders and monitoring: You delete the entry (Organize > Delete).
# Start workflow
Using workflows, you can assign individual users or groups tasks.
An integrated escalation management function allows you to track whether the set deadlines are met once a workflow is started.
The Start workflow function gives you access to workflows with different levels of complexity designed for specific processes within your company.
Method
Select the document you want to start a workflow on.
Information
You can also start workflows on folders.
On the toolbar, select New > Start workflow.
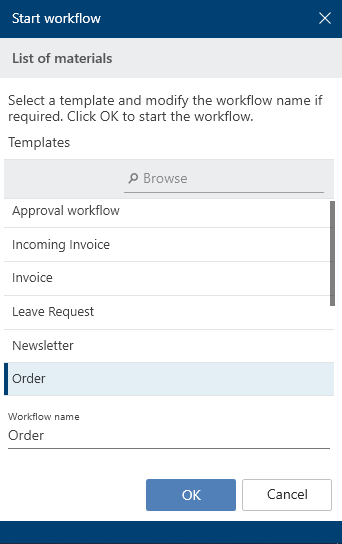
The Start workflow dialog box appears.
Templates: Select a workflow template here. You can search for the right template in the search field.
Workflow name: The name of the template is automatically entered as the workflow name. You can change this name as needed.
Select an appropriate template and confirm with OK.
Result
The workflow starts.
Outlook
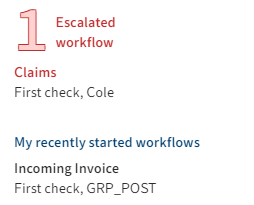
Once you have started a workflow, it will appear in My ELO under My recently started workflows.
If one of your workflows was escalated, you will see the Escalated workflows area.
# Edit workflow
If you were selected as the editor in a workflow, the workflow appears in your Tasks work area.
You can receive workflows as a user, as a group member, or as a substitute.
You will recognize a workflow based on the workflow icon.
A new workflow is marked with a green dot and bolded font.
When you receive a workflow, you have the following options:
- Edit workflow with a form
- Forward workflow function
- Accept workflow function
- Return workflow function
- Delegate workflow function
# Edit workflow with a form
For workflows with forms, you can open the form by selecting the Form button. This button is only available in full-screen mode.
Method
- Edit the fields of the form as indicated in the task.
- To forward the workflow after editing the form, select the corresponding button within the form.
# Forward workflow function
When you receive a workflow task, it will appear in your Tasks work area.
After you have completed your task, forward the workflow to the next editor.
Related functions
- Edit workflow with a form: If the workflow you receive contains a form, forward it using the form.
- Return workflow
- Delegate workflow
Method
Select the workflow that you want to forward.
On the toolbar, select Task > Forward workflow.
If you have received a workflow and this button is disabled, this is for one of the following reasons:
- You received the workflow as part of a group. In this case, you have to accept it first by selecting Accept workflow.
Information
If you are unable to accept a group task, you need the corresponding role. You can enable roles via User menu [your name] > Enable roles.
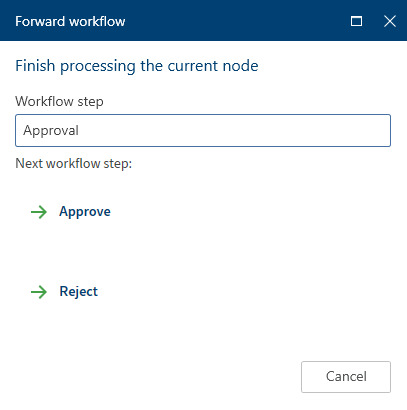
- The workflow contains a form. The form opens in the viewer pane. In this case, forward the workflow by selecting the button on the form.
Select the workflow step.
Result
The workflow is forwarded and disappears from your tasks area.
# 'Accept workflow' function
If you have received a workflow as part of a group, you have to accept it before you can process and forward it. This prevents the workflow from being processed by multiple users at once.
Method
Select the workflow that you want to accept.
On the toolbar, select Task > Accept workflow.
Keyboard shortcut: ENTER key
Once the workflow is accepted, it is removed from the Tasks work area of the other group members. Use the Return workflow function to undo accepting the workflow.
# 'Return workflow' function
You can return a workflow you received as a group member and accepted with the Accept workflow function.
Related function
Method
Select the workflow you want to return.
On the toolbar, select Task > Return workflow.
The workflow now appears in the Tasks work area of all group members the workflow was sent to.
# 'Delegate workflow' function
You can delegate your workflow step.
Related function
Method
Select the workflow that you want to delegate.
On the toolbar, select Task > Delegate workflow.
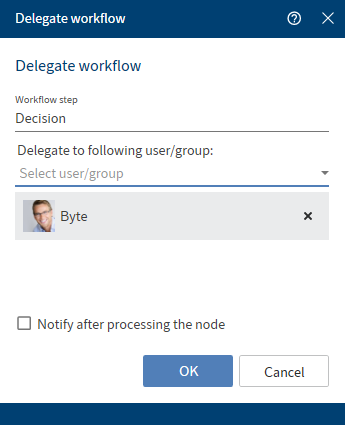
You can select one user or group, or multiple users or groups.
Delegate to following user/group: From the drop-down menu, select which user or group you want to delegate the workflow to.
Notify after processing the node: If this box is checked, the workflow is assigned back to you after the selected user/group has processed the workflow node.
# Reminder
You can use reminders to remind yourself of entries that you want to work on at a later time.
You can create reminders for folders and for documents. You can create a reminder for multiple entries within a folder at the same time.
Method
Select the entry you want to create a reminder for.
You can also create reminders for multiple entries at the same time. You can learn how to do this in the section How do I select multiple entries?
On the toolbar, select New > Reminder.
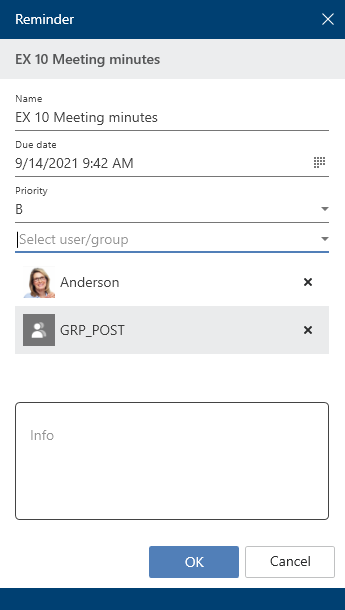
Configure the settings for your reminder in the Reminder dialog box.
Information
If you selected multiple entries, only the dialog box for the topmost selected entry appears at first. As soon as you have edited the settings and selected OK, a new dialog box opens for the next selected entry.
Date: Select the date the task should be completed on. The date appears in the tasks overview as the Task date. Depending on your settings for how tasks are displayed, the reminder may also show up in the Tasks work area of the selected users a few days beforehand.
Priority: The priority level is shown in the tasks overview when a reminder is received.
Select users/groups
Select OK to close the dialog box.
Result
The reminder appears in the Tasks work area of the selected users at the configured time. You will recognize it by the calendar icon.
Outlook
To remove the reminder from your Task view, select the notification, then, on the toolbar, select Organize > Delete.
# Edit reminder
Reminders are shown in your Tasks work area. You will recognize them based on the calendar icon.
Information
The time at which the reminder appears in the Tasks work area depends on the setting under User menu > Configuration > Display > Task list display options > Maximum number of days in the future.
When you receive a reminder, you have the option to change it.

- Name: The name of the document is entered for you. You can enter another name, if required.
- Deadline: Date on which the document should appear as a task.
- Created on
- Viewed on
- From user: The creator of the reminder is displayed here.
- Priority: Choose from A, B, or C.
- Select user/group
- Note: Enter additional information here.