# Configure teamspace template
After creating a teamspace template, you can configure them.
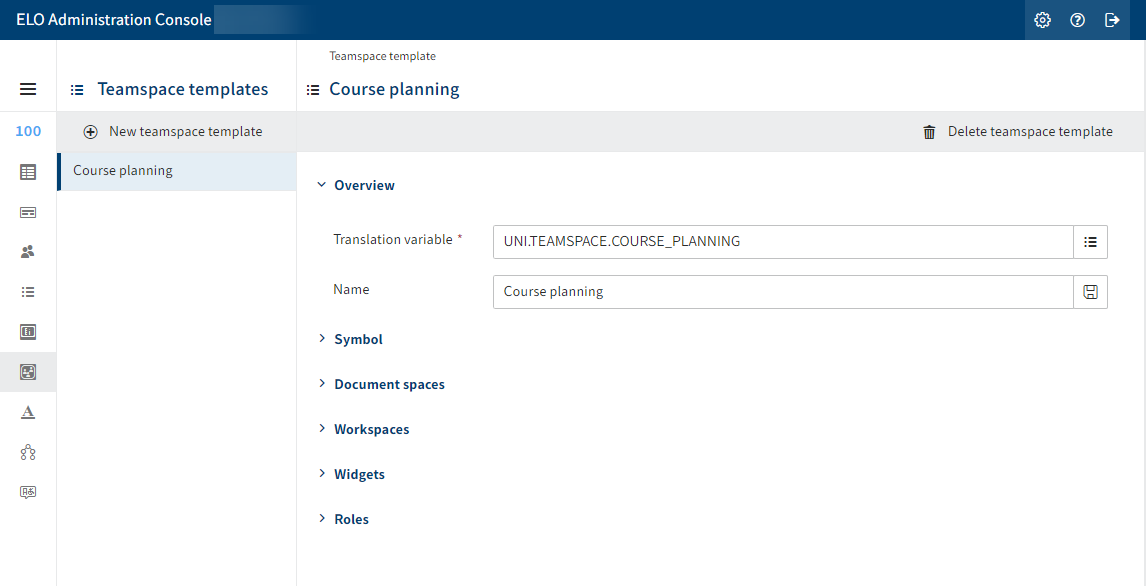
The Teamspace template dialog box offers the following actions:
- Enter basic data for the teamspace template
- Define icon
- Define document spaces
- Define workspaces
- Integrate widgets
- Define roles
- Delete teamspace template
# Enter basic data for the teamspace template
Basic data for the teamspace template is entered in the Overview area.
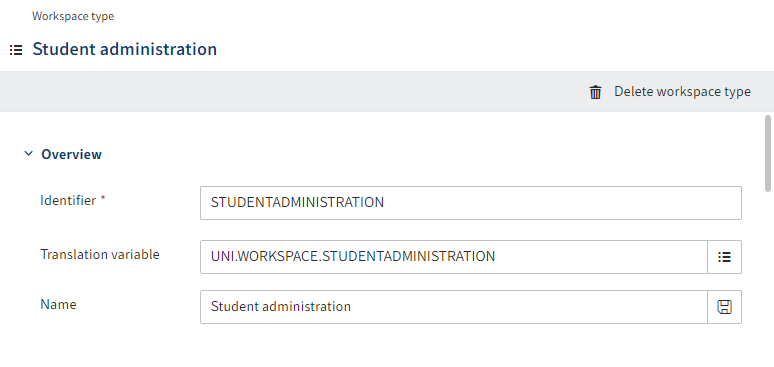
Enter a translation variable into the Translation variable field.
Information
Only letters (without umlauts and special characters), numbers, periods, and underscores are allowed. The first character must be a letter.
Enter the display name for the translation variable into the Name field.
Select Save (floppy disk icon).
Alternative: Select an existing translation variable with List (list icon).
The content of the Name field will be saved as the display name for the translation variable. Here, the currently selected display language applies.
Select Save template.
The teamspace template is saved.
# Define icon
In the Icon area, you can select an icon to be shown in your client for the Teamspace function with this template.
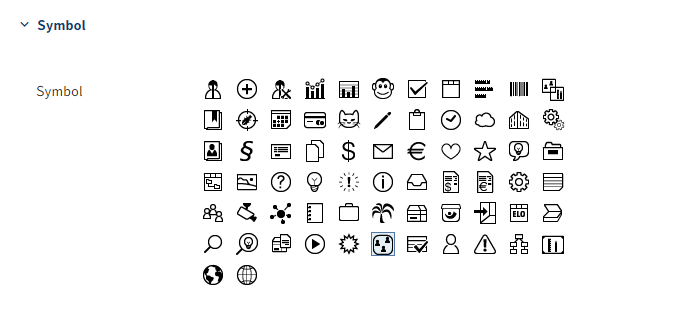
Select an icon.
Select Save template.
The teamspace template is saved.
# Define document spaces
You can define document spaces in your teamspace template.
Select New document space.
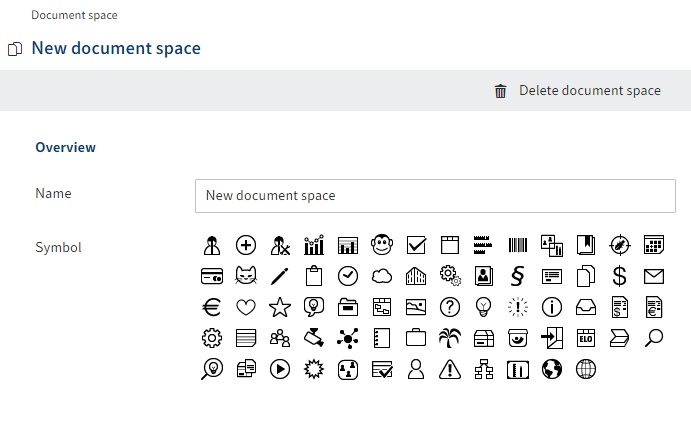
The Document space dialog box opens.
Enter a name for the document space.
Select an icon.
Select Save template.
The teamspace template is saved. You have defined a new document space in the teamspace template.
# Define workspaces
You can integrate existing workflow types in your teamspace template to create new workspace instances in your teamspace.
Select New workspace.
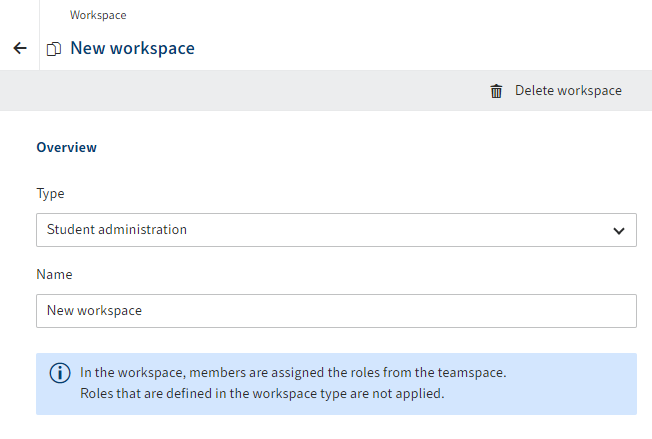
The Workspace dialog box appears.
Select a workspace type in the Type field via the drop-down menu in the Workspace dialog box.
Enter a name for the new workspace.
Select Save template.
The teamspace template is saved. You have defined a new workspace in the teamspace template.
Please note
In the workspace, members are assigned the roles as well as the associated rights and permissions from the teamspace. Roles that are defined in the workspace type are not applied.
# Integrate widgets
You can integrate widgets in your teamspace. First, you must create a widget.
A widget is an ELO app. Refer to the ELO apps API documentation and their guides to learn how to create them. You can find this documentation in the ZIP file for ELO Web Forms Services (ELOwf). Download it from the ELO SupportWeb (opens new window) and extract the folder. The extracted folder contains the ZIP file wf_api_doc_<version>, which contains the ELO Apps API documentation and installation instructions.
A special requirement when creating a widget for teamspaces is that during creation, you must enter the following in the app's manifest (manifest.json):
"widgets": [
{"type": "elo.widget.type.Teamspace"}
],
This entry is a list of widget types that this ELO app is available for.
Information
The type elo.widget.type.Teamspace is currently the only available type. It stands for the home screen of a teamspace.
Select New widget to integrate the widget.
# Define roles
In a teamspace, users have different roles with different associated rights and permissions. You can define roles in this area.
A teamspace contains four pre-defined roles with defined rights and permissions:
- Administrator: The creator of a teamspace is automatically assigned the role of Administrator. Other team members can also be assigned the role of Administrator. Administrators have all the rights to the teamspace and all permissions to the contents in the teamspace.
- Moderator: Users with this role have the right to edit the teamspace but not delete it. Like administrators, they have all the permissions to the contents of the teamspace.
- Member: Users with this role have the permissions to view, edit, and delete contents in the teamspace.
- Guest: Users with this role have permission to view the contents in the teamspace.
Information
The Administrator role cannot be edited or deleted.
You can also set authorization options for entries that were created in a teamspace. For more information, refer to the following documents:
- Space authorizations in the ELO Java Client (opens new window)
- Space authorizations in the ELO Web Client (opens new window)
# Overview of functions
- New role: You can add a role to the teamspace template. See the following section for additional information on this.
- Roles: Selecting one of the existing roles lets you see the role's settings and edit them if you have the rights.
- Default for new team members: Select which role is set as standard for new members.
# New role
Information
Roles can only be created and edited by users with the appropriate rights.
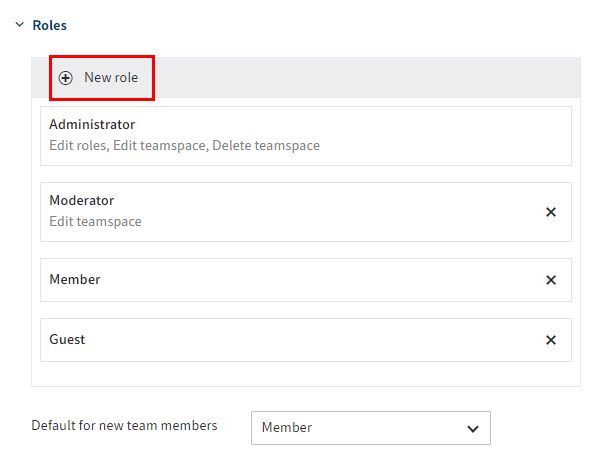
Select New role.
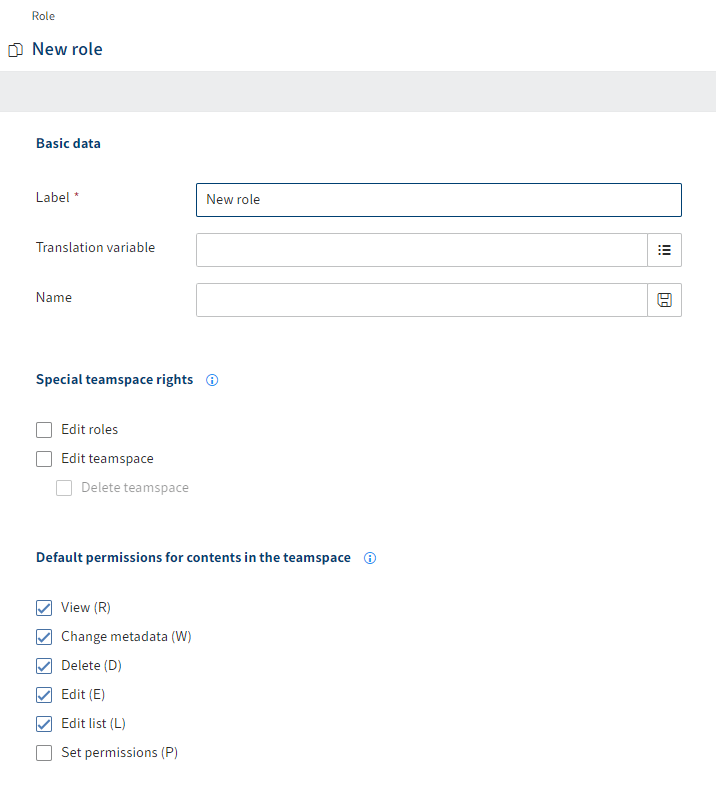
The Role dialog box opens.
Enter a technical name in the Identifier field.
Enter a translation variable into the Translation variable field.
Enter the display name for the translation variable into the Name field.
Select Save (floppy disk icon).
Alternative: Select an existing translation variable with List (list icon).
The display name for the translation variable is automatically applied to the Name field.
Select which rights and permissions this role should receive.
You can assign the following special teamspace rights:
Edit roles: Users with this right can edit the roles in the teamspace.
Edit teamspace: Users with this right can use the Edit teamspace function to make changes to a teamspace. They can also change the roles assigned to members in the teamspace and add new members.
Delete teamspace: Users with this right can use the Edit teamspace function to delete a teamspace.
You can assign the following default permissions for contents in a teamspace:
View (R): Users have read access to the entry. They cannot modify the entry.
Change metadata (W): Users can edit the metadata of the entry.
Delete (D): Users can delete the entry.
Edit (E) (documents only): Users can edit the selected entry. This means that they can change the working version and upload a new version.
Edit list (L) (folders only): Users can change the contents of the folder. For example, you can create documents in this folder or move or remove documents from the folder.
Set permissions (P): Users can change the permissions for the selected folder.
Information
The current teamspace rights and permissions only take effect if the user has the corresponding user rights.
Select Save template.
The teamspace template is saved. The role can now be used for new teamspaces. Existing teamspaces with this teamspace template do not take on the role.