# Basics
This chapter introduces the ELO Connect program interface. You will get to know important menus and buttons and learn how to navigate ELO Connect.
# User interface
To start ELO Connect, tap the app icon on your device's start screen.

The Outbox area opens.
Information
The Outbox area is set as the ELO Connect start screen.
1 Menu (button with three dots): Opens the Menu bar.
2 Refresh: Refreshes the Outbox.
3 Add (plus icon): Opens the File overview.
# Menu bar
Open the Menu bar from the menu (button with three dots).
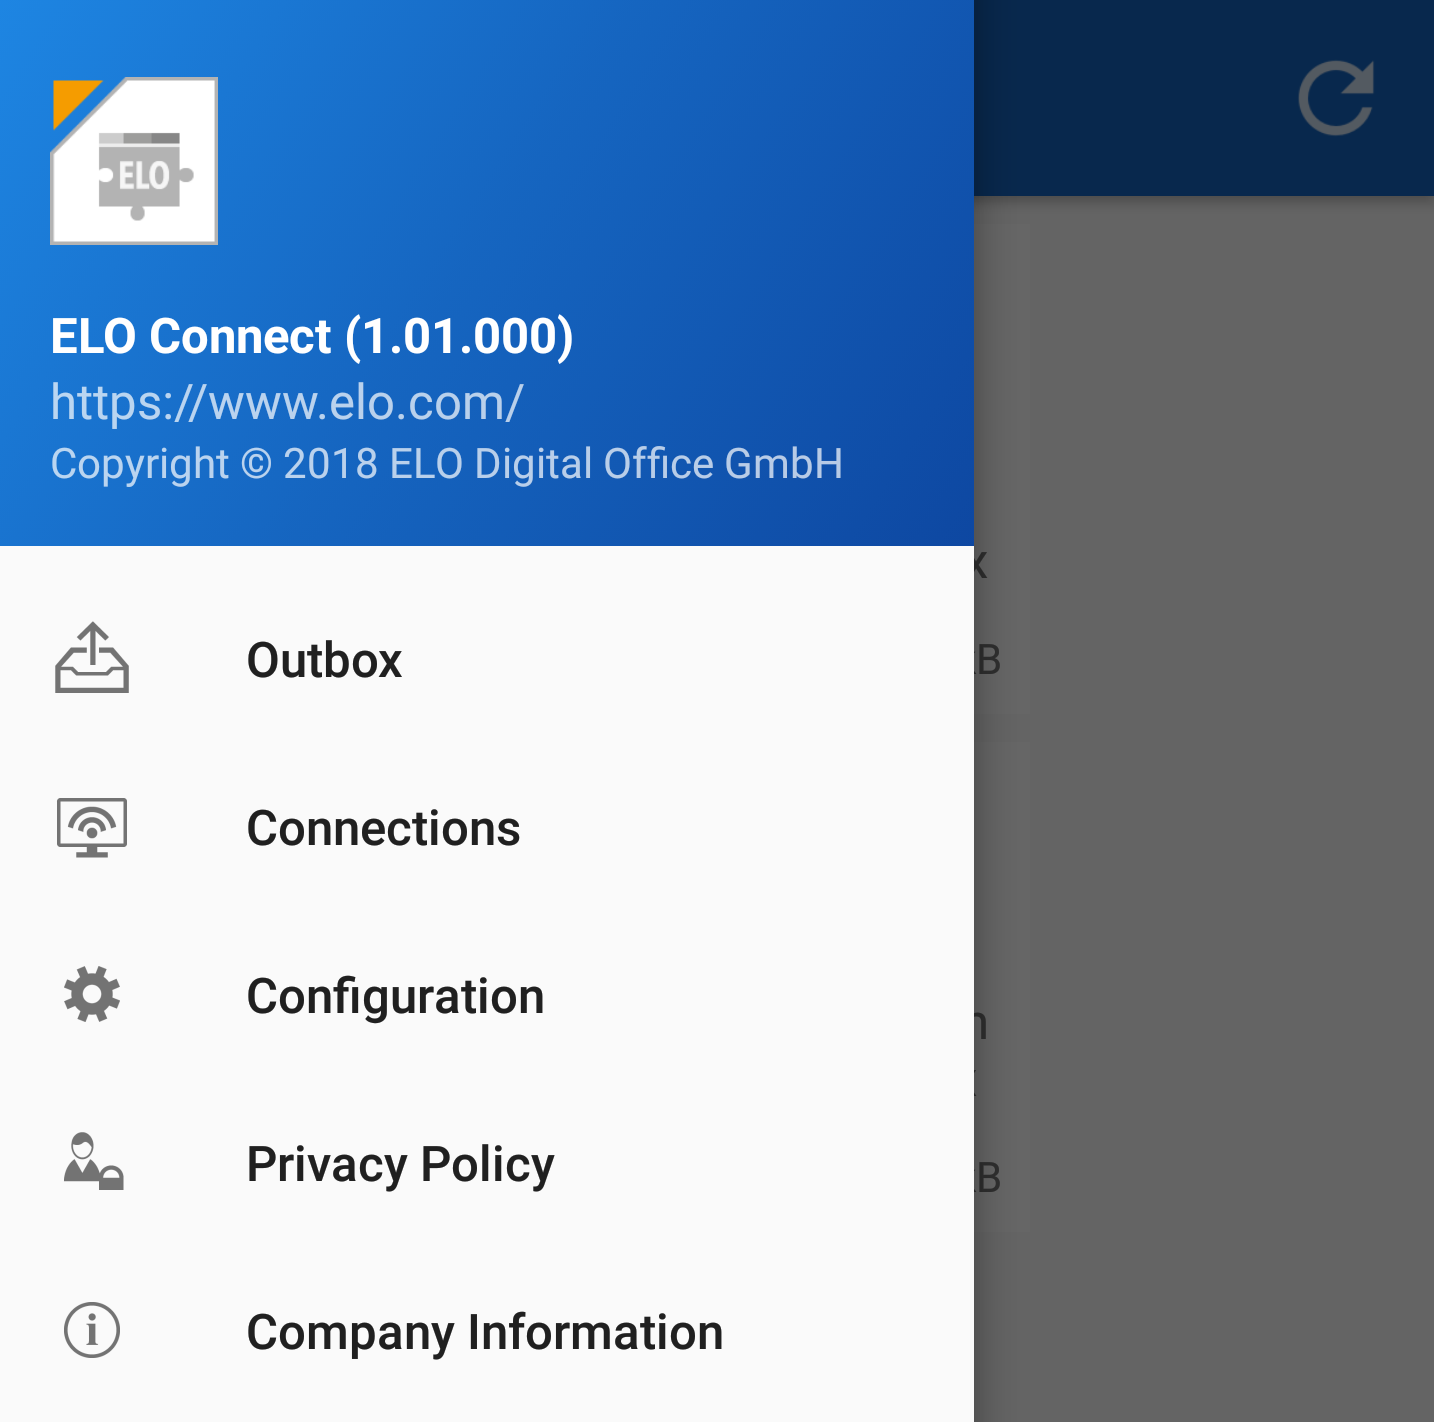
The ELO Connect menu bar opens.
The following menu items are available:
Outbox: Here, you can gather files and transfer them to the ELO Java Client or ELOoffice.
Connections: Under Connections, you can add or remove connections to transfer data between ELO Connect and the ELO Java Client or ELOoffice.
Configuration: In the Configuration, you can adjust settings for filing and saving your files with ELO Connect. Different logging functions are also available in this area.
Privacy Policy: You will find the ELO Connect Privacy Policy here.
Company Information: This menu item contains Company Information and the contact information for ELO Digital Office GmbH.
# File overview
Navigate to the Outbox. Tap Add (plus icon) to open the File overview area.

The File overview opens. You can select the files you want to transfer with ELO Connect here. Once you have made your selection, the files are gathered in the Outbox.
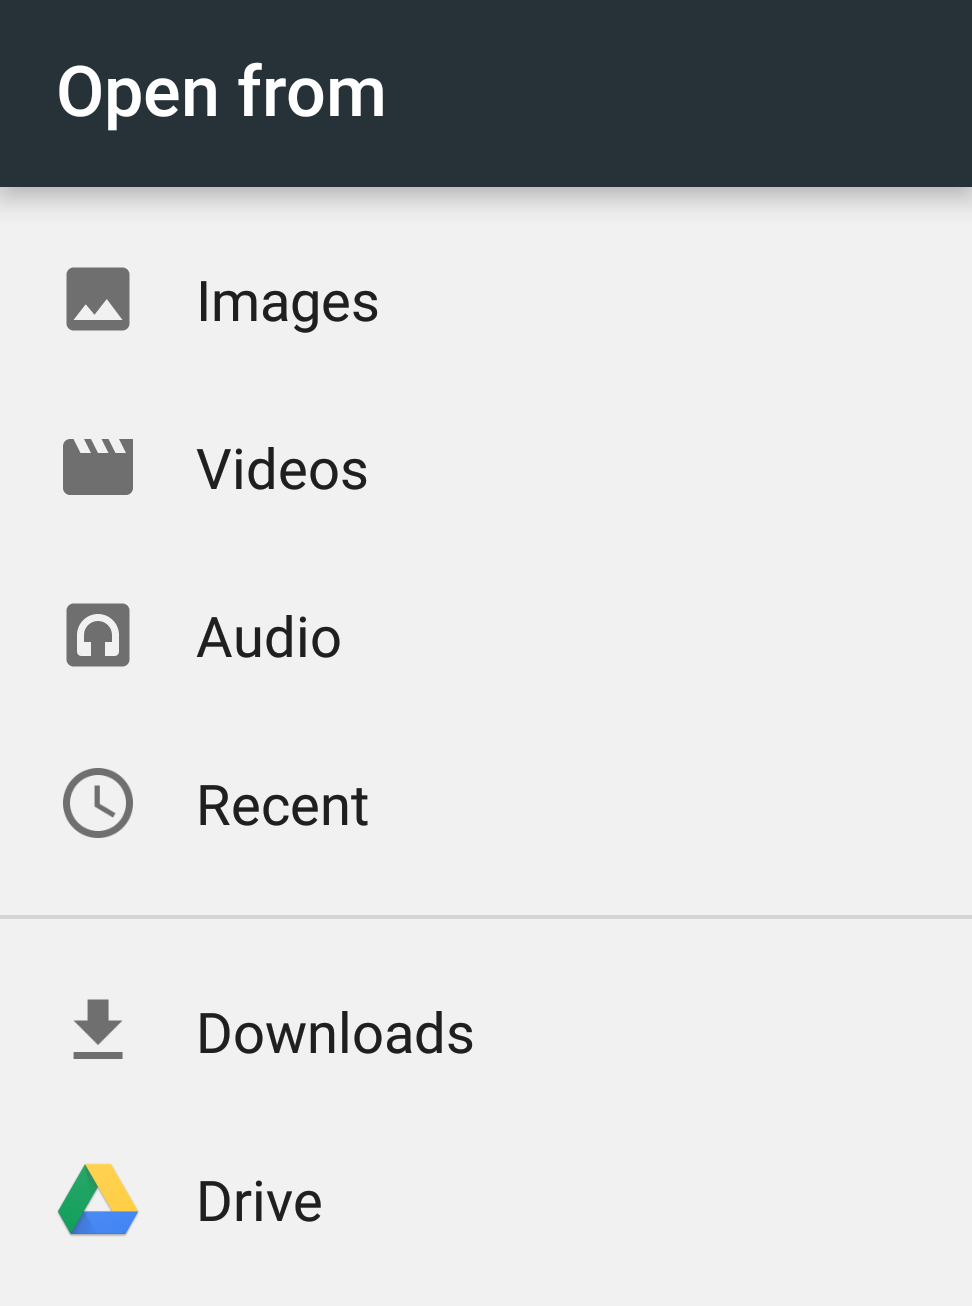
1 Directory overview: Opens the overview of available directories. In the directory overview, you can choose directories of other apps, for example an additional file explorer. As standard, you can select files to transfer with ELO Connect from the following directories:
- Images
- Videos
- Audio
- Recent
- Downloads
- Cloud providers, e.g. Google Drive
2 File view: Changes the view of the available files. You can choose between a view with large icons and a list view with additional information, such as the date and file name.
3 File arrangement: Arranges the displayed files by name or date modified.
4 Additional display options: Provides additional information on the files. You can hide or show the file size as well as the internal storage.
# Connections
In this chapter, you will learn how to set up a connection for data transfer with ELO Connect and what general configuration options are available.
# Set up a connection
Method
In the open menu bar, tap Connections.
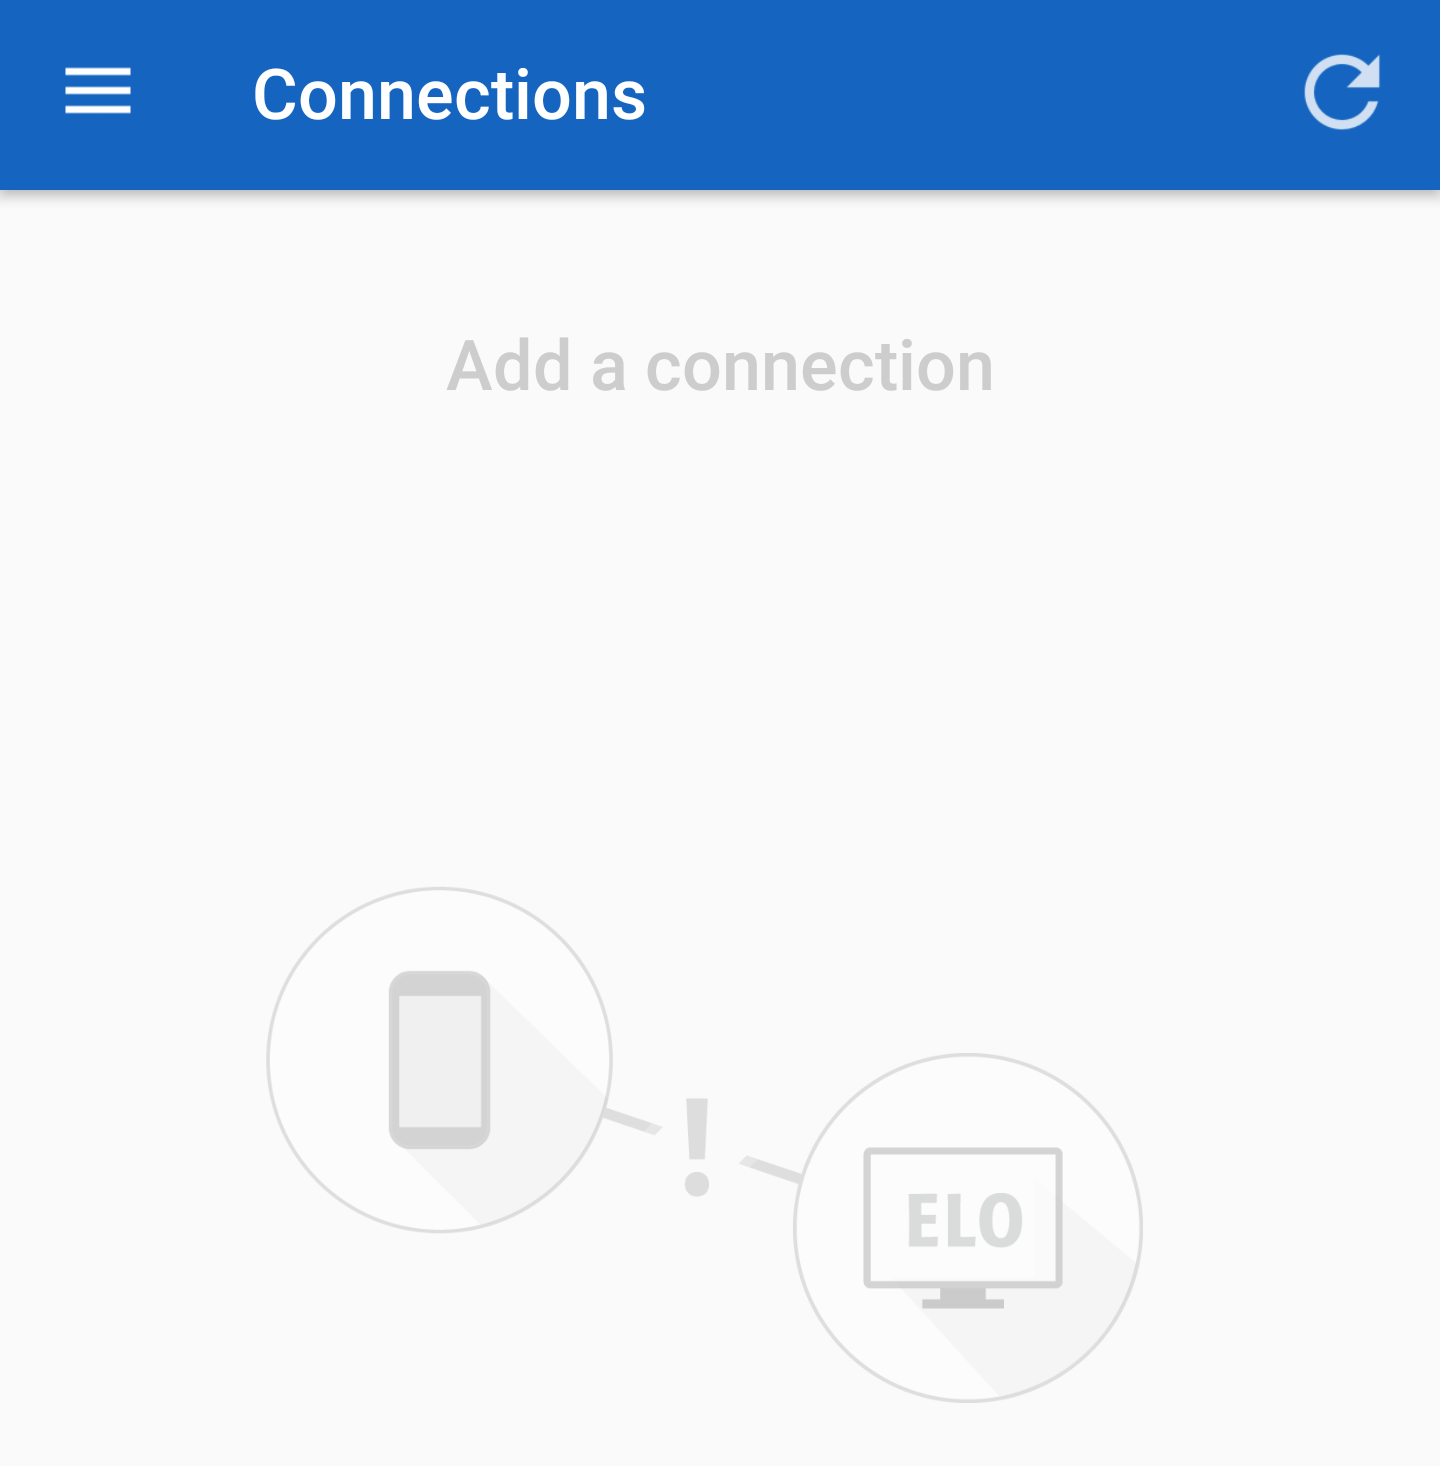
The Connections area opens.
Tap Add (plus icon).
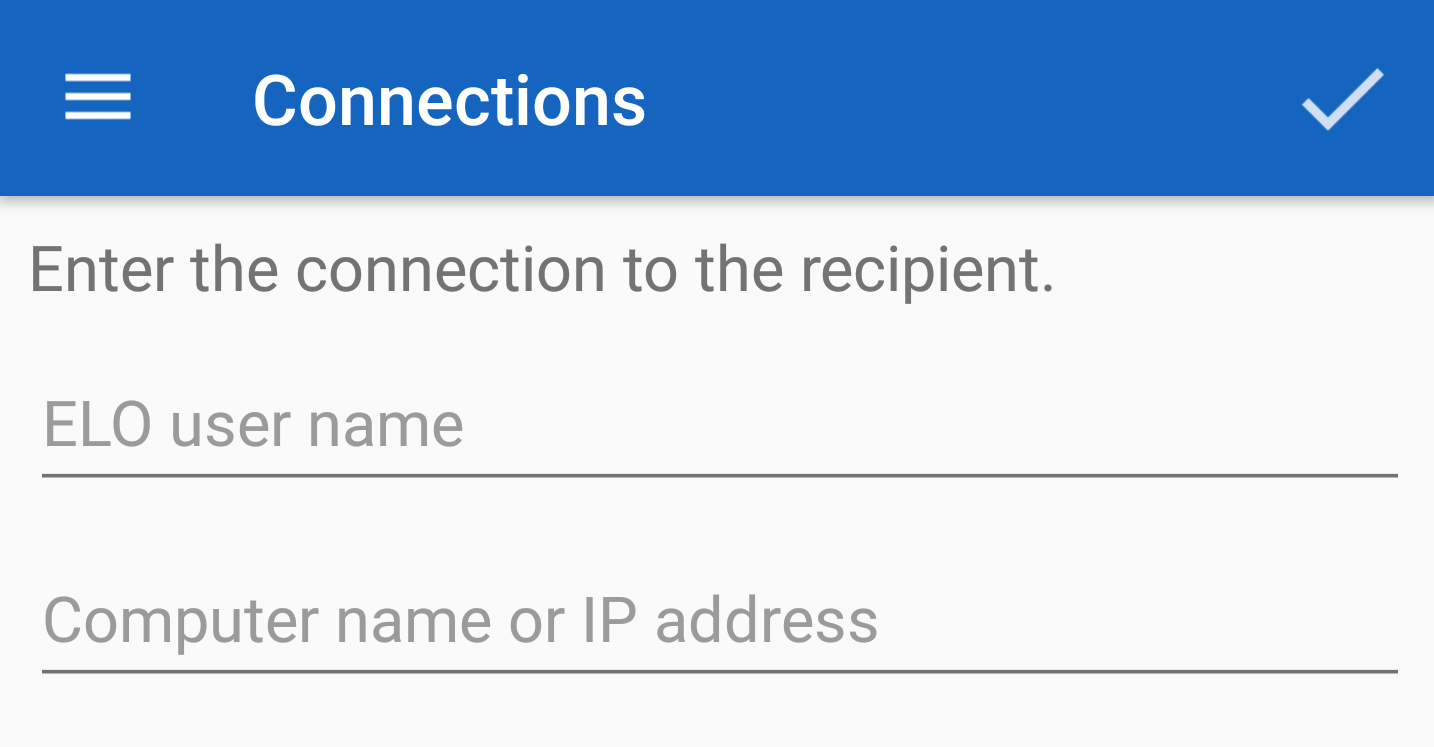
The input screen for recipient connection data opens.
In the ELO user name field, enter the user name you want to use to log onto your ELO repository in the ELO Java Client or ELOoffice.
In the Computer name or IP address field, enter the name of the computer you have installed the ELO Java Client or ELOoffice to.
Alternative: In the Computer name or IP address field, enter the name of the computer you have installed the ELO Java Client or ELOoffice on.
Please note
To transfer files between ELO Connect and the ELO Java Client or ELOoffice, your mobile device must be connected to the same network as your computer.
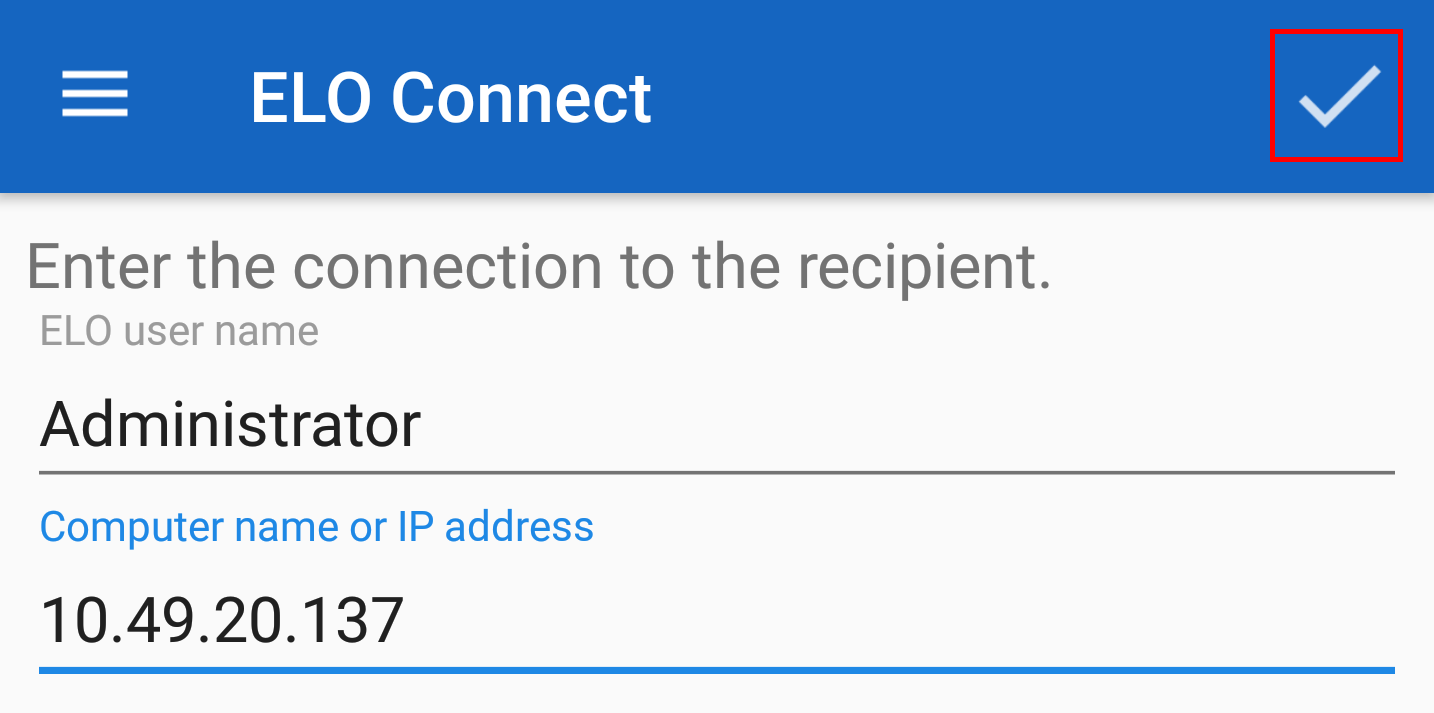
Confirm your connection data by tapping the gray check.
Result
A connection for transferring files between ELO Connect and the ELO Java Client or ELOoffice has now been created.
Please note
Establishing a connection between ELO Connect and your computer requires the port TCP/UDP 5876 to be enabled. In the Windows Management Console, go to the Windows Defender Firewall with Advanced Security dialog box and enable port TCP/UDP 5876 under Inbound Rules. Create a new rule.
As ELO Connect only works on a fixed port, use in a multi-user environment, such as terminal servers, is not possible.

When you have successfully established a connection between ELO Connect and the ELO Java Client or ELOoffice, the active connection appears in the connection overview. The connection information contains the ELO user name of the respective client, the computer name or its IP address, as well as a designation for the client to which files are transferred. In this example, you can see that there is an active connection between ELO Connect and ELOoffice.
You can now transfer files between the ELO Connect app and the ELO Java Client or ELOoffice.
# Delete connection
If you would like to remove an active connection in ELO connect, proceed as follows:
Navigate to the Connections area.
Select the connection you would like to delete from the Connections area.

The menu bar in the Connections area offers two additional functions.
Tap the Recycle bin if you would like to remove the active connection from the Connections. Tap the arrow icon if you want to clear your selection.
Result
The active connection is removed from the Connections area.
# Configuration
In the Configuration, you can adjust settings for filing and saving your files with ELO Connect. Different logging functions are also available in this area.
Method
Open the Configuration by tapping Configuration on the menu bar.
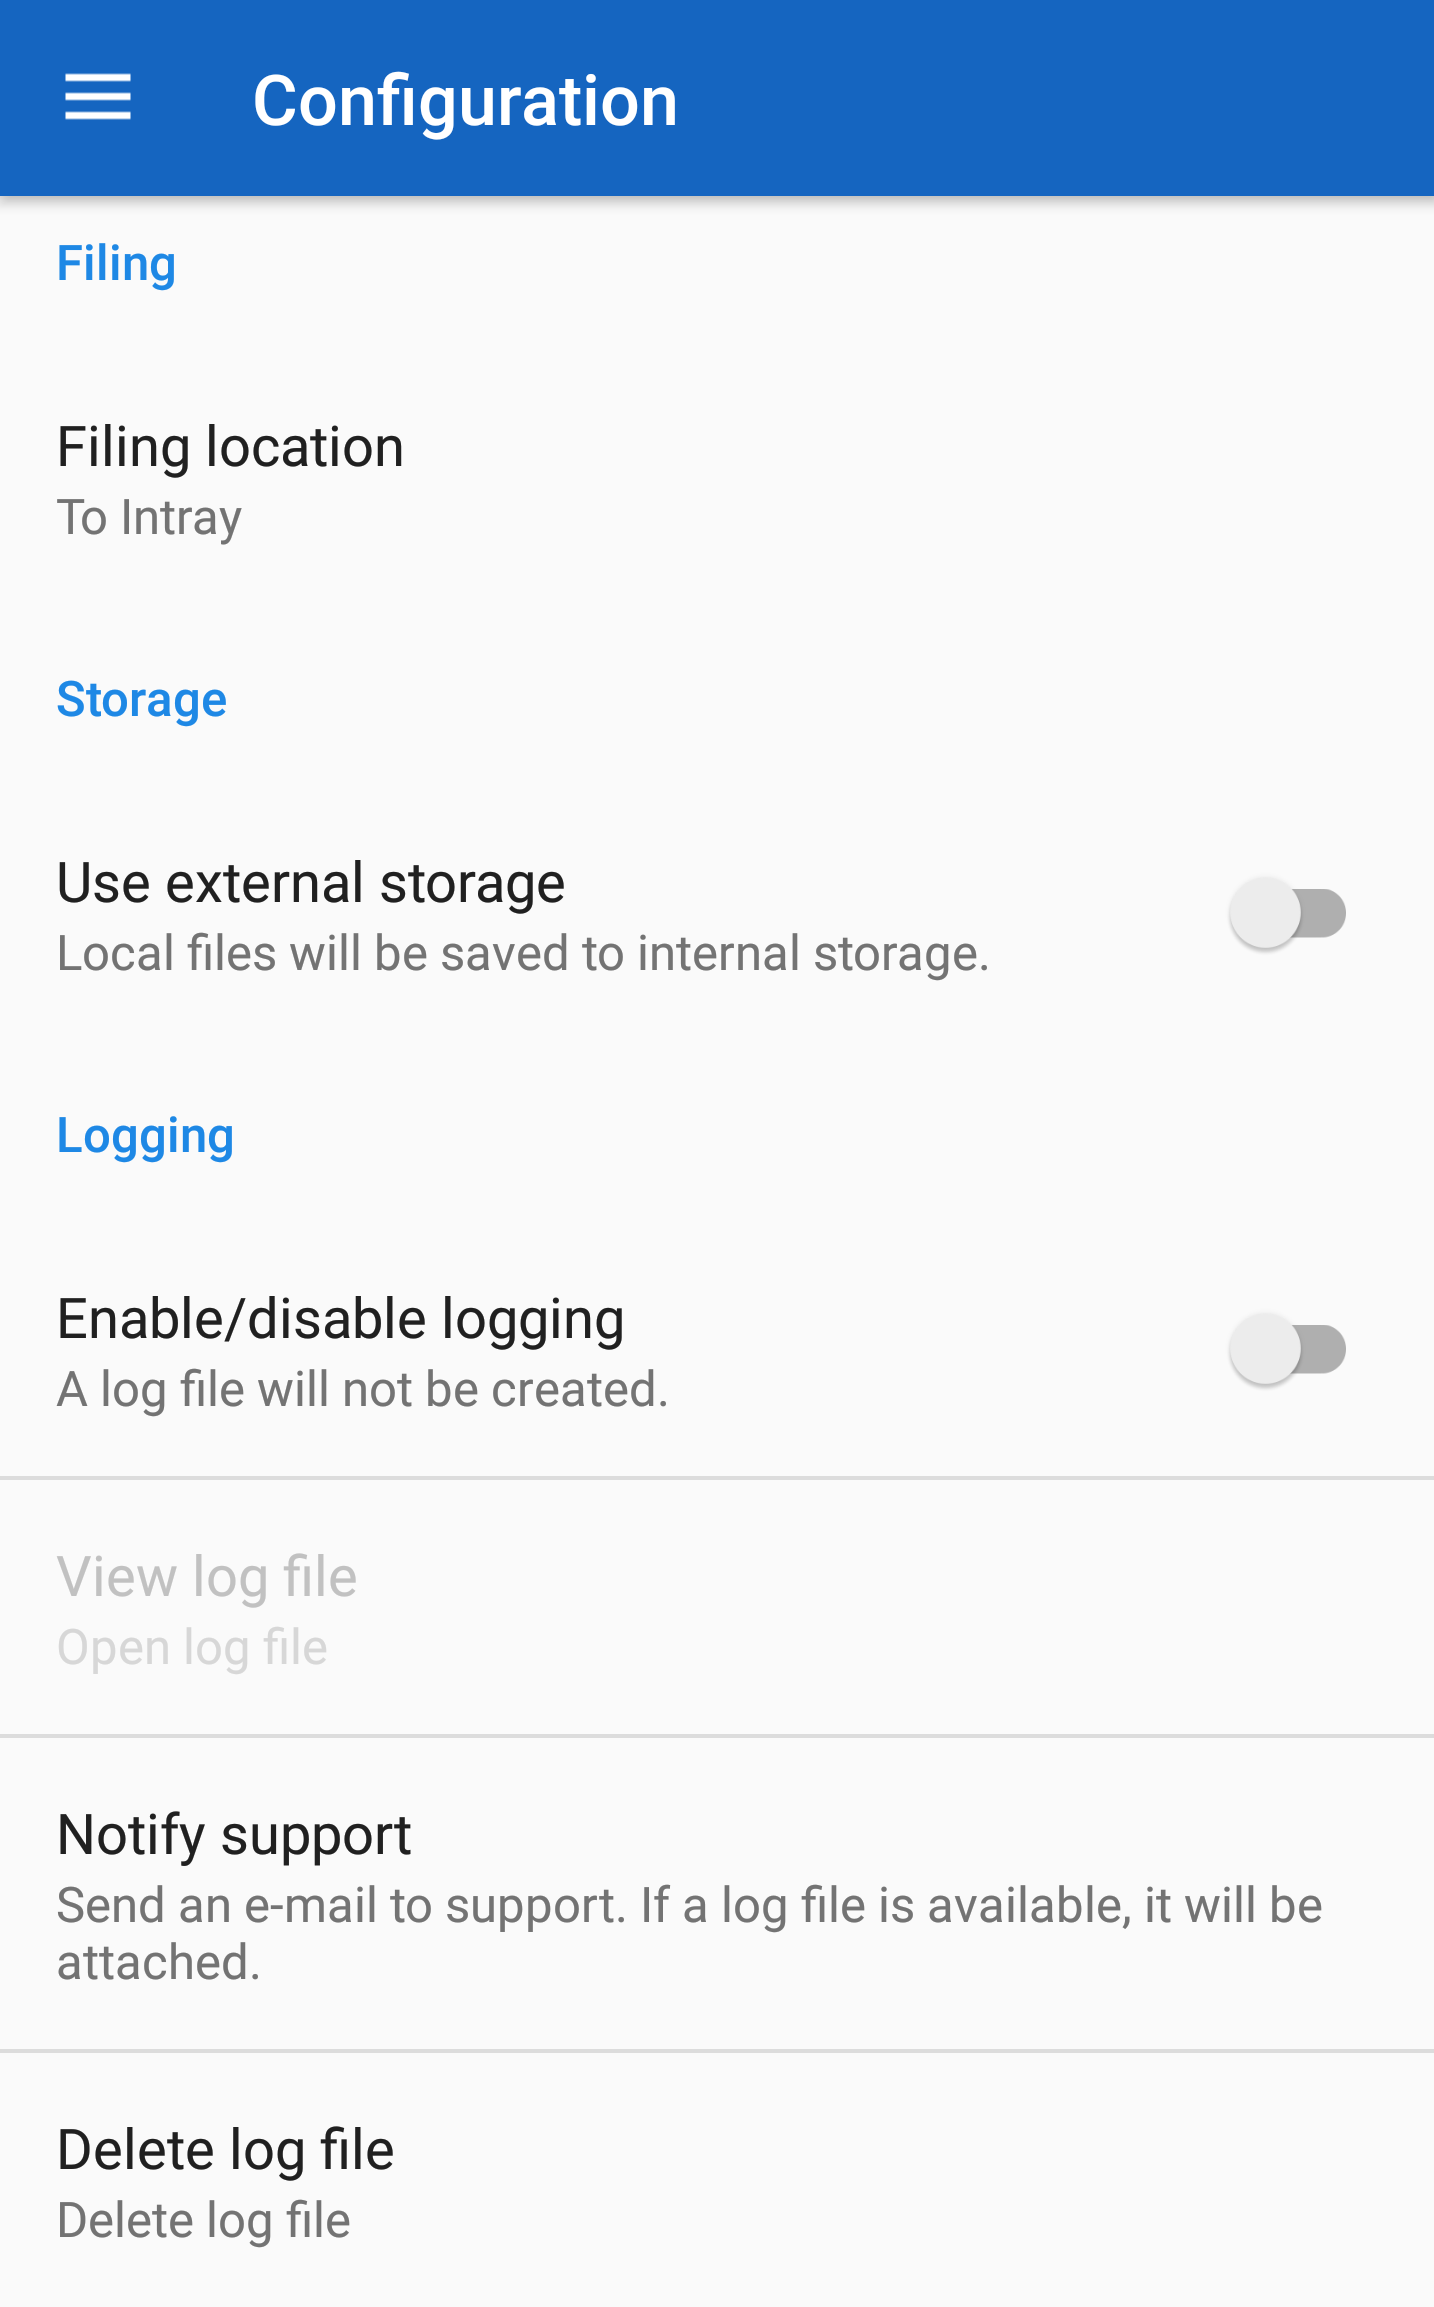
The Configuration dialog box appears.
# Filing
Filing location: Here, you can define where transferred files are stored in the ELO Java Client or ELOoffice.
- To Intray: The files are sent to the Intray of the connected repository.
- To current folder: Stores the files to the folder most recently selected in the repository in the ELO Java Client or ELOoffice.
- Confirm via dialog box: Shows a dialog box for each transfer allowing you to select a location to transfer the file to. Here, you can choose between the two filing options To Intray and To current folder.
# Storage
Use external storage: Choose whether local files should be saved to an external storage medium, such as an SD card, or to the internal storage of the device. Use the slider to choose how you want to file your documents.
# Logging
Logging: Here, you will find all the settings for an optional log file.
- Enable/disable logging: Enables creation of a log file. Tap the slider icon to enable or disable this setting.
- View log file: With this option, users can view the log file. If one is available, open the log file with an editor of your choice.
- Notify support: Compose an e-mail to send to ELO Support. Available log files are attached to the e-mail.
- Delete log file: This option allows you to delete available log files.
# Configure ELOoffice for file transfer
Method
- Open ELOoffice on your computer.
On the ELOoffice menu bar, click the ELO button.
Open the Configuration area.
By Additional modules, check the ELO Connect box.
Restart ELOoffice.
Please note
To establish a connection between ELOoffice and ELO Connect, you need version 11.00.016 of ELOoffice.
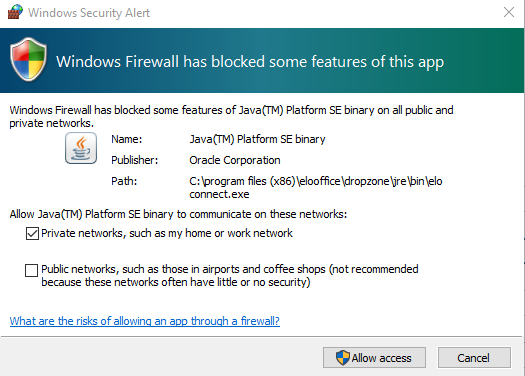
A dialog box with a Windows Security Alert opens. This means the Windows Firewall is blocking communication between ELO Connect and your computer.
Enable communication by checking the box next to Private networks, such as my home or work network.
Click Allow access.
Result
You can now transfer files to ELOoffice with ELO Connect.
# Remove device access
If you have given a device access, you can remove it again.
You can only remove access via the ELO Java Client.
Method
Open the ELO Java Client.
Navigate to the Output tab on the ribbon and open the External link drop-down menu.
Select Manage mobile devices.
The Manage mobile devices dialog box opens.
Select the device you want to edit.
You have the following options:
- Rename device
- Delete device
Tap the X icon to delete the device.
Result
The device was removed from the list.