# Method
Information
We recommend you use the ELO Server Setup to install ELO Sync, rather than performing a manual installation.
Make sure that all requirements are met before installing ELO Sync.
ELO Sync can be installed on the following operating systems:
# Windows
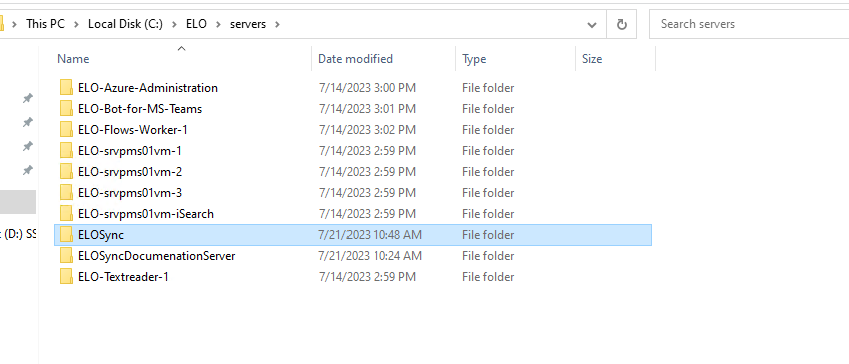
Create the target directory on your system and extract the files from ELO Sync.
Follow the guide on Registering ELO Sync in Azure and note the application information.
Copy the appsettings.json file as appsettings.Production.json.
This ensures that your configuration is not overwritten by future updates.
Open the configuration file in a text editor of your choice.
- Use the information from step 2 to change the following configuration section.
"AzureAd": {
 "Instance": "https://login.microsoftonline.com/",
 "Domain": "example.onmicrosoft.com",
 "ClientId": "00000000-0000-0000-0000-000000000000",
 "TenantId": "11111111-2222-3333-4444-555555555555",
 "ClientSecret": "TheClientSecretFromAzurePortal",
 "CallbackPath": "/signin-oidc-custom"
},
Some of these terms have changed over time. Below is a short list of alternative names for each setting:
- ClientId: AppID, Application client ID
- TenantId: Directory ID
- Enter the PublicUrl path if ELO Sync should be called from a domain other than the internal one, e.g. via a proxy.
"PublicUrl": "https://domain:port/path/to/elosync",- Change the logon information for the service user that will be used to connected to the ELO repository:
"ServiceUser": { "UserName": "ELO Service", "Password": "ThePasswordForTheServiceUser" }- Configure the ELO repositories to be accessed via ELO Sync:
"Repositories": [
{
  "name": "Display Name for Repository",
    "key": "TechnicalKeyForRepository",
    "url": "https://elo-example-server.com:9093/ix-Repository/ix",
    "webclienturl": "https://elo-example-server.com:9093/ix-Repository/plugin/de.elo.ix.plugin.proxy/web/",
    "oauthcallbackurl": "https://elo-example-server.com:9093/ix-Repository"
}
]
The technical key for the repository can be any character except a space (' '). We recommend using the repository name unless this name is not unique on all servers.
- If necessary, change the profile key for the ELOauth plug-in. This is used if the user logs on to the ELO Sync web interface.
"OAuth": { "ConfigId": "elo_sync_oauth" }- Enter the database type and the connection string.
"Database": "Postgres", "ConnectionStrings": { "Sqlite": "Data Source=elosync.db", "Postgres": "User ID=dbuser;Password=dbpassword;Server=dbserver;Port=5432;Database=elosyncdb;Include Error Detail=true;", "Oracle": "Data Source=elosyncdb;User Id=dbuser;Password=dbpassword;Integrated Security=no;", "MsSql": "Server=dbserver,1433;Database=elosyncdb;User Id=dbuser;Password=dbpassword;" },- Configure the web server endpoints:
"Kestrel": {
  "Endpoints": {
    "Https": {
    "Url": "https://elo-sync-server",
    "Certificate": {
    "Path": "C:\\Path\\To\\Certificate.pfx",
    "Password": "PasswordForCertificate"
    }
    }
  },
},
ELO Sync is now installed and fully configured.
To test ELO Sync, open a terminal in the ELO Sync installation directory and execute the following command:
.\Elo.Sync.Main.exe
You can find more details about configuration in the appsettings.json (or appsettings.Production.json) file in the Configuration section.
# Linux
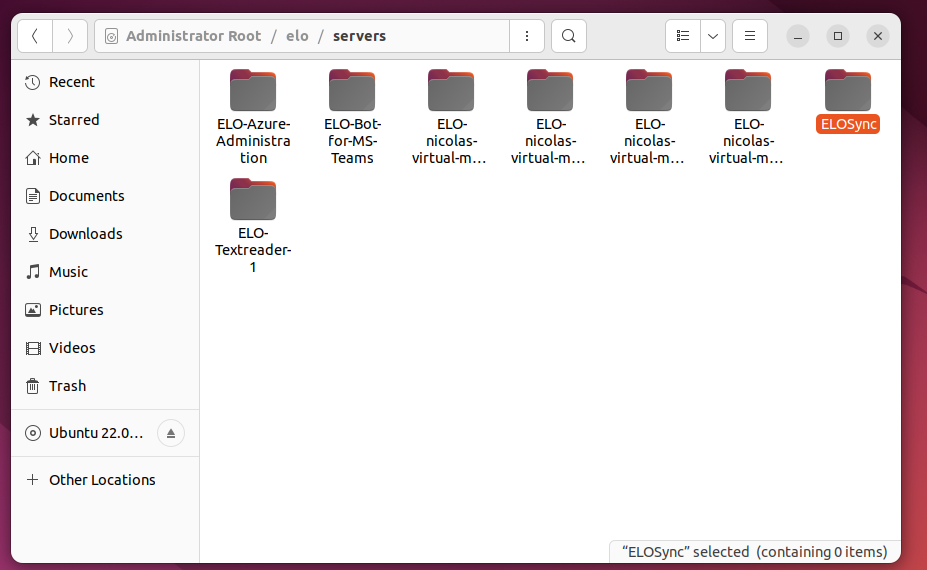
Create the target directory on your system and extract the files from ELO Sync.
Follow the guide on Registering ELO Sync in Azure and note the application information.
Copy the appsettings.json file as appsettings.Production.json.
This ensures that your configuration is not overwritten by future updates.
Open the configuration file in a text editor of your choice.
- Use the information from step 2 to change the following configuration section.
"AzureAd": {
 "Instance": "https://login.microsoftonline.com/",
 "Domain": "example.onmicrosoft.com",
 "ClientId": "00000000-0000-0000-0000-000000000000",
 "TenantId": "11111111-2222-3333-4444-555555555555",
 "ClientSecret": "TheClientSecretFromAzurePortal",
 "CallbackPath": "/signin-oidc-custom"
},
Some of these terms have changed over time. Below is a short list of alternative names for each setting:
- ClientId: AppID, Application client ID
- TenantId: Directory ID
- Enter the PublicUrl path if ELO Sync should be called from a domain other than the internal one, e.g. via a proxy.
"PublicUrl": "https://domain:port/path/to/elosync",- Change the logon information for the service user that will be used to connected to the ELO repository:
"ServiceUser": { "UserName": "ELO Service", "Password": "ThePasswordForTheServiceUser" }- Configure the ELO repositories to be accessed via ELO Sync:
"Repositories": [
{
  "name": "Display Name for Repository",
    "key": "TechnicalKeyForRepository",
    "url": "https://elo-example-server.com:9093/ix-Repository/ix",
    "webclienturl": "https://elo-example-server.com:9093/ix-Repository/plugin/de.elo.ix.plugin.proxy/web/",
    "oauthcallbackurl": "https://elo-example-server.com:9093/ix-Repository"
}
]
The technical key for the repository can be any character except a space (' '). We recommend using the repository name unless this name is not unique on all servers.
- If necessary, change the profile key for the ELOauth plug-in. This is used if the user logs on to the ELO Sync web interface.
"OAuth": { "ConfigId": "elo_sync_oauth" }- Enter the database type and the connection string.
"Database": "Postgres", "ConnectionStrings": { "Sqlite": "Data Source=elosync.db", "Postgres": "User ID=dbuser;Password=dbpassword;Server=dbserver;Port=5432;Database=elosyncdb;Include Error Detail=true;", "Oracle": "Data Source=elosyncdb;User Id=dbuser;Password=dbpassword;Integrated Security=no;", "MsSql": "Server=dbserver,1433;Database=elosyncdb;User Id=dbuser;Password=dbpassword;" },- Configure the web server endpoints:
"Kestrel": {
  "Endpoints": {
    "Https": {
    "Url": "https://elo-sync-server",
    "Certificate": {
        "Path": "/path/to/certificate.pem",
        "Password": "PasswordForCertificate"
    }
    }
},
},
ELO Sync is now installed and fully configured.
To test ELO Sync, open a terminal in the ELO Sync installation directory and execute the following command:
./Elo.Sync.Main
You can find more details about configuration in the appsettings.json (or appsettings.Production.json) file in the Configuration section.