# Setup and operation
You can use the ELO QuickScan app (iOS edition), known here simply as ELO QuickScan, to take pictures (scans) of documents. You then transfer these pictures to ELO as a PDF file.
Information
ELO QuickScan is optimized for use with iPhone, but can also be used with iPads. All of the following information applies for use with Apple iPhone.
The following chapter describes how to set up and use the app.
# Install the app
The ELO QuickScan app is installed like any other iOS app.
To install the ELO QuickScan app, you need the App Store app and an Apple ID.
# Requirement
The ELO QuickScan app requires iOS 16 or higher. It is compatible with iPhone, iPad, and iPod Touch.
# Installation via the App Store
You will find the ELO QuickScan app in the App Store.
Method
Tap LOAD.
The installation dialog box opens.
Tap Install to begin installation.
Result
The app is installed on your device automatically.
You can now start ELO QuickScan.
# Program interface
This section briefly introduces the individual areas of ELO QuickScan.
You will find the ELO QuickScan app menu at the bottom of the start screen.
# App menu

# Camera
In the Camera area, you can create scans. Refer to the chapter Creating scans for more information.
# Scans
All available scans are in the Scans area. Here, you can edit or delete scans, or send them to the target device. Refer to the chapter Uploading scans for more information.
In the Configuration area, you can adjust settings for the module. For detailed information, refer to the Configuration chapter.
# Configuration
The following explains which settings you can make within the ELO QuickScan app.

To configure ELO QuickScan, tap the gear icon on the start screen.
The Configuration dialog box appears. There are four categories in the Configuration area that will be explained briefly.
# Image quality
With this setting, you can determine the scan image quality. This allows you to control the file size of the individual scans. You can choose between Low, Medium, and High.
Information
The image quality for scans in ELO QuickScan is set to High by default.
# Log
ELO QuickScan can output a log file when transferring scanned documents to the target device. Enable logging using the slider next to Enable logging.
# Create scans
This section describes how to create scans.
Method

In the app menu, tap the camera icon.
The Camera area appears. The following control elements are available:
- Capture area: Everything inside the capture area will be included in the scan and marked in green. The selected section can be corrected later on in edit mode.
- Trigger: Press Trigger to create a scan.
Select the desired section of the screen.
Press the trigger.
Result
The camera captures the image. This may take a few moments. Hold the device as stable as possible.
Information
If you capture multiple scans one after another, ELO QuickScan combines all scans into a single file numbered serially.
# Preview mode for single-page scans
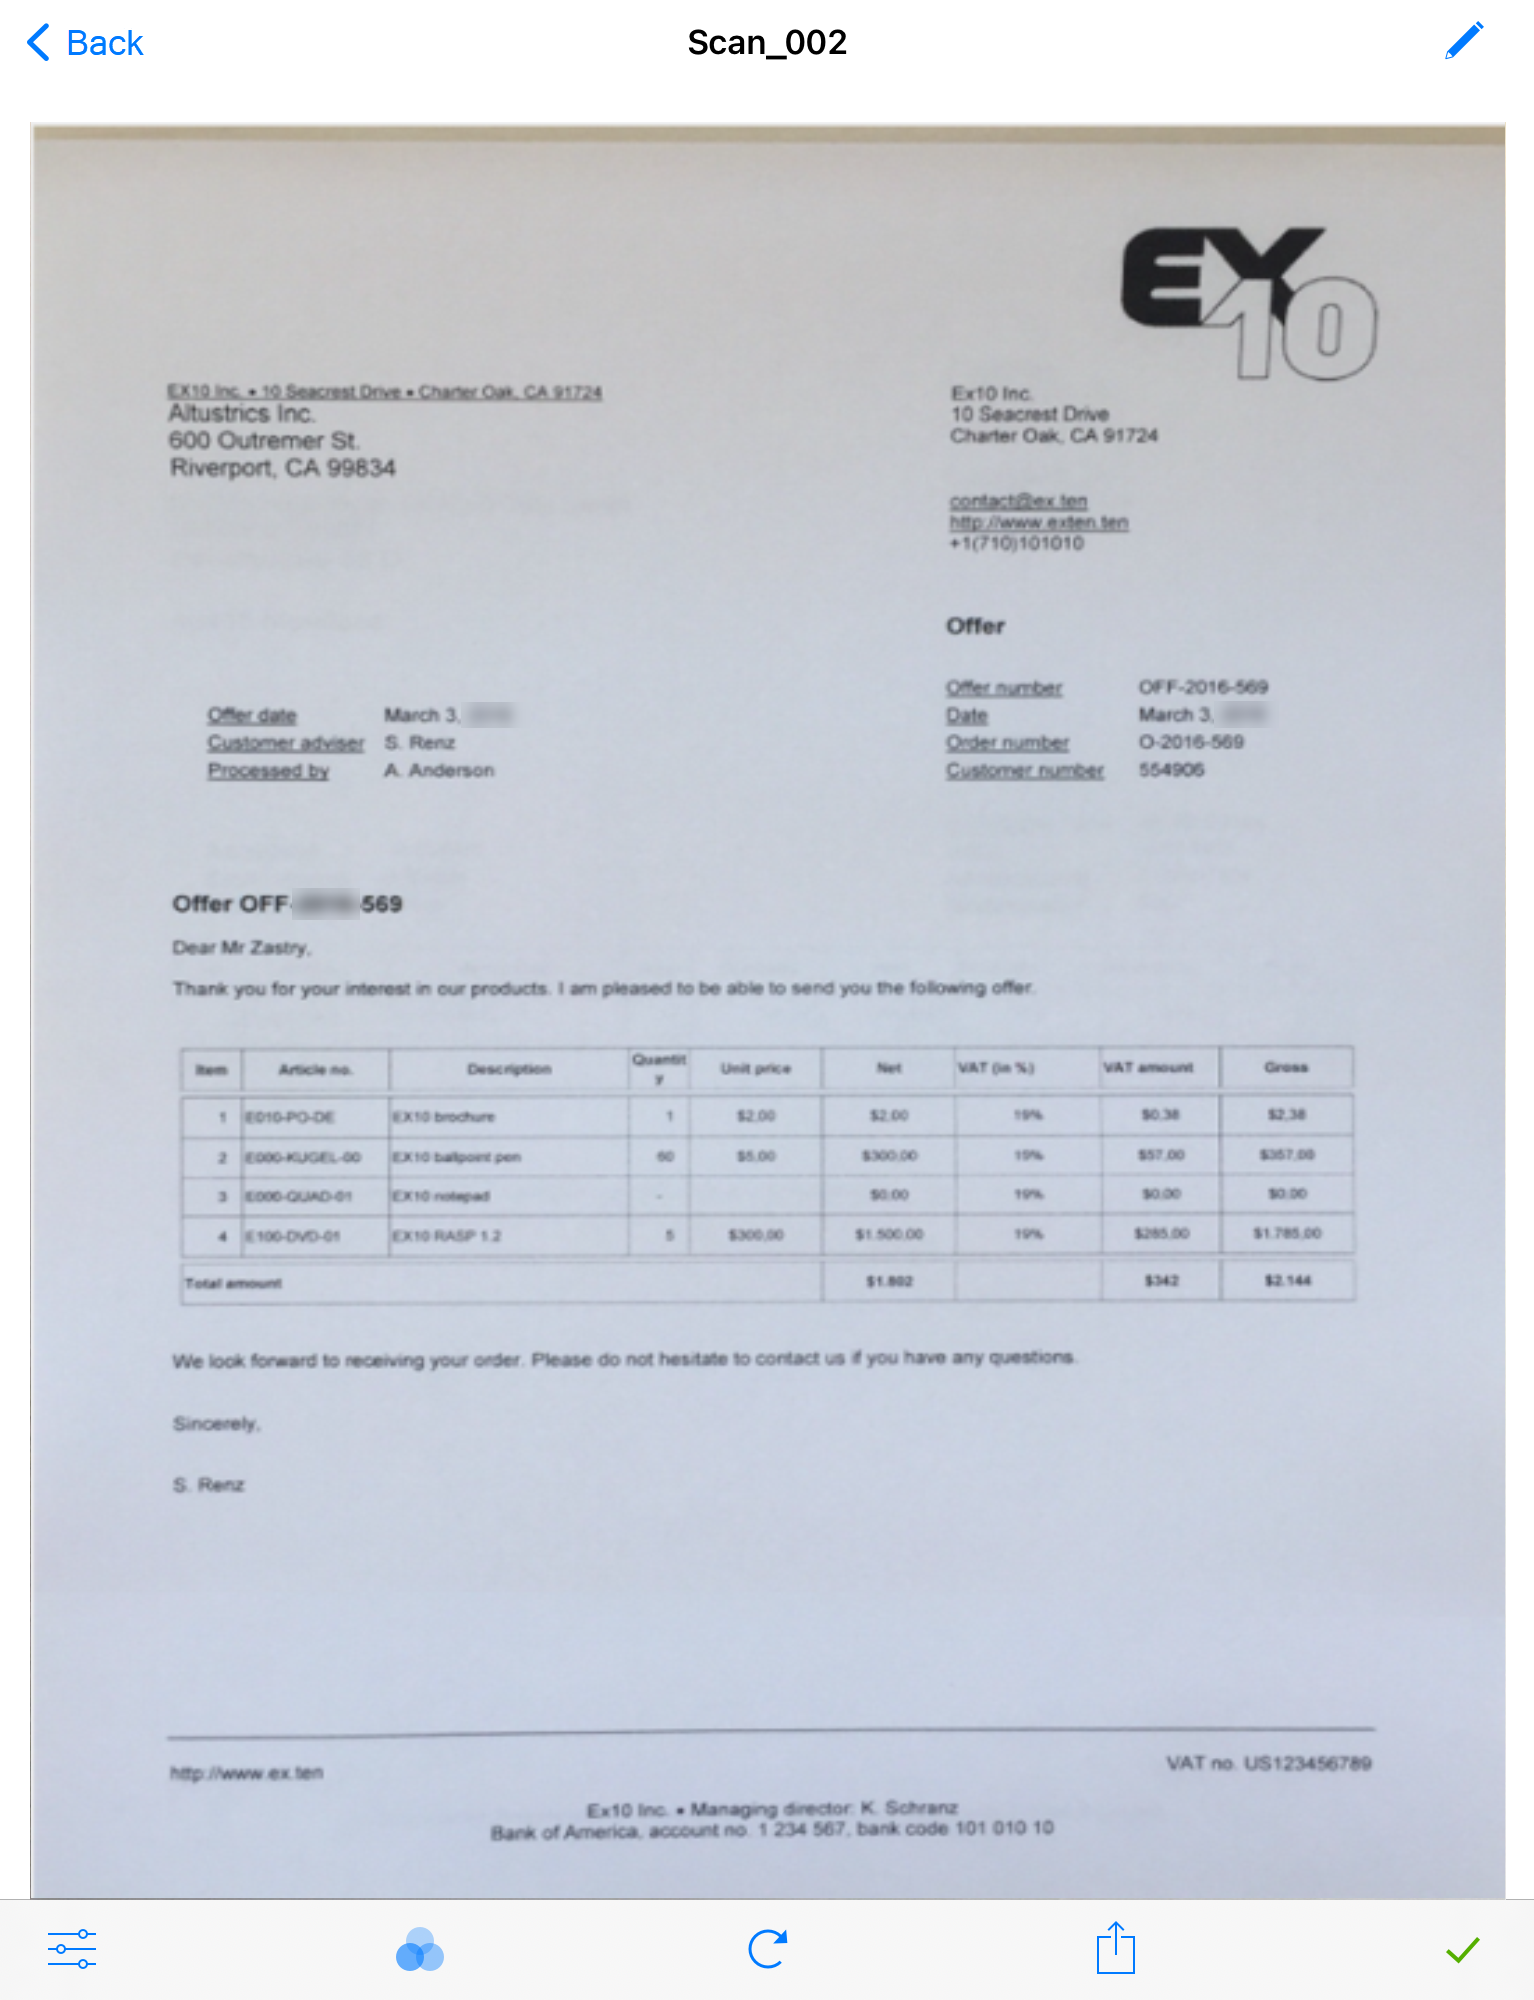
As soon as the image has been captured successfully, the app switches to preview mode. In preview mode, you can edit the section or upload it straight to the target device.
Information
Preview mode offers additional functions for scans already captured in ELO QuickScan. Refer to the chapter Preview mode for captured scans for more information.
# Edit mode for a single-page scan

Tap the slider icon to open edit mode.

Edit mode opens.
- 1 Crop: ELO QuickScan crops the image.
- 2 Camera: With this function, you can replace the existing scan with a new one.
To save your settings, tap the check mark icon.
The scan is saved. ELO QuickScan switches to edit mode.
# Edit mode for a multi-page scan
Preview mode offers additional functions for scans with multiple pages.

- 1 Reorder: Rearrange the pages using drag-and-drop.
- (2) Filter: Apply different filters to the scanned document. Besides the original, you can choose between black/white, grid, and contrast.
- 3 Rotate clockwise
# Delete scans
This section describes how to delete scans from ELO QuickScan.
Method

In the app menu, tap Select.
Tap the scan you want to delete.
Information
Multiple selection is possible.
The selected scan is marked with a check mark.

Tap the button with the recycle bin icon.
A selection dialog box opens.
Confirm with Delete document.
Result
The selected scan is deleted from ELO QuickScan.