# Create tile
# Create new view
With the New view function, you can create a new folder view. The folder view is created as a new tile in the tile navigation.
A view provides you with quick access to a specific area of the repository. When you create a view, it is displayed as a tile in the tile navigation.
Related functions
- Task view: A task view shows you tasks with criteria you selected.
- Most recently used: The Most recently used tab in the My ELO work area provides fast access to your folders. You can pin folders here.
- Configuration - Views: In the Views category of the configuration, you can also create new views.
Method
In the Repository work area, select the project folder you want to create a view for.
On the toolbar, select View > New view.
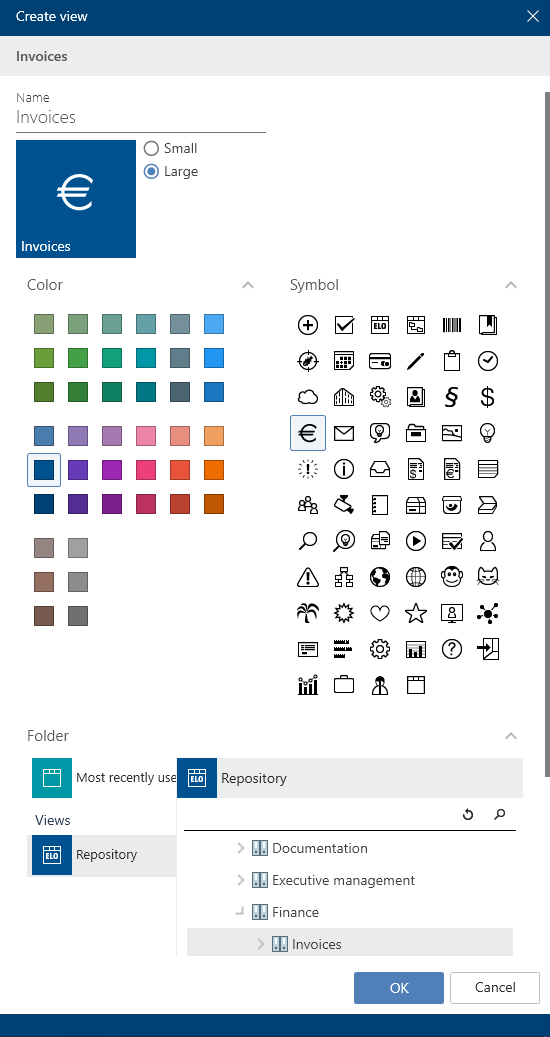
The Create view dialog box appears.
Configure the tile by selecting a size, color, and icon.
The Name field automatically contains the name of the folder you selected. You can change the name.
Optional: In the bottom area of the dialog box, you can change the selected folder.
Select OK to close the dialog box.
Result
A tile is created for the new view under the Repository group in the tile navigation.
Outlook
You can drag and drop a tile to another position.
If you have created multiple views, you have the option to group them. To learn how to create a group in the tile navigation, refer to the section Groups.
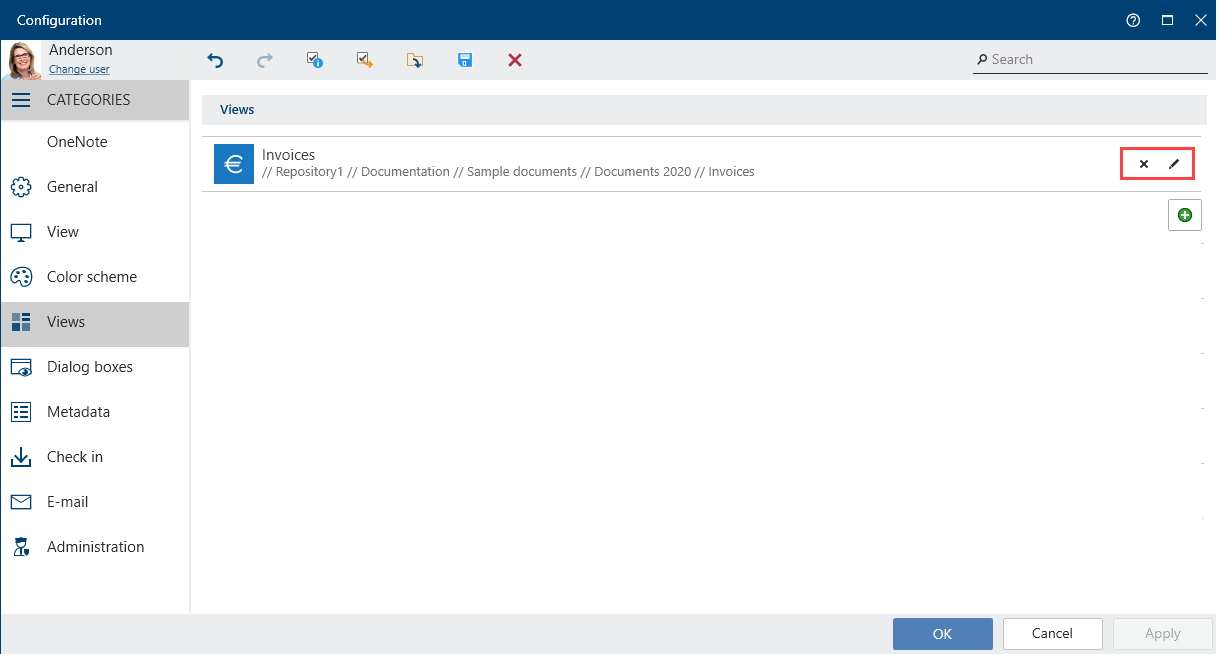
You can edit or delete the view later on. To do so, open the configuration by selecting User menu [your name]. There, navigate to the Views category. You can delete the view by selecting the X icon or edit it by selecting the pencil icon.
# Task view (ELO Desktop Client Plus only)
Available in: Tasks work area
Use the New view function to create a new task view.
A view provides you with quick access to a specific area of the repository. When you create a view, it is displayed as a tile in the tile navigation.
Method
Navigate to the Tasks work area.
On the toolbar, select View > Create view.
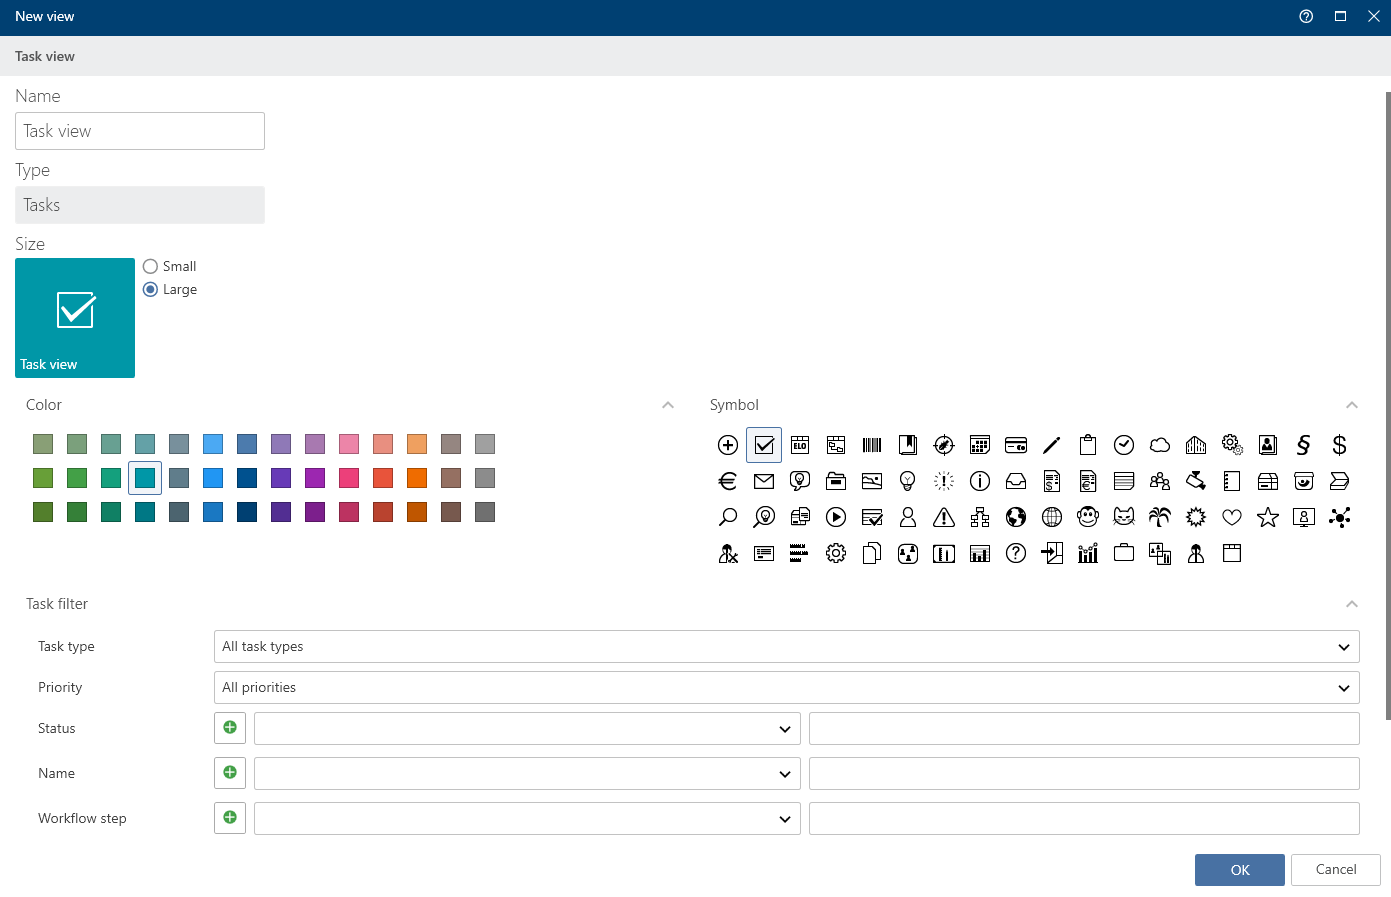
In the New view dialog box, define the criteria for showing tasks in the task view.
Metadata form: Use the Metadata form drop-down menu to select a metadata form if you only want tasks with the corresponding metadata form to be displayed in the task view.
Fields: If you have selected a metadata form in the Form field, you can select a field from the metadata form from the Field drop-down menu to filter by its contents.
Select OK.
Result
A tile is created for the new view under the Tasks group in the tile navigation.
Outlook
- You can drag and drop a tile to another position.
- If you have created multiple views, you have the option to group them. To learn how to create a group in the tile navigation, refer to the chapter Groups.
- You can delete a task view. Navigate to the task view and on the ribbon select View > Delete view.