# Adjust settings
# Configuration
Available in: User menu [your name] > Configuration
Use the Configuration dialog box to change the local settings. You can define many personal settings yourself; your system administrator will perform all other settings. If necessary, contact your system administrator if you want to change certain settings and you are unable to do so via the Configuration dialog box.
The Configuration dialog box consists of multiple categories:
- General
- Display
- Color scheme
- Views
- Dialog boxes
- Metadata
- Check in
- Microsoft OneNote
- Administration
You can minimize the names of the categories by clicking Categories.
The following describes only the parts of the configuration categories requiring an explanation.
# Configuration – top area

The following functions are available in the upper area of the configuration:
 | Select the left arrow (keyboard shortcut: CTRL + Z) to undo your last change. Select the right arrow (keyboard shortcut: CTRL + Y) to redo the change. |
 | You can use this button to show or hide the "Set by" column. This shows at what level changes have been made to the settings. |
 | Select the X icon to delete all your custom settings. The settings for the next level, such as those for the option group, apply automatically. For more information about the level concept in the configuration, refer to the ELO Desktop Client administration (opens new window) documentation. |
 | You can browse the entire configuration settings. While entering a search term, search results are filtered and highlighted right away thanks to the search-as-you-type function. The first area matching the search input appears. Navigate using the area overview on the left side if the results are spread across multiple areas. You can make the desired settings right in the search results. |
# Configuration – General
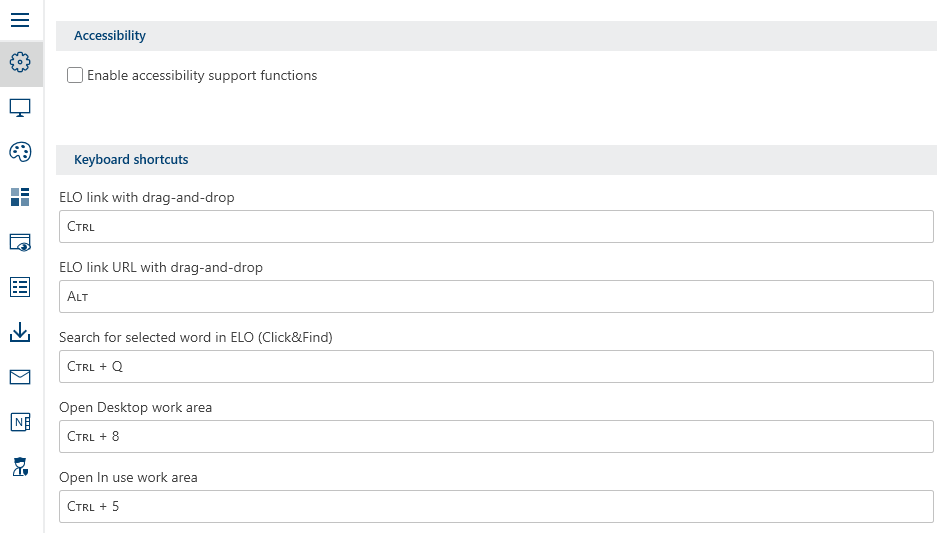
# Accessibility
In the Accessibility section, you can enable accessibility support features for your ELO.
Enable accessibility support functions: If you enable this function, the following changes will be applied in your ELO.
- Dialog boxes open in a separate window
- Disabled text boxes can be focused with a tab
This setting applies to all users logging on to this computer and is not transferred to other users.
# Configuration – Display (1)
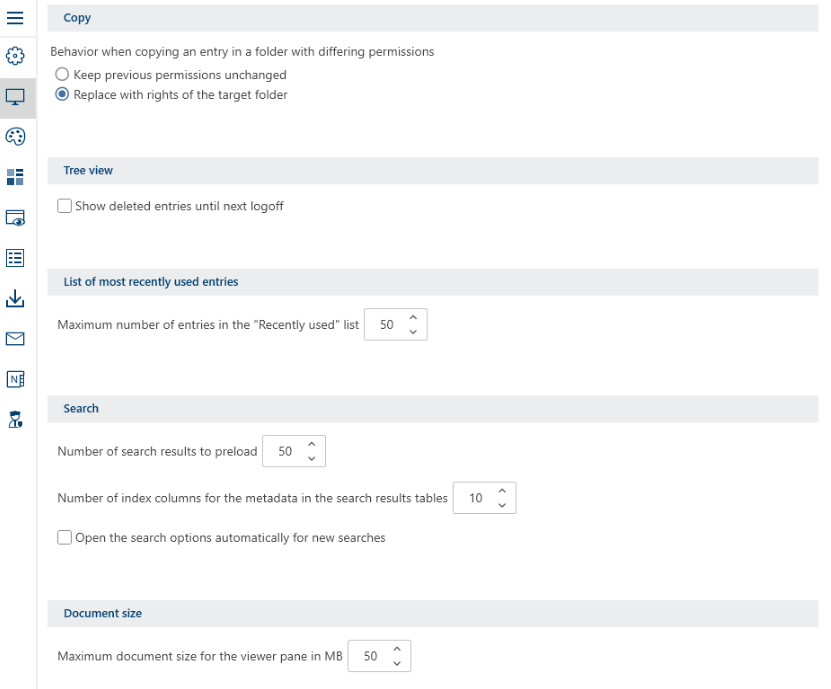
# Search
Number of search results to preload: A lower value improves search times.
# Configuration – Display (2)
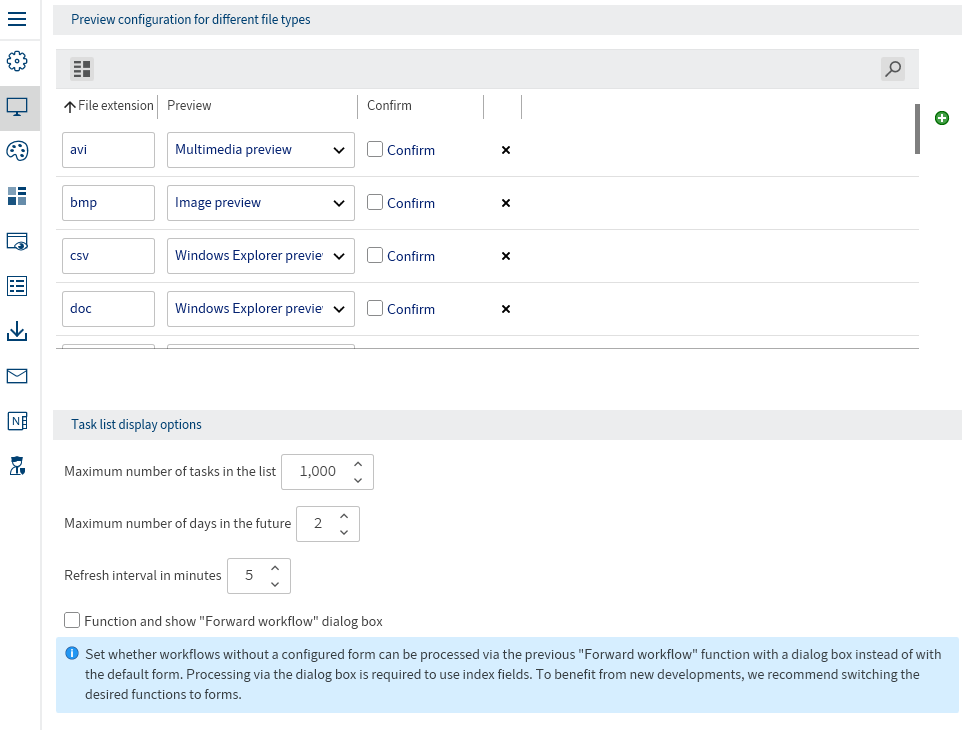
# Preview configuration for different file types
In this area, you define which type of preview is used for which file extension. If no preview method is defined for a file extension, the browser preview is used.
You can filter the preview configuration (filter icon), search it (magnifying glass icon), and add new file types with a preview method (green plus icon).
This list shows the existing file extension and preview method assignments.
The following preview methods are available from the drop-down menu.
- E-mail preview: Viewer for e-mail files. The available buttons allow you to reply to or forward the e-mail. Your standard e-mail program opens. Metainformation such as the date, subject, and attachments are shown under the buttons. If the e-mail is in HTML format, a browser is displayed. If the e-mail is in rich text format (RTF), a text preview is used.
- Multimedia preview: Uses Windows Media Player for preview purposes. The following file types can be played: MP3, MP4, WMV, WMA, WAV, AVI, MPG, MPEG, MP2, MPA.
- Image preview: Viewer for image files. You can adjust the viewer using the viewer bar. If the document contains annotations, they are shown on an additional tab.
- Windows Explorer preview: Viewer that Windows Explorer also uses. In addition to the existing assignments, all file types can be linked with this preview method. This may require a separate program that provides the preview functionality.
- Text preview: A simple text preview is used as the method.
- Browser preview: The preview is shown in a web browser (Chromium). In addition to the existing assignments, the file types PDF, MP3, MP4, MPEG, PNG, JPEG, BMP, and GIF can also be linked with this preview method.
- Office Online preview: Web preview for Microsoft Office documents. This requires access to a Microsoft Office Online server.
# Task list display options (only ELO Desktop Client Plus)
You can configure the settings for the Tasks work area here.
Information
This configuration option is only available in ELO Desktop Client Plus.
Maximum number of days in the future: The task list in the Tasks area contains an overview of all tasks that are due. Use this option to specify in how many days a task must be due for it to be displayed in the task list. For example, if you enter the value 10, all tasks that are due in the next ten days will be displayed. Tasks that are only due in 20 days are not displayed.
Refresh interval in minutes: Specify how often you want the task list to be refreshed here. If you do not want the task list to be refreshed automatically, enter 0.
Process tasks with "Forward workflow" dialog box: If this option is enabled, you have to use the Forward workflow function to process and forward the workflow in a new dialog box. If the option is disabled, workflows without a form template are shown in the Tasks work area in a standard form and can be processed there.
# Configuration – Views
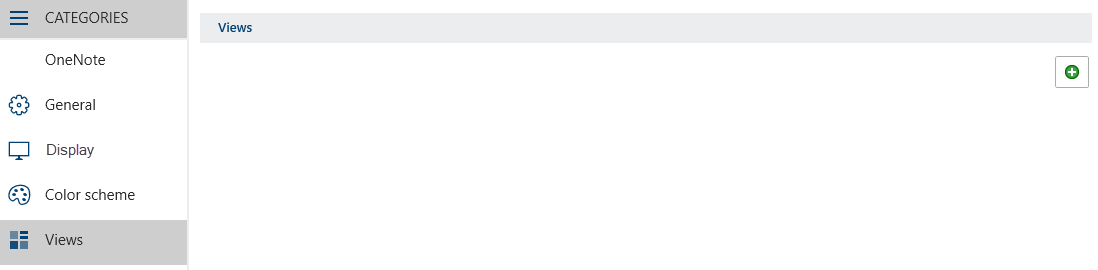
In the Views category, you can create views for folders in the Repository work area.
A folder view creates a tile that gives you direct access to the folder.
Method
Select the green plus icon to create a new view.
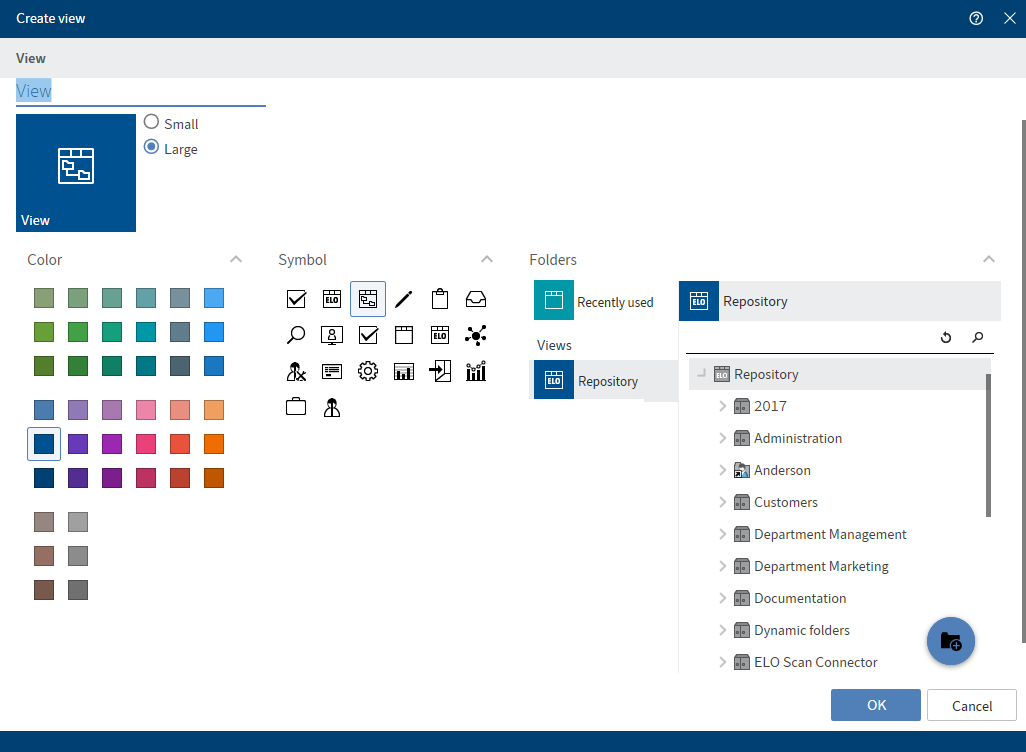
The Create view dialog box appears.
Enter a name for the view.
Select whether you want to display the view as a small or a large tile.
Choose a color for the view.
Select an icon.
In the Folder area, select the folder from the tree that you want to create a view for. With Recently used, you can narrow down the folders to your most recently used folders in ELO. Select the folder icon to create a new folder.
Select OK.

Result
The view you created appears in the Views category. You can delete the view by selecting the X icon. Edit it by selecting the pencil icon.
# Configuration – Metadata
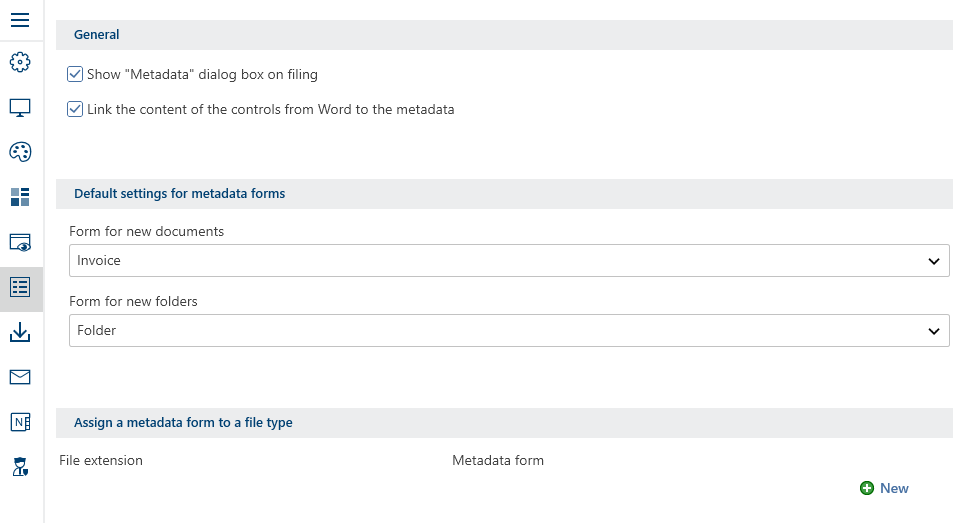
# Assign a metadata form to a file type
Specify whether certain file types should only be used with specific metadata forms. This is useful for filing unusual file formats, but can also save time for frequently recurring filing.
# Configuration – Administration
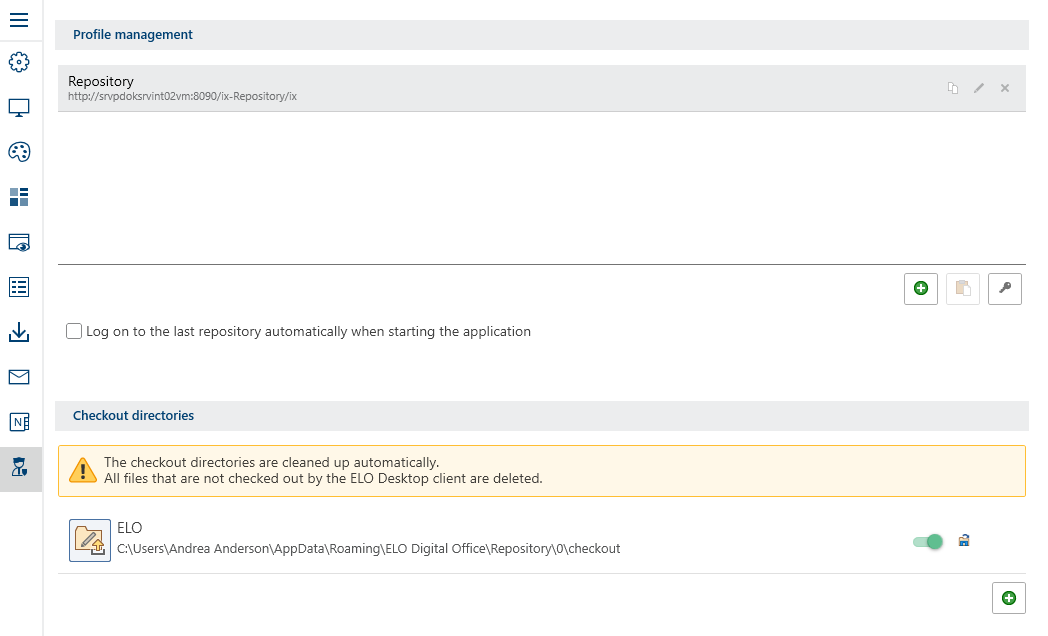
# Profile management
The Profile management area lists all available profiles with the name and corresponding URL.
To copy, delete, or edit an existing profile, select the profile.
To create a new profile, select the green plus icon. The Create new profile dialog box opens. Enter the profile name and the corresponding ELO Indexserver URL. The system verifies whether the ELO Indexserver is available. If successful, Server available appears in green. Add the profile with OK.
To insert a copied profile from the clipboard, select the insert icon. The name of the profile and the URL were copied with the following syntax: < profile name>;< logon type>;< URL>. The syntax distinguishes between two logon types. The U stands for logon with an ELO account, while the S stands for SSO (Windows account). If you only have the ELO Indexserver URL on your clipboard, the profile name is generated based on the URL.
To see what passwords have been saved for which repositories and users, select the key icon.
Log on to the last repository automatically when starting the application: Enable this option to automatically log on to the most recent repository with the same user data when starting the application.
# Checkout directories
Files have to be taken from the ELO repository to edit them. During editing, they are checked out and saved as temporary files to a folder in the file system. In the list, you see all available checkout directories. Use the control to enable or disable each individual checkout directory.
Selecting the folder icon allows you to view the content of the checkout directory on the file system.
Selecting the green plus icon creates a new checkout directory on the file system.
Please note
The checkout directories are cleaned up automatically. All files that are not checked out by ELO are deleted.
# Enable roles
Available in: User menu [your name] > Enable roles
Roles are used to grant users additional rights in ELO. For example, a role can grant a user membership to the Accounting group. You do not need the additional group rights for your everyday work, so you can enable them as and when required. You need to enable the role to get the corresponding rights in the client.