# Usage examples
In the following, you will find examples of use for the previously defined tiles.
# Using filing tiles
# Information
You want to file a document using ELO Dropzone.
# File document
- Drag a document to the desired filing tile.
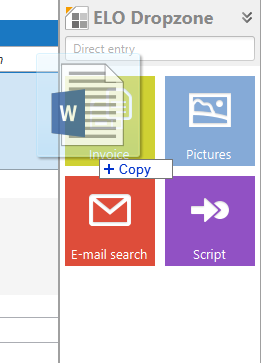
For example, if you drag a Word document to a filing tile, Microsoft Word opens briefly to analyze the document.
The document is filed to ELO if all required fields were recognized.
The check mark indicates that the document was filed to ELO.
Information
If you file multiple documents at once using a tile, the number of successfully imported documents is shown next to the check mark.
Alternative: The metadata form opens if not all required fields were recognized. Once you have completed the mandatory fields and clicked OK to confirm, the document is filed to ELO.
Information
Click a tile to open ELO to the last document filed with that tile.
# Using search tiles
# Information
The following describes how to start the search dialog box of the client with the help of an ELO Dropzone search tile.
# Triggering a search via the search tile
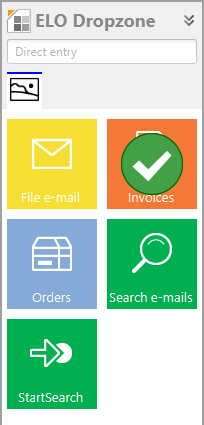
You have configured a search tile in ELO Dropzone as described in the Setting up a search tile section. You can now trigger a search by clicking the configured search tile.

Click the search tile you set up.
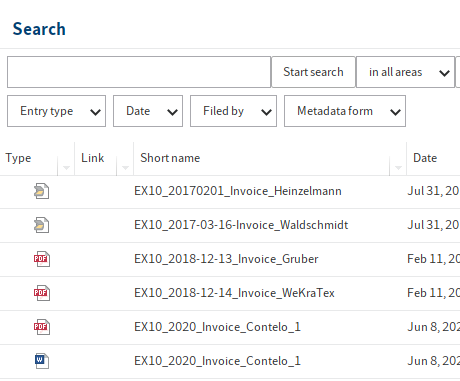
The search result is displayed in the client.
# Activation via keyboard shortcut
You can activate keyboard shortcuts to perform searches with ELO Dropzone. To do so, you must have configured a search tile in ELO Dropzone as described in the Setting up a search tile section. You entered the keyboard shortcut in the Activation via keyboard shortcut for search and scripts area.
Applying the Clipboard contents
Press CTRL+C to select a search term in any application with machine-readable text (e.g. Microsoft Word, PDF reader, browser, etc.).
The search term has now been placed on the Windows Clipboard.
Enter the keyboard shortcut that you previously defined for Apply Clipboard contents in the search tile.
The search result is displayed in the client.
Copy with CTRL+C
Select a search term in any application with machine-readable text (e.g. Microsoft Word, PDF reader, browser, etc.).
Enter the desired keyboard shortcut that you defined for Copy with CTRL+C in the search tile.
ELO Dropzone simulates copying with CTRL+C. The search result is displayed in the client.
Copy with double-click
Point to a search term in any application with machine-readable text (e.g. Microsoft Word, PDF reader, browser, etc.).
Enter the desired keyboard shortcut that you defined for Copy with double-click in the search tile.
ELO Dropzone simulates a double-click. The word is selected and applied as a search term. The search result is displayed in the client.
OCR window contents
Open a file containing OCR-readable text, such as a scanned document in TIFF format.
Enter the desired keyboard shortcut that you defined for OCR window contents in the search tile.
ELO Dropzone evaluates the OCR window contents and uses it as a search term. The search result is displayed in the client.
# Search for customer name via customer number
# Information
In this example, we will link the following functions: hotkey (activation via keyboard shortcut), reading the window title, database query, and search. A program shows the current customer number in the window title. You want to use this number to perform a search via keyboard shortcut in ELO. You will use the customer number to search for the customer name. This requires an upstream database query. Our example uses the ELO user list as a "customer database".
# Step by step
To capture the customer number from the window title, you need a regular expression. Our example assumes that the window title contains the text USER-, followed by the user ID, e.g. USER-3.
Open the Regular expressions dialog box via the context menu.
Click New to create a new regular expression.
In the Name field, select Title from the drop-down menu to show the window title.
Enter the name UserId.
In the Reg.Ex. field, enter the following regular expression:
USER-(\d*).
The result appears.
Save the regular expression.
The regular expression is listed under Available expressions as Title.UserId.
Querying the customer data for the customer number requires a group. The SQL query for converting the user ID into the user name is configured in the group, and the variable name "ID.name" is defined for the user name.
In the context menu, click Edit groups to open the Configure display groups dialog box.
Click the plus icon to create a new display group named UserId and enter the SQL query as shown in the figure below.
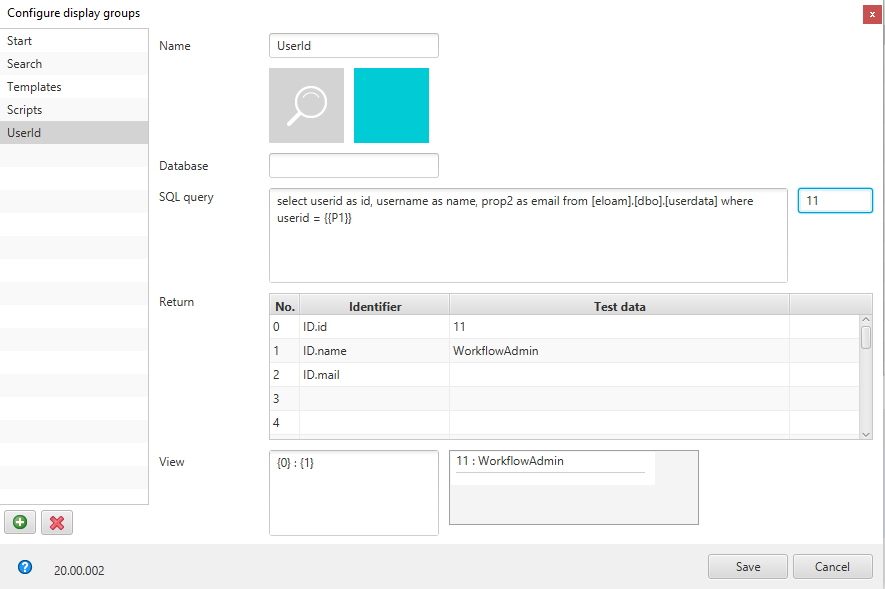
In the Return area, you will see how the SQL query converts the user ID to the user name and defined the variable name "ID.name".
Save the display group.
In the UserId display group, create a new search tile via the context menu in editing mode and configure it like you would a standard search tile.

On the Activation tab, define a keyboard shortcut in the Activation via keyboard shortcut field. Select Only activate from the drop-down menu.

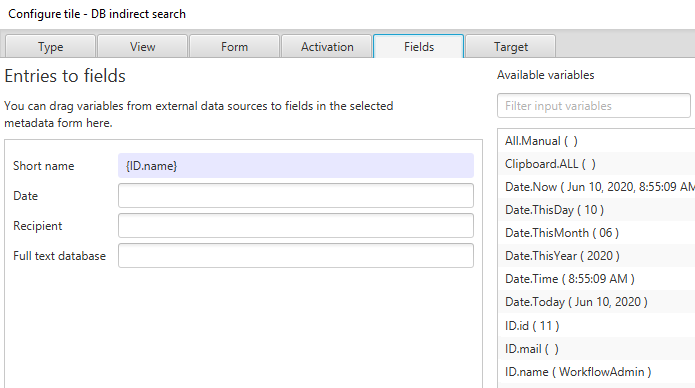
Enter the variable "ID.name" to the Short name field on the Fields tab.
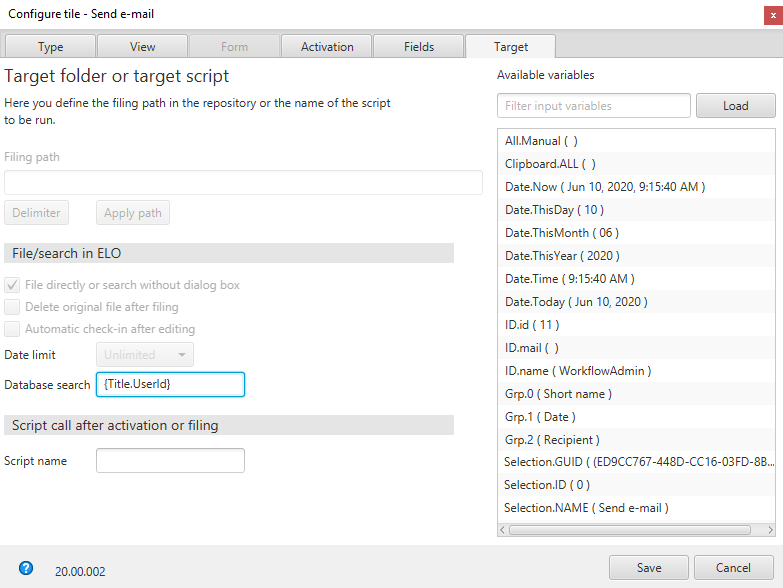
On the Target tab, enter the variable "Title.UserId" to the Database search field and save the tile configuration.
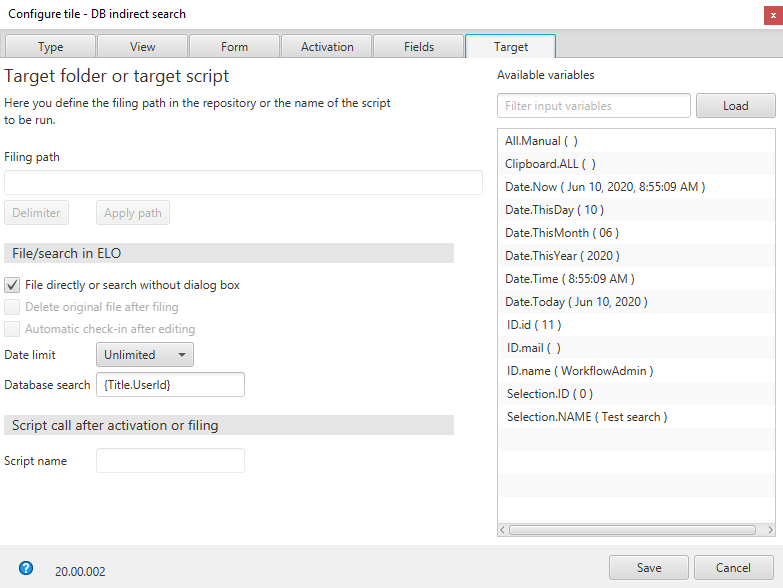
The database search is performed correctly, and the manual input is not evaluated.
# Generating an e-mail from a customer number
# Information
We want to determine the customer number from the window title using a regular expression. We want to generate an e-mail with the recipient address filled out via a search tile with configured keyboard shortcut and database query.
# Step by step
This template tile is created in the same group as in the previous example and thus uses the existing database query and regular expression for identifying the customer number in the window title.
Follow steps 1-9 from the Search for customer name via customer number example.
In the UserId display group, create a new template tile via the context menu in editing mode.

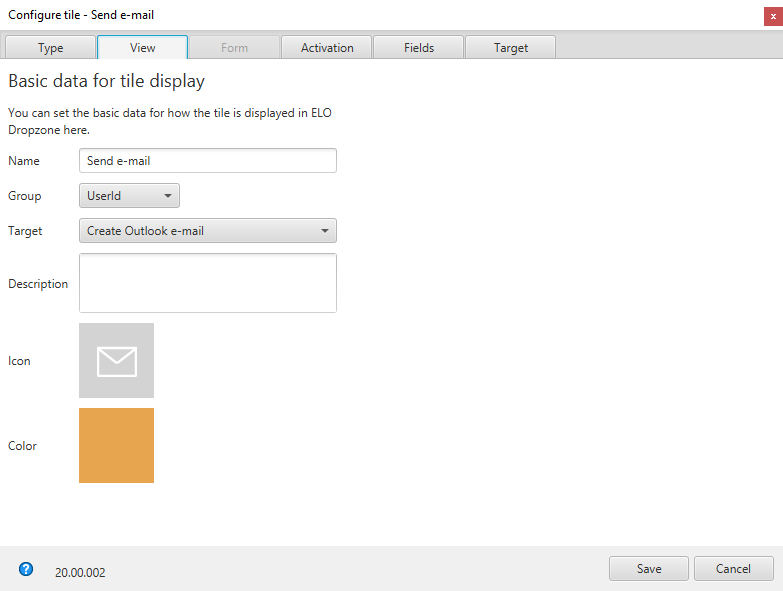
On the View tab, select the UserId group and the 'Create Outlook e-mail target.
On the Activation tab, select the keyboard shortcut. Select Only activate from the drop-down menu of Activation via keyboard shortcut and enter the desired keyboard shortcut.

On the Fields tab, complete the Short name, Recipient, and Message fields as shown in the following figure.
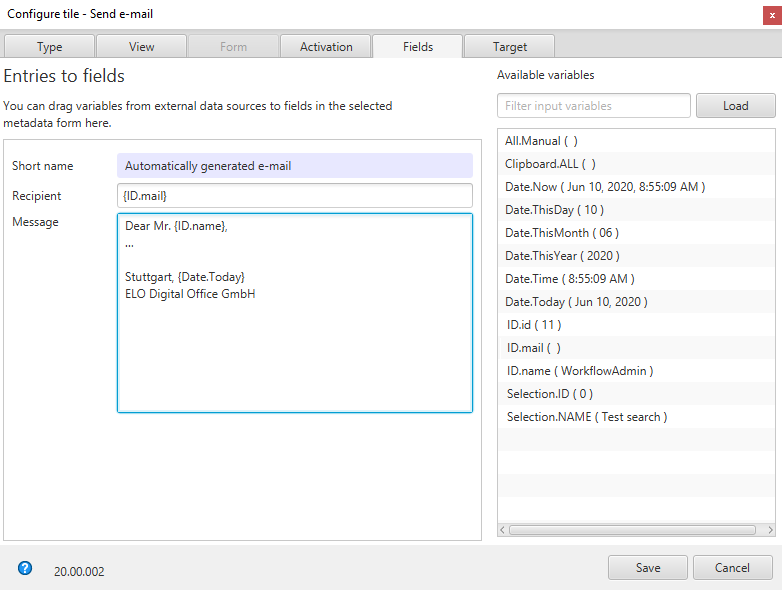
The text from the short name is entered to the e-mail subject. The recipient is entered to the "To" field in the e-mail. The body of the e-mail is generated from the message. All fields can use the variables from the database query
(ID.*)or other sources.On the Target tab, enter the variable "Title.UserId" to the Database search field and save the tile configuration.
Entering the set keyboard shortcut for this template tile generates an e-mail with the customer data.
